Ducati Multistretta 1098S

What an epic, awsome work that man (y). I can certainly sympathise with you & the hassels you had with certain trades people promising to do a job & after rediculous amounts of time & money, simply fail to deliver. I know that feeling, had I ever meet the t**t who was supposed to be doing my carbon fibre chain guard I'd probabely be sharing a cell with you right now !! :ROFLMAO:
 
Awesome fella, I admire your dedication to the project under extreme duress, I think many people would have just chalked f*** on it and walked away, build quality is second to none thanks to your obvious determination and incredibly deep pockets, I bet you have questioned your sanity more than once but it will be so worth it to have such a unique vehicle (I love the testasretta engine)
Credit to you fella for making it happen
 
Well what can I say, coming from someone who can just about change a fuse!!! I think inspiring is the first word that come to mind, then wow. A wonderful story so beautifully shared too.... I have just one little question.... I’m looking for someone to put a 1200 MTS 2013 engine into a later ie 2015 MTS frame, got a few minutes spare?
 
You are absolutely mad! Full respect to you, an incredible project and look forward to reading about the fastest ever Multistrada Mk1 and how it rides. Loved my old one but you are right, 85 horses were never enough.
 
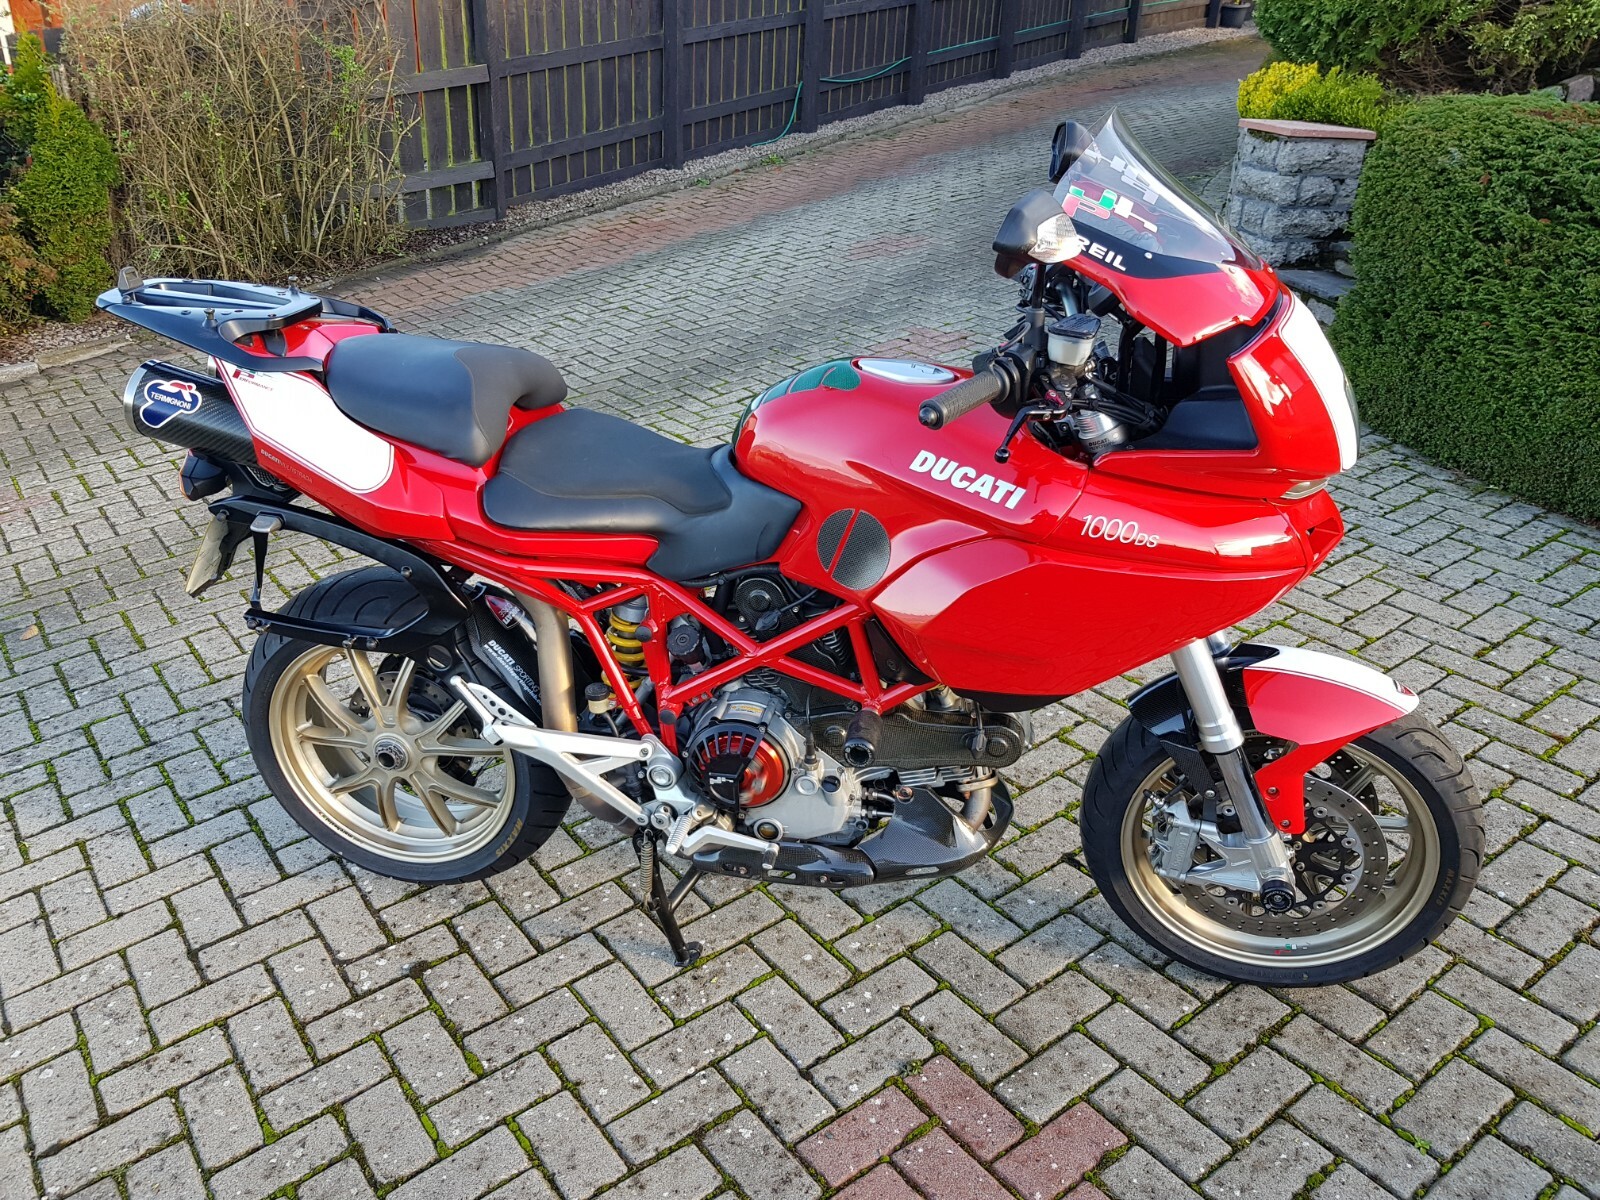
I saw this one today which they describe as a "jhp special" ?
s-l1600.jpg
 
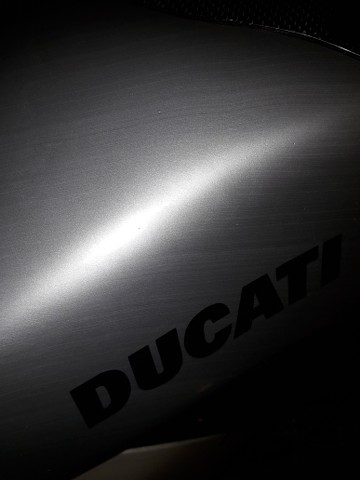
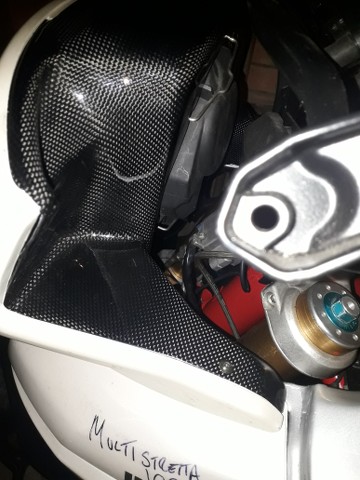
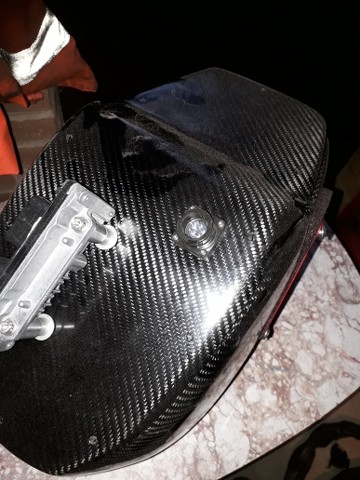
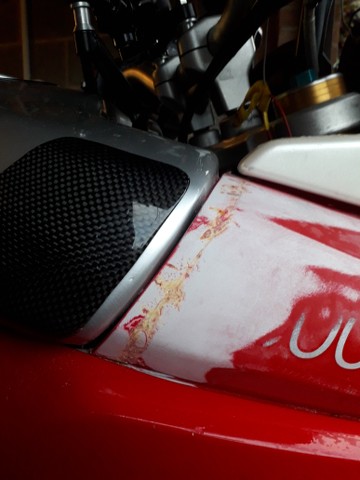
Picked the tank up from the paint shop yesterday and stuck the carbon fibre protectors on...

129730157_293365248722669_1469034499063449952_n.webp


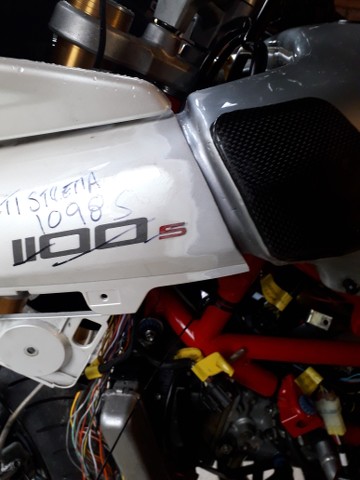
...and offered the tank up on the bike...

129758377_185232633234841_4068759270797826213_n.webp


129936118_429470998056642_8334994054336543468_n.webp


..but something's not quite right, the fit isn't the same before everything was stripped down and went of for paint and powder coat. Investigation needed.
 
Several hours of very cautious bending and checking, taking great care to not over bend the metal and crack the paint, and it fits a whole lot better.

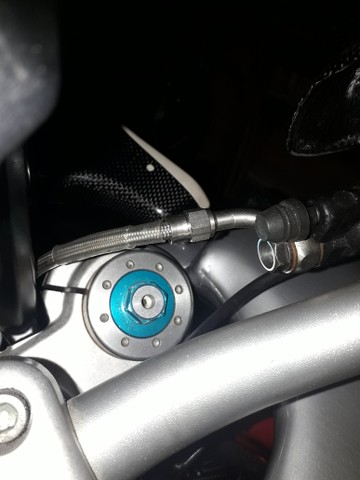
There's a few issues still to overcome. On full lock to the left the top yoke has clearance off the tank...

Image


..but on full lock to the right the the top yoke fouls the tank...

Image


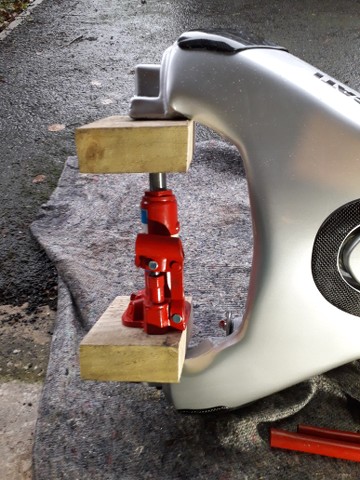
I hope that by sticking a small bottle jack across the front of the tank and giving it some beans I can spread the sections far enough apart to give the clearance.

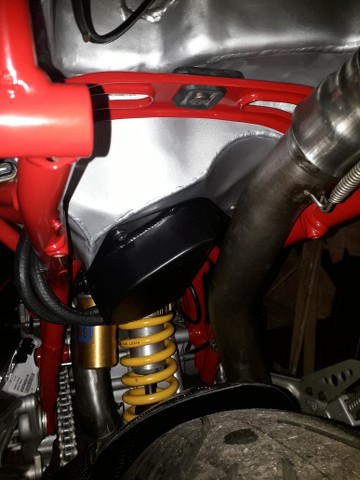
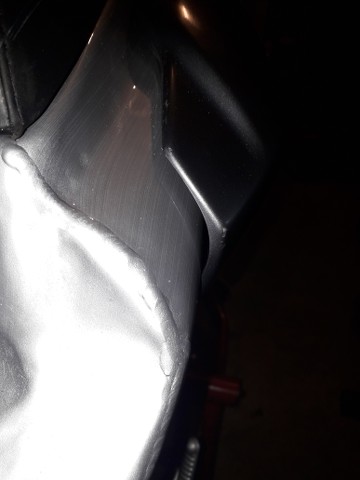
There's also fouling between the underside of the tank and the corner of the rear cylinder cover...

Image


.but some gentle application of percussive maintenance should knock a small dent into the tank that will give the needed clearance.
 
Started dry assembling the various body panels that mate up with the tank.

The left hand side panel fits nicely with the tank...

Image


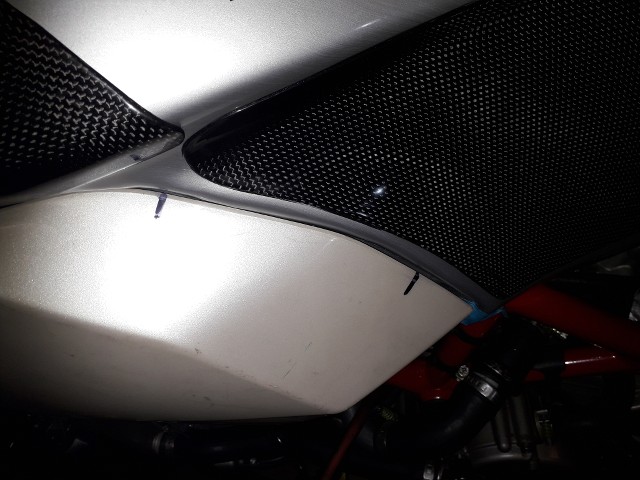
But the left hand top side panel doesn't have an even panel gap with the tank...

Image


It looks like it needs trimming, but I'm going to take it all to bits and put it back together several times and make sure it goes back together in the same place each time before I cut anything.

Fit round the back is great...

Image


Image


Also test fitted the sprauncy new carbon fibre binnacle surround...

Image


The rider's seat is back from the upholsterer and he's done a top job, getting the original saggy vinyl drum tight and nice and neat underneath. The seat base needs some flap wheel work to remove some plastic to make it a good fit on top of the tank...

Image


Throttle cables on the way back from Venhill, should be landing tomorrow
 
Astounded in equal measures at the determined perseverance and fabrication talent required to put that tank together.
 
Bravo , sir
I sold you the damper .. shame it didn’t fit and needed servicing but glad you got there in the end
 
Been a couple of weeks since the last update.

In no particular order....

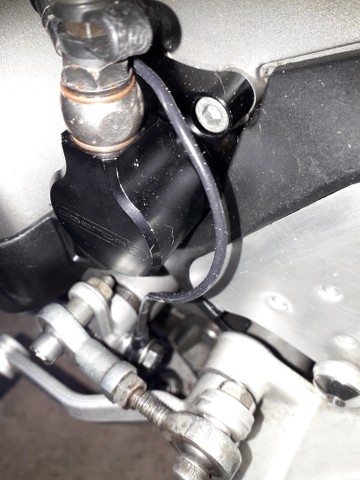
Healtech quick shifter fitted.

Image


It's a nifty looking little piece of kit, here's hoping it works as well it looks.

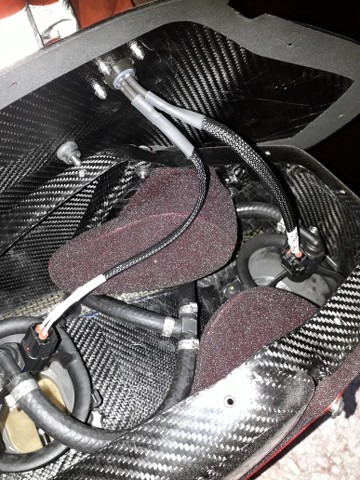
Connectors for the Panigale injectors identified, ordered and delivered. A mil-spec connector liberated from the stores at work and the injectors are now wired and plumbed in...

Image


Image


Fuel lines are all done, with a proper Parker brass high pressure Q/R fitting used rather then the dubious plastic ones so beloved of Ducati and ebay...

Image


Wiring harness for the whole bike is taking a LOT longer than expected; every single wire is the wrong length and either requires shortening or lengthening. I'm about a third of the way through at the moment, but had to leave it to get the bodywork sorted and ready for paint.

As previously reported, the panel gaps between the fairing side panels and the tank were terrible.

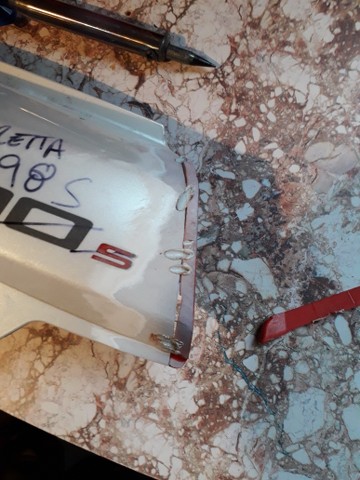
Initially I trimmed the side panels back to at least make the gap even...

Image


...but that looked terrible. However, I had an idea on how to fix it so thanks to ebay I managed to buy a set of tatty side panels and these were sacrificed so that a strip could be cut from them....

Image


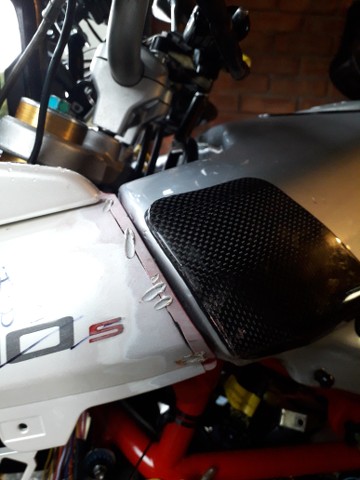
The strip was then, with the aid of the soldering iron, tacked in place on the original side panel....

Image


...and fitted to the bike...

Image


That's better!

Fully plastic welded in place, using offcuts of the scrap panels, and sanded back..

Image


...and the same done on the other side...

Image


Job's a good 'un!

Off to paint on Monday and I'll get stuck into the harness over the weekend.
 
I say the bodywork is going for paint, but given we're in Tier 4 I've got no idea whether the paint shop will be working or not...
 
Back
Top Bottom