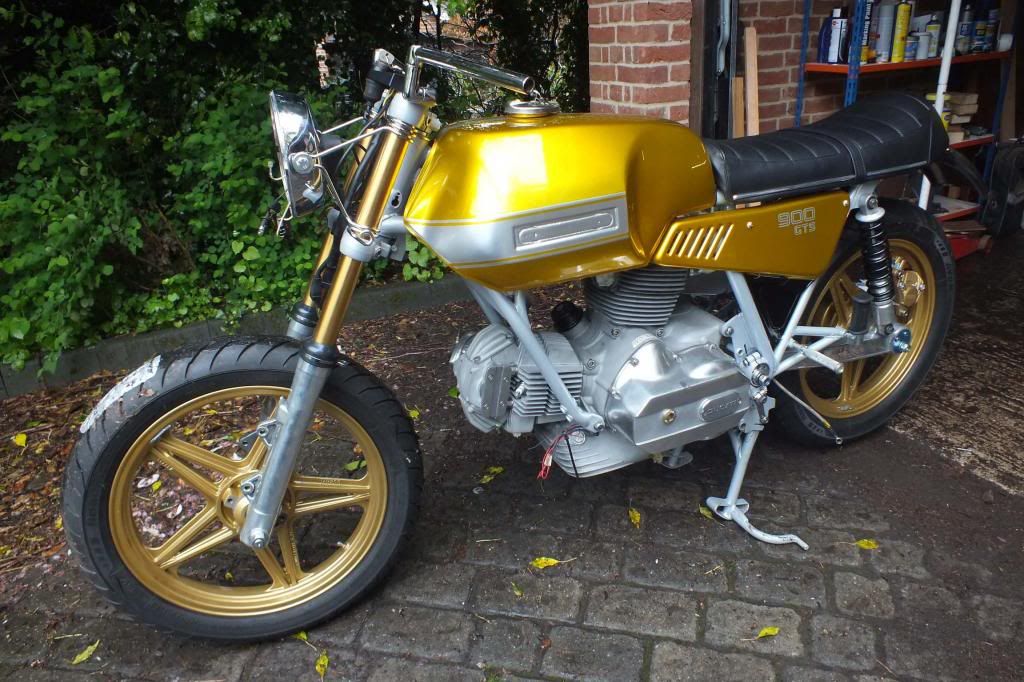
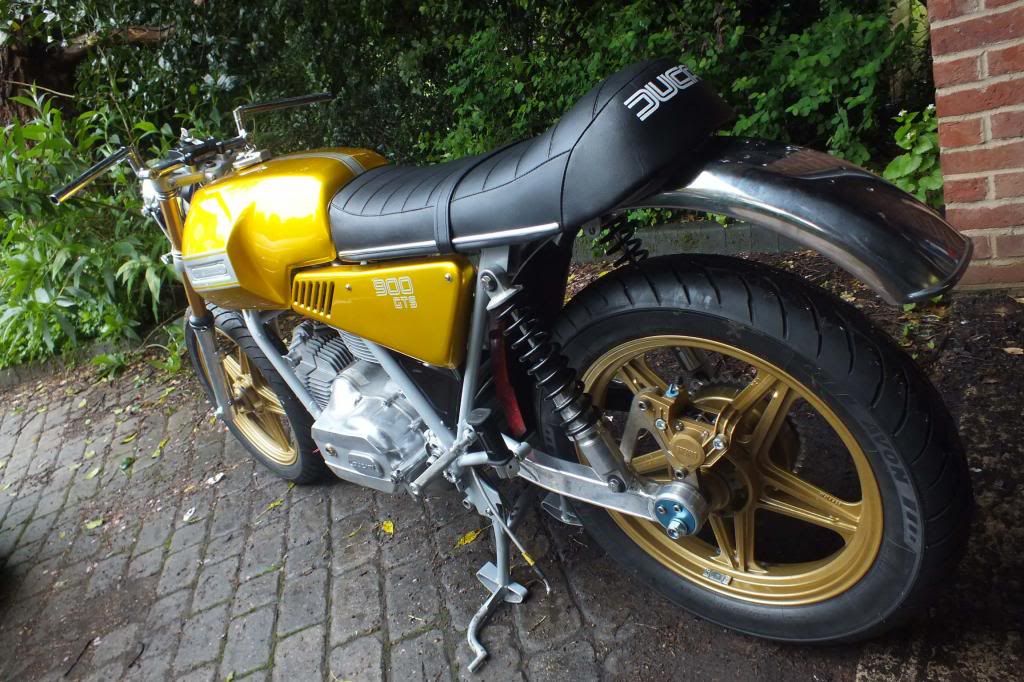
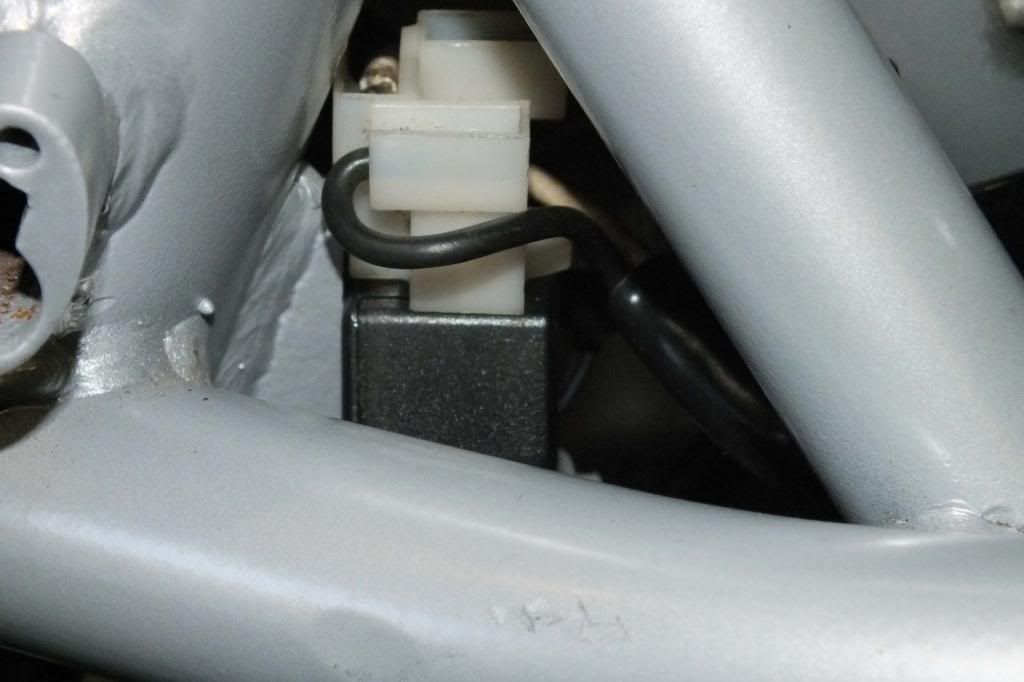
900GTS build...

I really want to get on with it, but am forever short of time (& money).

Slowly slowly...

I am very pleased with Tony at Cyclesprays. It was so much easier than the endless wrangling, complaining & errors from the last guy. I told Tony what I wanted and when, he told me how much and delivered on time what I wanted.
 
Last edited:
More assembly - seat, electrics, sidepanels...

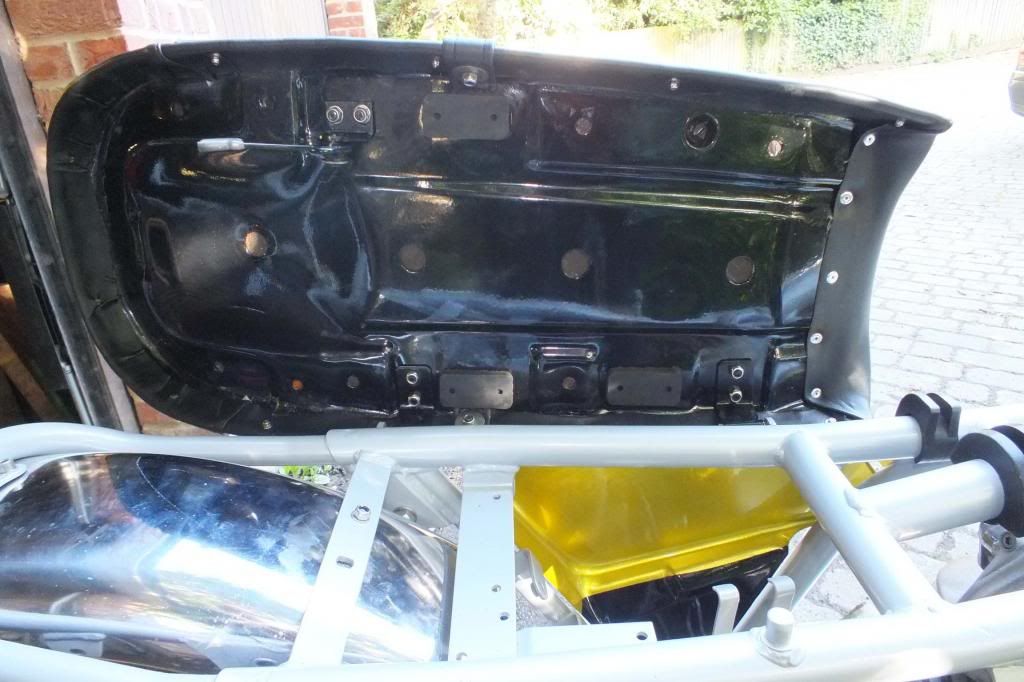
Whoever thought a reconditioned seat would be such a PITA to fit? Not me.

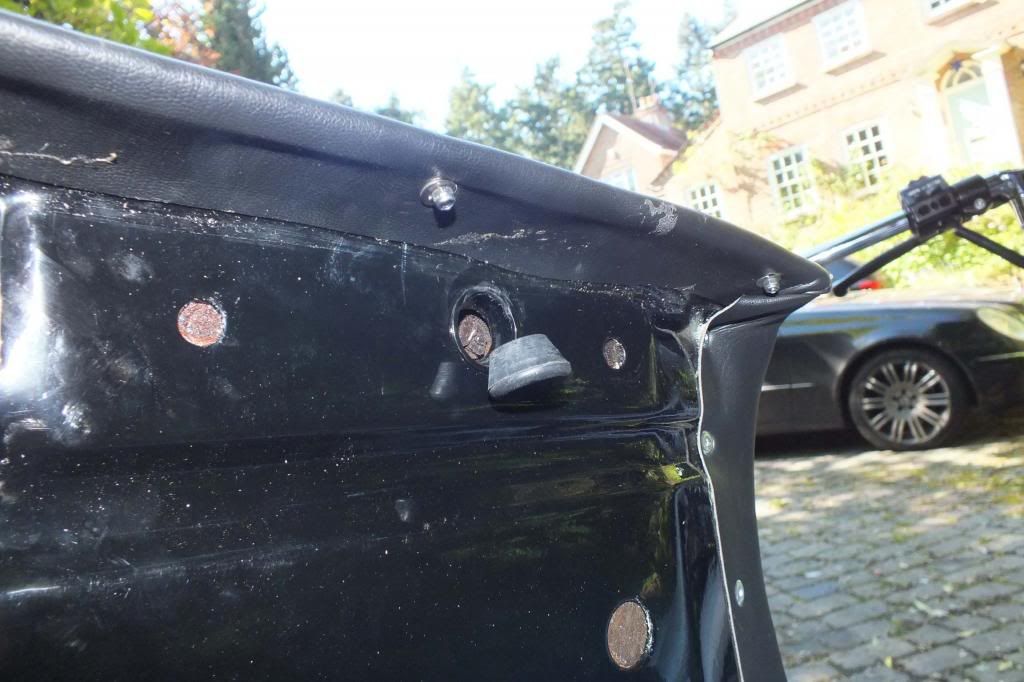
Cleaning out the seat catch of paint etc so that it moved freely was tedious as was having to use a thread file to get that dang powder coating off the threads, followed by jiggery pokery adjusting to get it correctly positioned...
DSCF1287.jpg


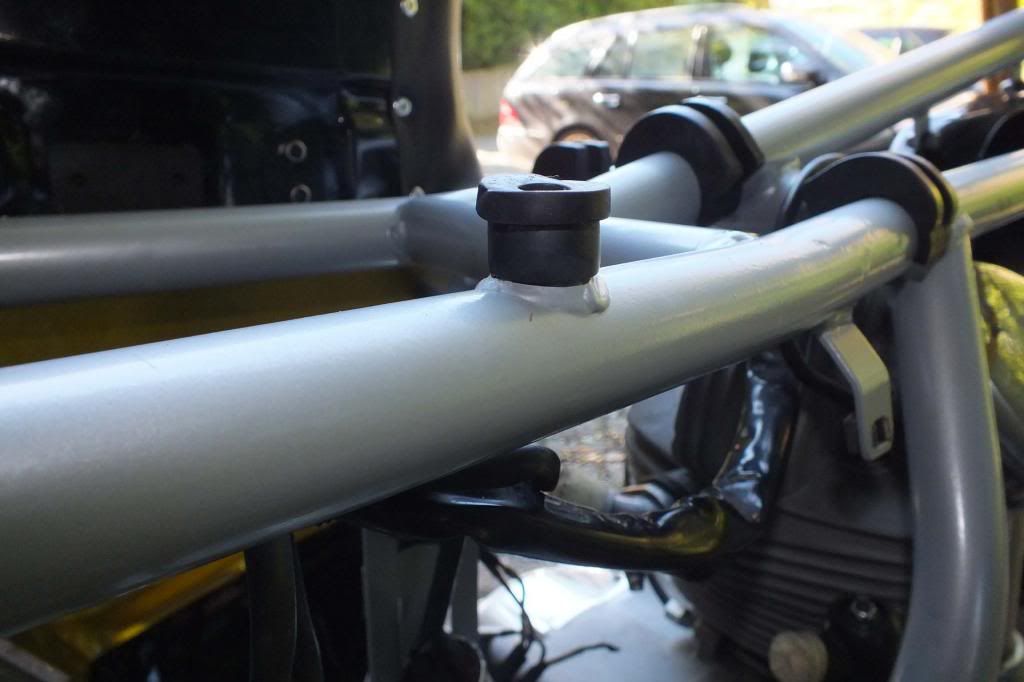
Unfortunately I am missing a couple of rather important rubber bungs which support the seat - one at the front & one at the back, part numbers:-
0960.85.190 Tampone posterioire tondo - Rear Buffer
And the front one...
0445.59.050 Gommino - Rubber
900GTS-Seat-Support-Rubbers-MarkedUp.jpg

The front one sits on this lug...
DSCF1207.jpg


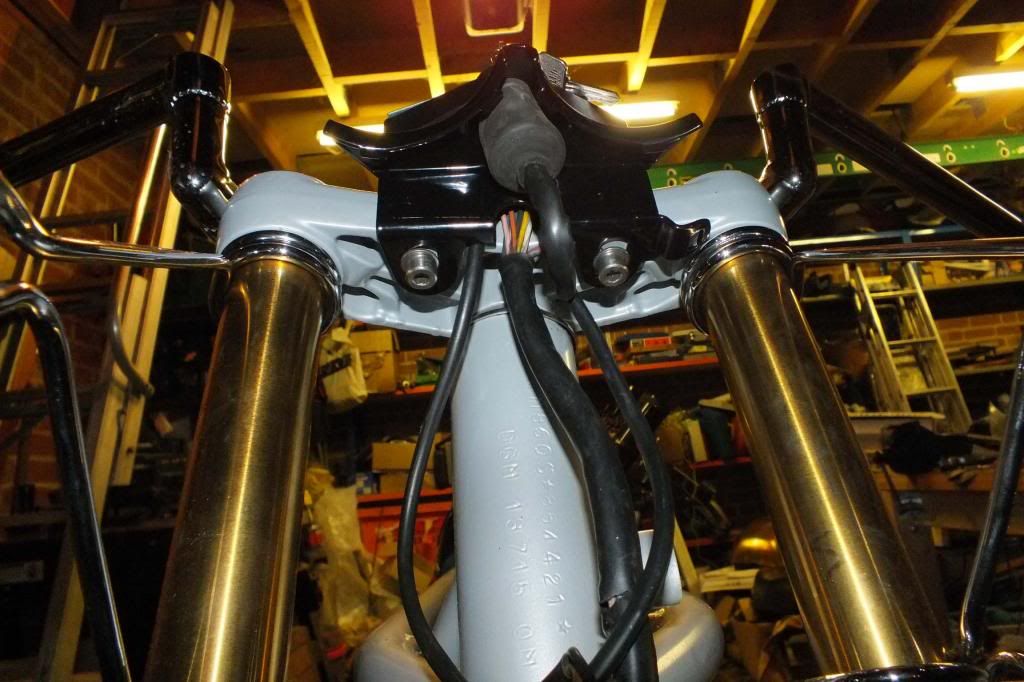
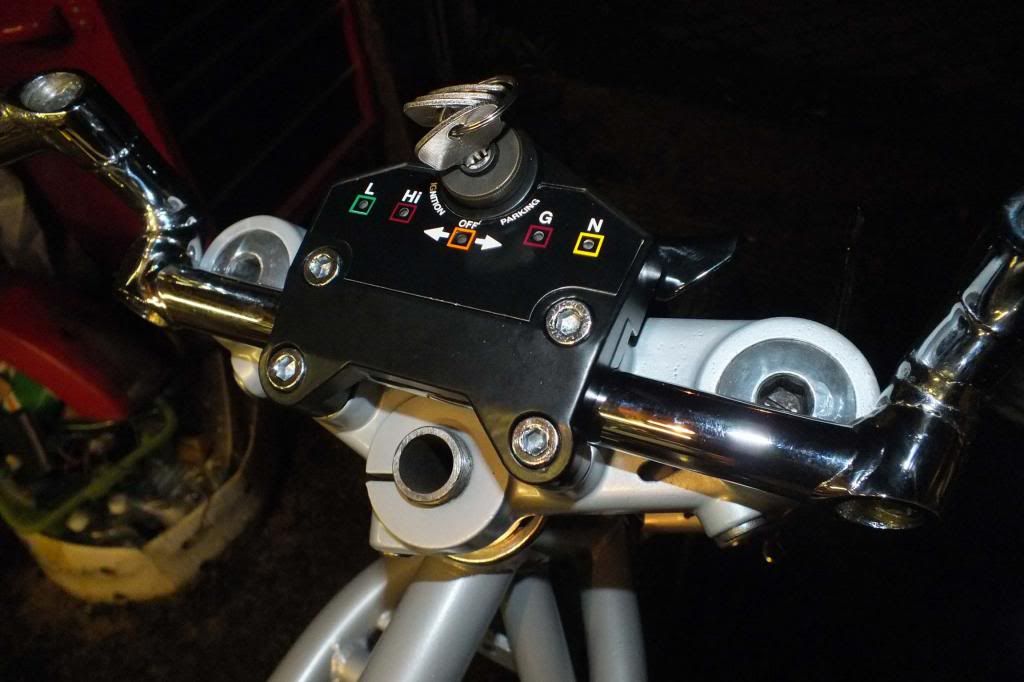
I got the instrument support bracket fitted which works really well with the ignition switch rubber shroud...
DSCF1289.jpg

DSCF1290.jpg

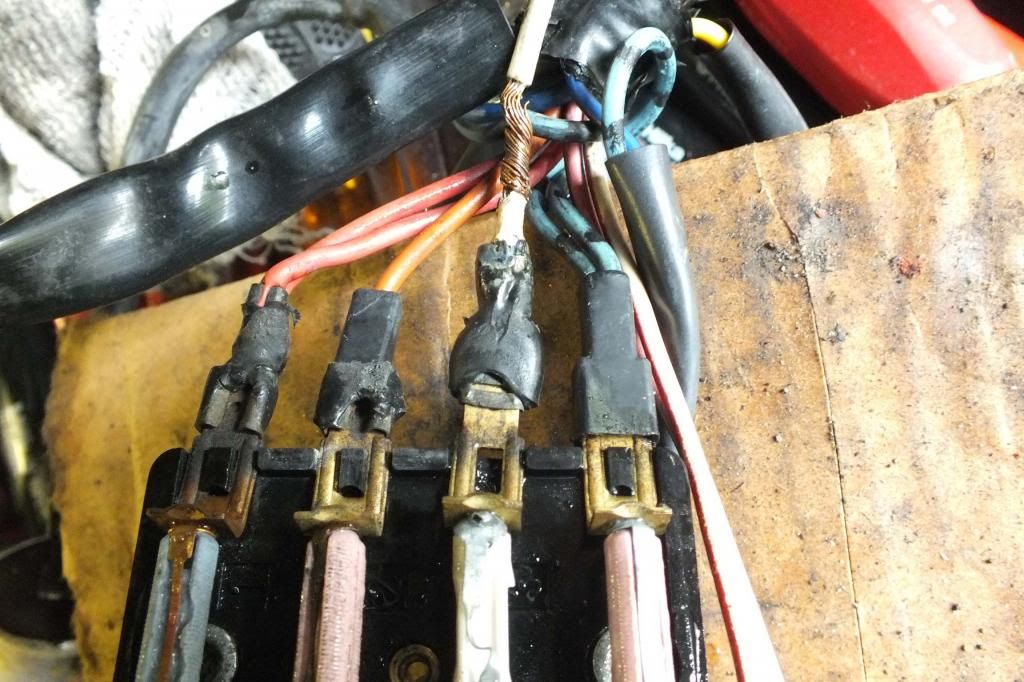
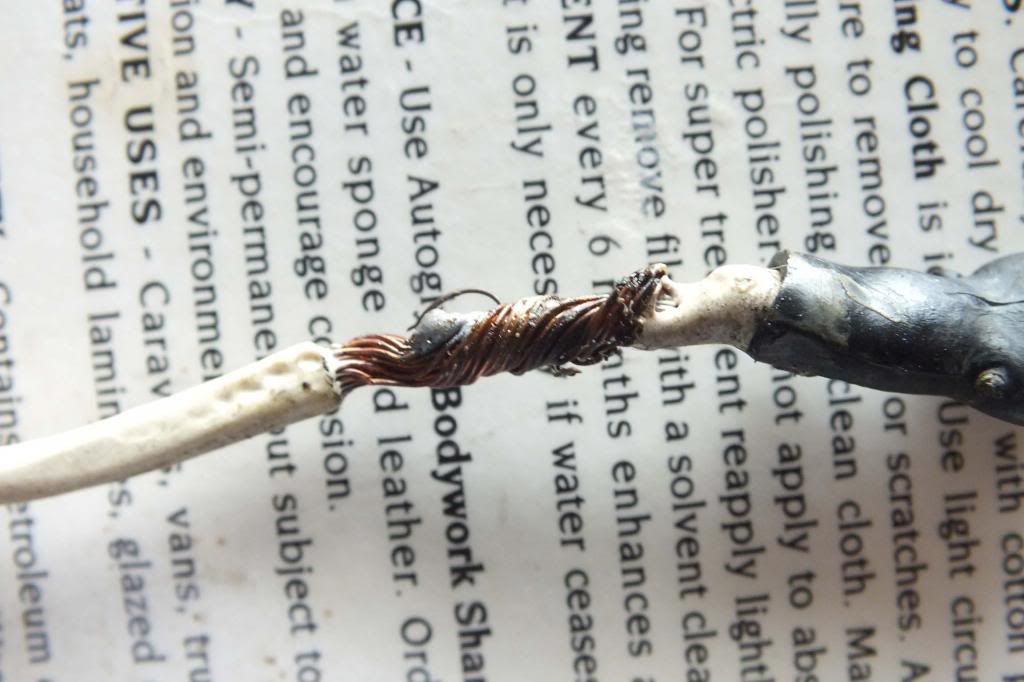
Cleaned the rather revolting loom and ripped off the nasty additions. Several were twisted wire wrapped in thin unravelling insulating tape.

I cracked on with fitting the side panels, Derek gave me some advice :thanks1: and as you can see, the side panels are held on with nice 45mm button head Allen screws with 6mm nylon washers to protect the lovely paintwork, spaced away from the frame with 35mm ish sections of green Eheim aquatic hose.
DSCF1299.jpg

Works a treat and looks nice too.
DSCF1302.jpg

DSCF1297.jpg


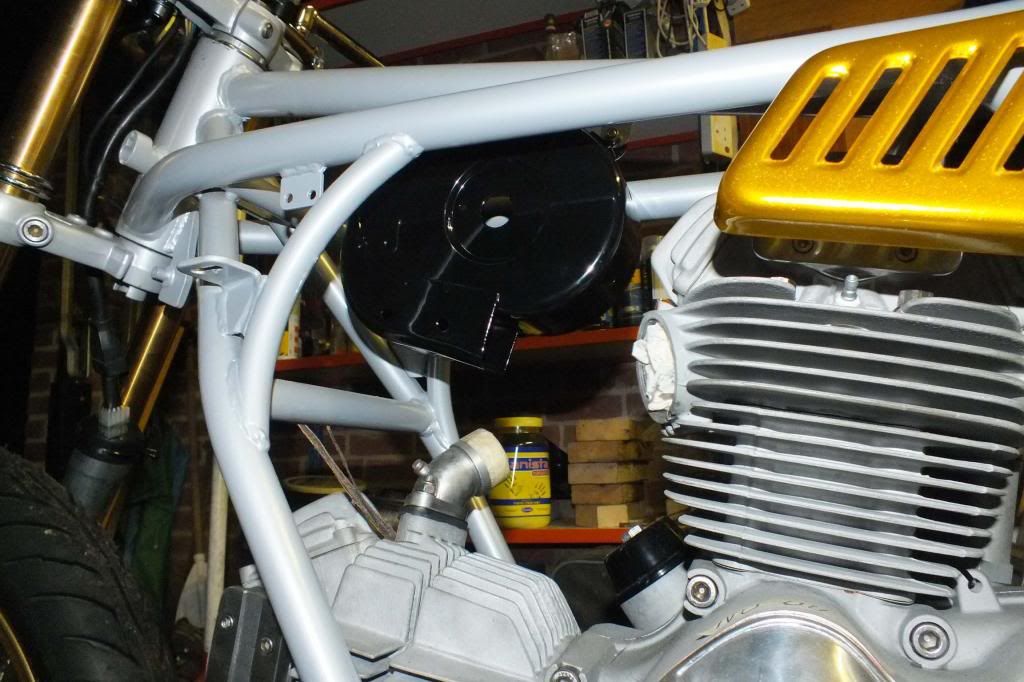
Mounted the front airbox so I can see how much room I have to mount 'stuff' under the tank; I need to design a bracket to support the electronic ignition. Silent Hektic sent the unit complete with coils & nice brackets for the coils but you are on your own with the rather plain small rectangular housing for the electronic ignition.
DSCF1294.jpg


So here it is after a rather patchy go this weekend...
DSCF1204.jpg


My wife calls the bike my other Italian Mistress and bearing in mind it's number plate is Dyk I think I'd better name it (FX: Ooops!) her quick before someone else does, so Mivvi she is. That's Mivvi Twin pinched from my own pun in another thread.
DSCF1203.jpg


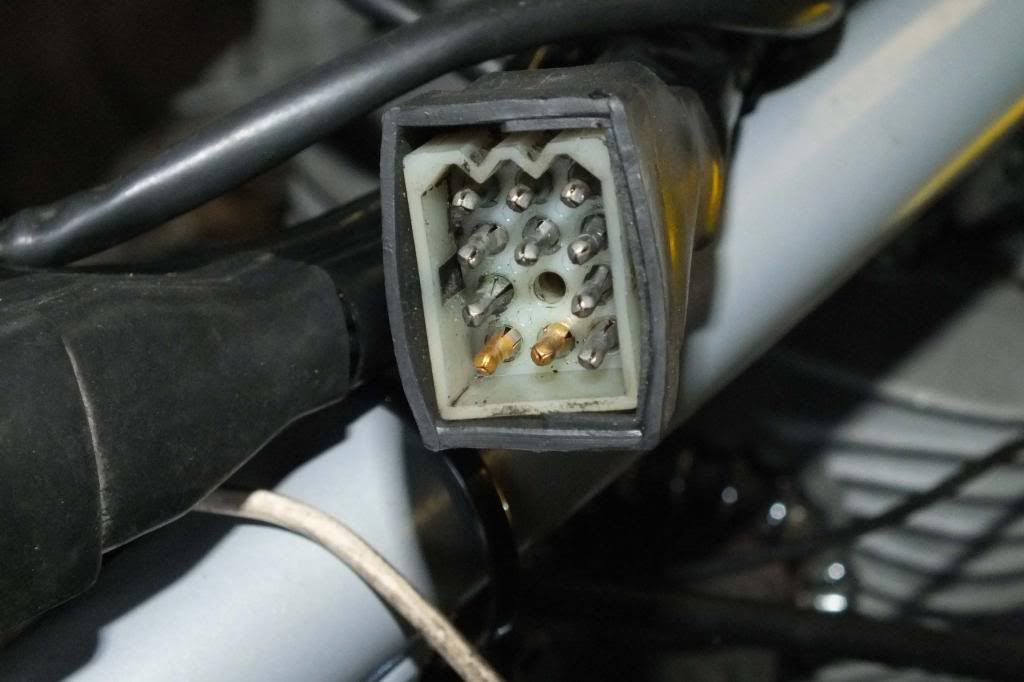
Here are a couple of pickies of what I found as part of my loom, intended primarily for Derek as in Derek the moderator - I know he will appreciate these ;)
DSCF1319.jpg


DSCF1325.jpg


I'd like to get the discs & short mudguard off to Vulcan Sove Enamelling as soon as I can. I am hopeful that with the remaining powder coating and a bit of anodising done, I stand a chance of finishing before the end of May which would put the build time at around a year.
DSCF1316.jpg

The V5 shows acquisition on 28th May 2013.
 
Last edited:
That colour is just wonderful. I recall many years ago my local model shop (because every locale had one in those days) stocking a range of metalflake paints from America which included a kind of 'limefire yellow' that altered the way I looked at light and colour in probably a bad way! I still find the zinc chromate colour that was used inside warbird aeroplane structures strangely appealing!
 
Regarding the seat pads, mine came with 2 of the round bungs at the rear and 3 rectangular pads - all correct. What I don't have is the 59.050 pad which I guess must be quite different to the others. Doesn't seem a big issue but I'm interested if you find a source for these.

DSC_0459.JPG


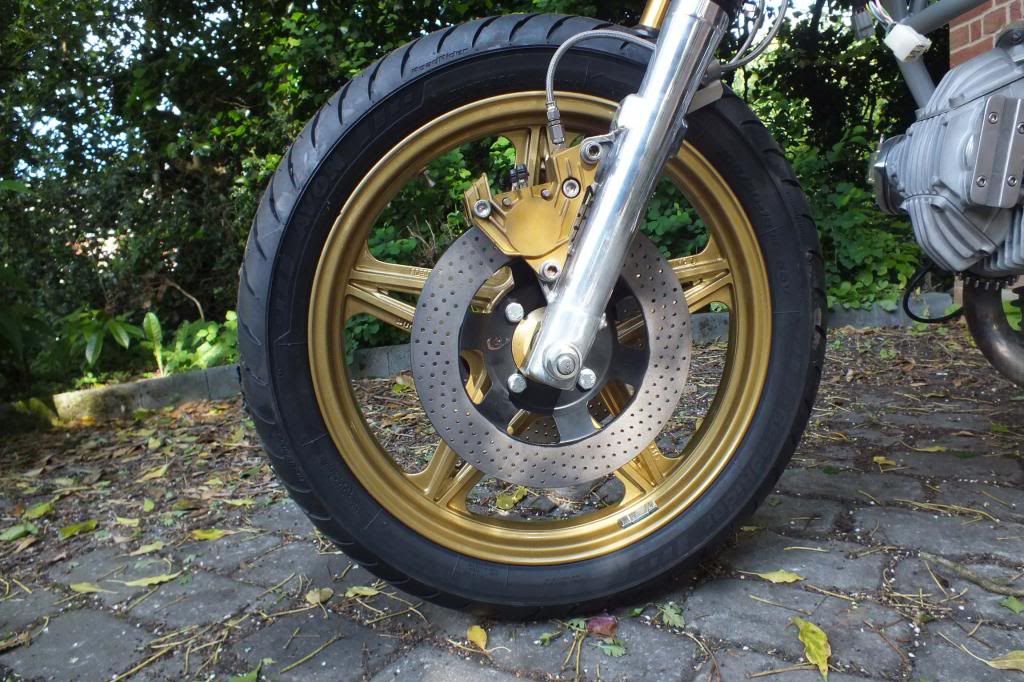
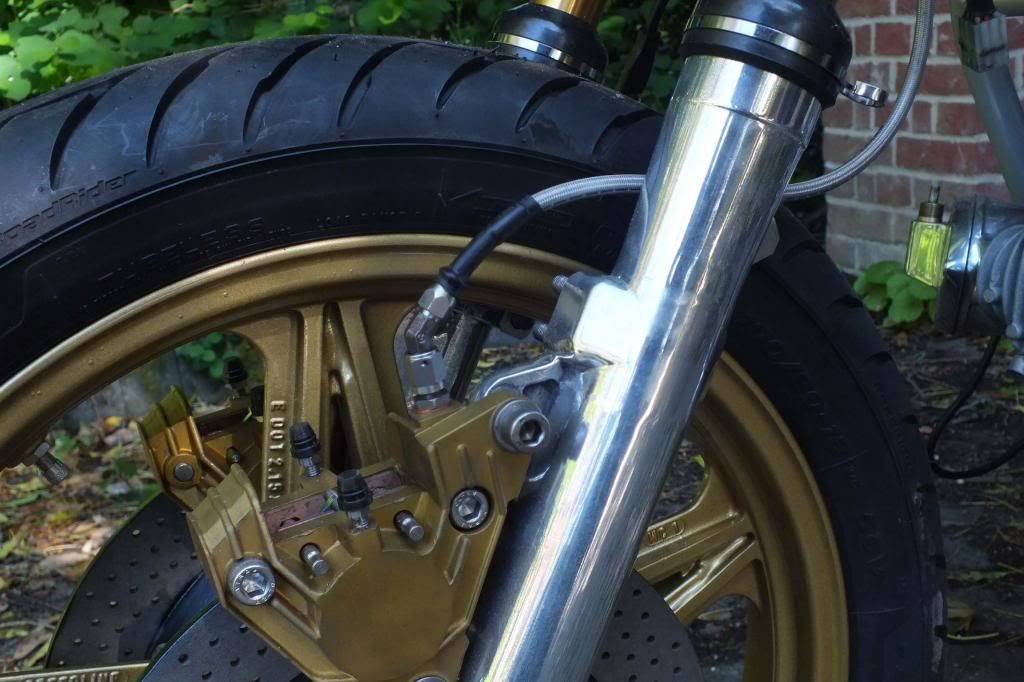
For the front discs I'm interested to see what finish you will be getting - I'm guessing something more exotic than mine. I just had the discs blasted clean and sprayed the carriers with matt engine paint. Note the excellent quality calipers...

DSC_0458.JPG
 
I used to build models many years ago. One of my neighbours was a military vehicle enthusiast so we would travel around scrap yards drawing what w. we once found a pile of seaas left of old stuff to make into models. we once found a pile of Sea Venom aeroplane cockpits on top of a container that had an Allard in it. Aaah, those were the days... ee it were all fields round 'ere when I were a lad
 

The Steine-Dinse Duc Silentblock Product no.: 70010081A looks like it might be exactly the right part!

I have all three of the flat ones and Andrew has the ones for the rear but I reckon Derek might want one of these too - as long as I have done the Guinea Pig bit first ;)

Thank you!
 
Once again Bob you come up with the goods. That's the one all right. Only problem is that I think Stein Dinse have a minimum order level of something like €25 before they'll ship. I'll look through their catalogue to see if there's something else I need.
 
Wheels (properly) on...

I have been waiting for a number of the usual reasons; Money in a nutshell and engineering lead times. Bearing in mind I was asked to 'cease & desist' for a while by my dear wife for totally correct & valid reasons, I haven't scheduled any new work apart from buying difficult to find but inexpensive pink/black wires and anodising the rear wheel support blocks.

I was intending to leave them blue and do them later but my wonderful (but irritating) neighbour Jan-Willem pointed out the blue anodised rear wheel support blocks as being 'inconsistent' with the look of the bike.

The more I looked, the more the blocks seemed like a large spot with a white head & hair growing out the end on the tip of my nose, pulsing away.

So you see I just had to have them anodised gold. The work was done by Corodine (Electroplating) Ltd who were lovely to deal with and I am very pleased with the result. It might keep Jan-Willem quiet too, but I doubt it.

With the blocks done, I could assemble the rear end and it shouldn't need tearing down again...
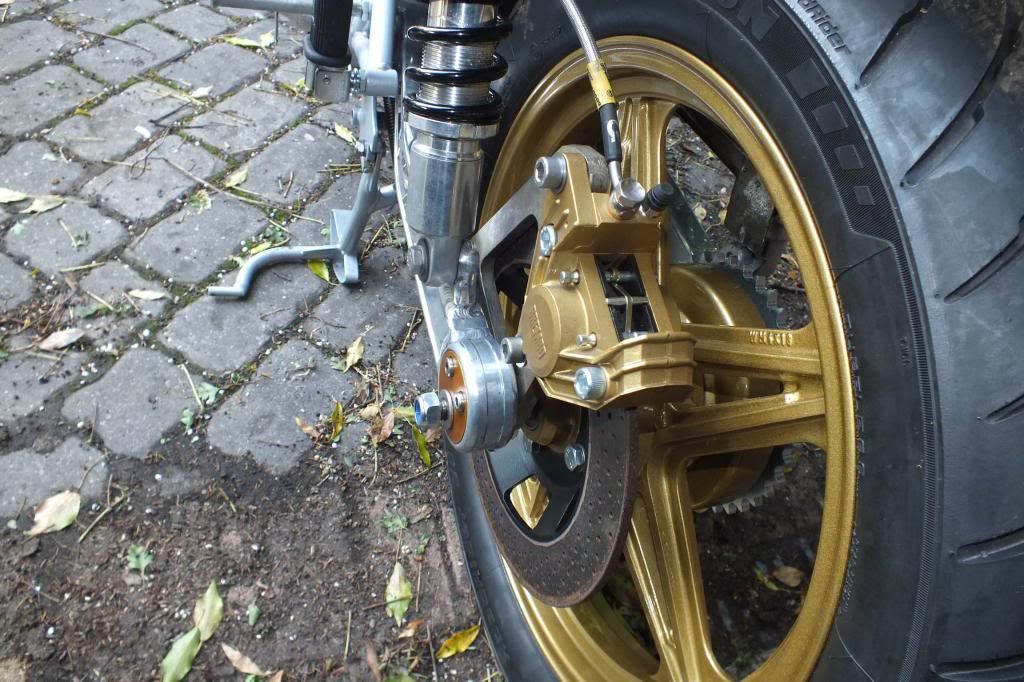
DSCF1339.jpg


DSCF1338.jpg

The reason the caliper support bracket is a funny colour is it is magnesium, like the wheels.
DSCF1351.jpg


The front part of the rear mudguard fits really well, not too much of a surprise as it is from an 860GT, however my mullering with a hammer and cutting/hacking all looks like it was like it from new and my reprofiling of the back to dovetail with the curvy Darmah rear mudguard section is perfect; Sorry for the lack of modesty.
DSCF1349.jpg


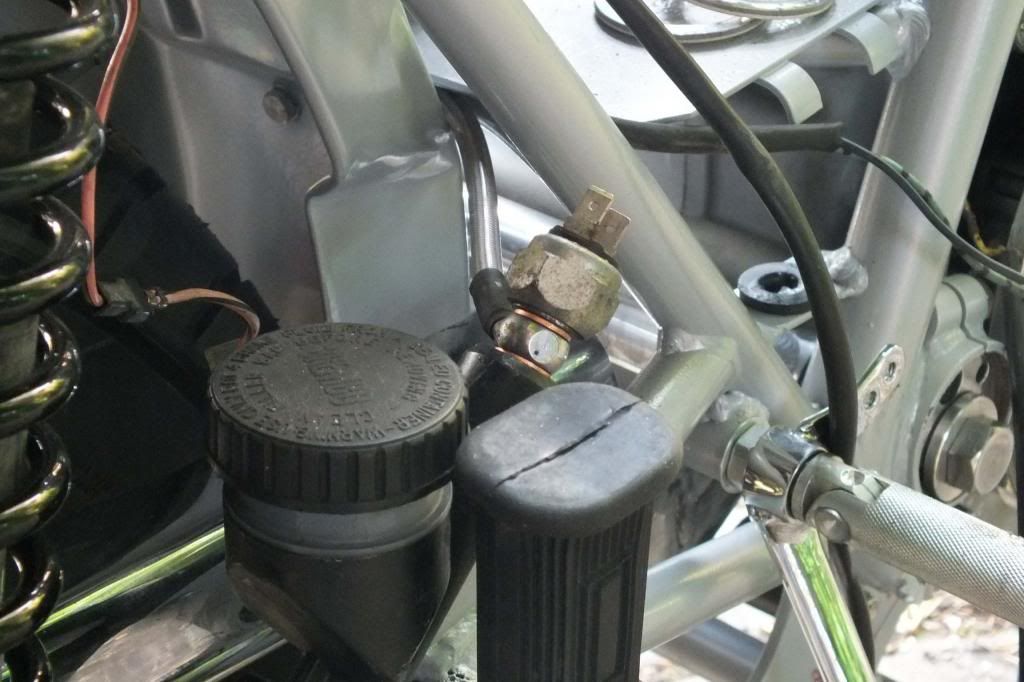
The rear brake conversion/brake line/GTS rear mudguard section all works really neatly too...
DSCF1340-1.jpg


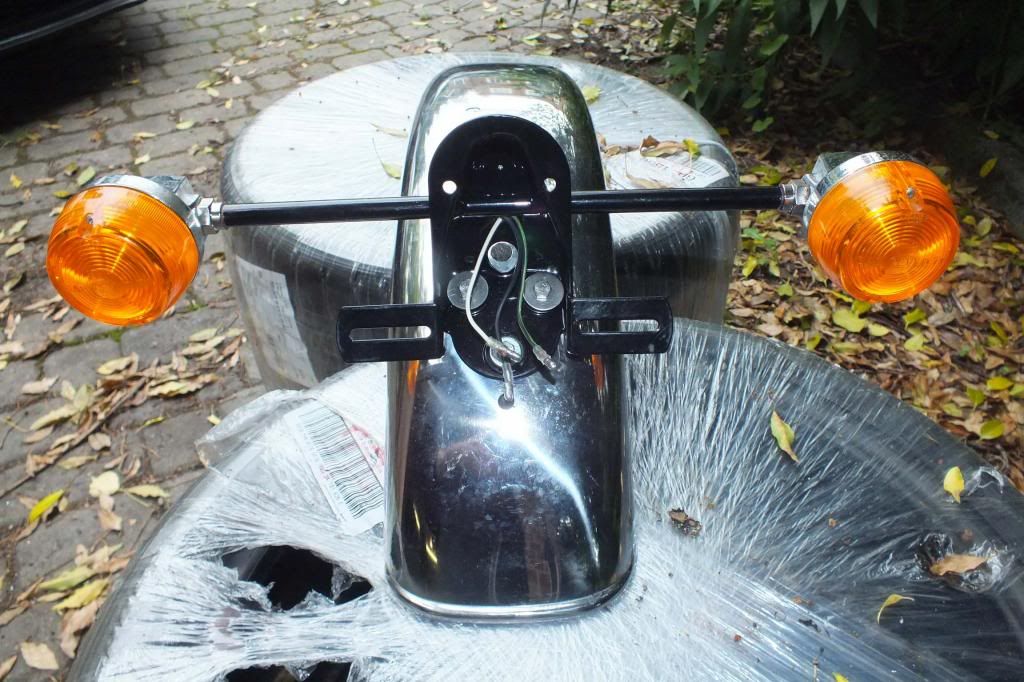
The Darmah rear light mount has been repositioned and the odd hole left from the original mountings have been sealed with blind grommets although I might make them a bit more trendy with stainless Allen button screws.
DSCF1346.jpg


I drilled a new hole for the tailight/indicator cables...
DSCF1348.jpg


The rear brake can now be bled and the rear brake linkage attached. All good.

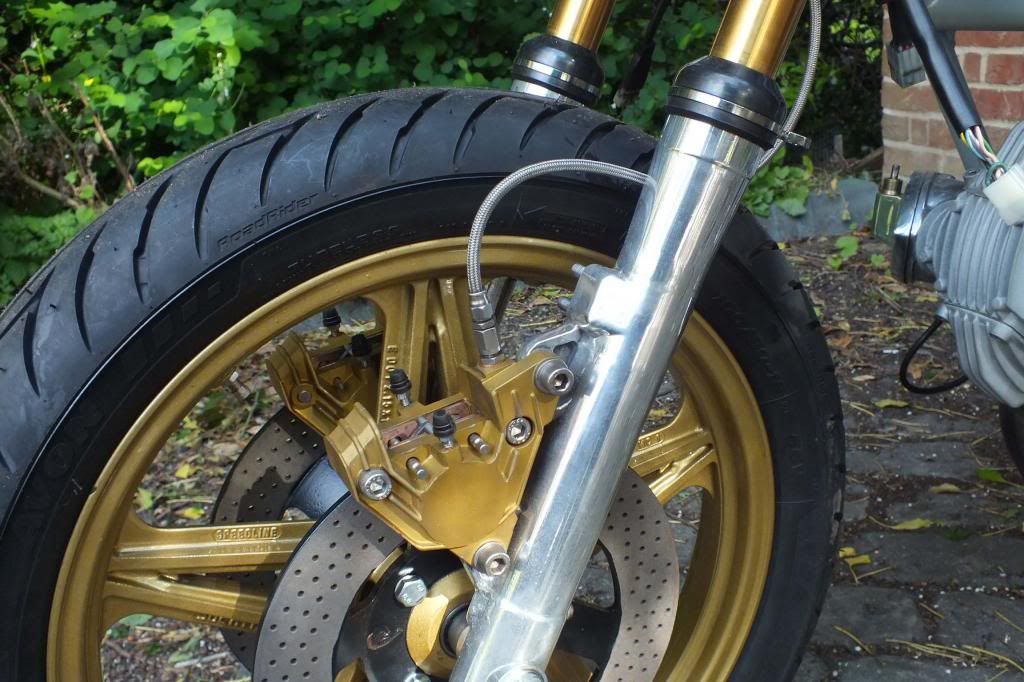
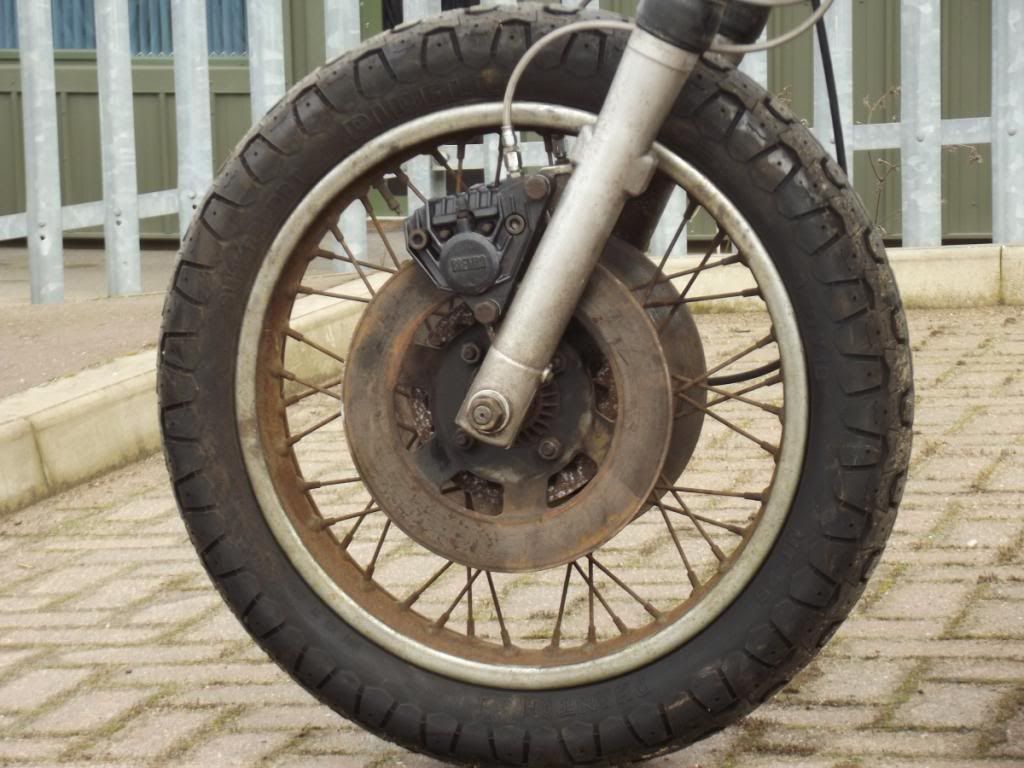
Moving to the front, I picked up the powder coated NOS front discs I bought from Paddy along with the silver powder coated front section of the rear mudguard. Looking good! I have re used the existing stainless front brake lines - they are not how I would choose to arrange them and I might have to change them. I had better decide soon as they are ready to be bled; The master cylinder has been refurbished with a new piston & seal set & new rubber diaphragm.
DSCF1341.jpg


DSCF1342.jpg


The GTS has surprsingly few mounting points for extra stuff at the front under the tank. I have to make some brackets up and a support plate for the electronic ignition control unit & HID relay, so I will be making up a new front headlight sub loom to keep it all tidy; I have re stocked up with sleeving & Heatshrink and bought a proper crimping tool. I have also found a really neat way to mount the twin FIAMM's out of sight; I am almost ready to go through the wiring & finish it off.
DSCF1343.jpg


Time to order my number plate and Shorai battery, 1/20th of the weight of the original.

Nearly time to fill it with oil.

That's it for now, it seems to be taking forever.
 
Last edited:
"The more I looked, the more the blocks seemed like a large spot with a white head & hair growing out the end on the tip of my nose, pulsing away." :lol2::lol2:

Yep, recognise that feeling.....
 
Hi Paul,
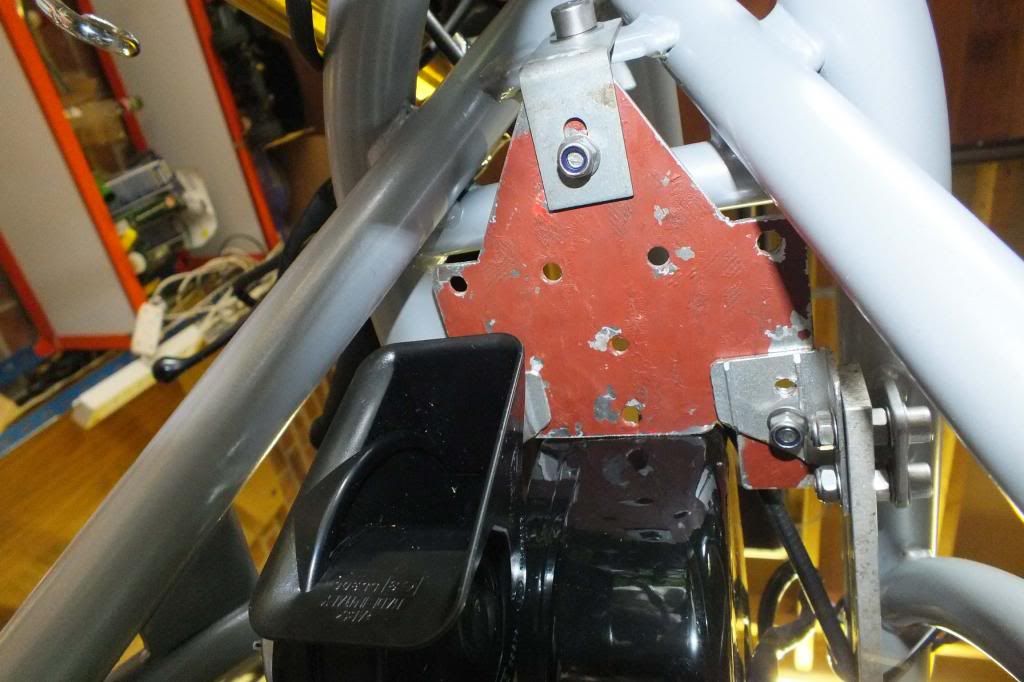
I mounted my ignition box on a plate (made by my neighbour Pat) mounted to the horn point on the frame, and it also serves to hang the flasher unit on. As it's made of alloy Paddy predicted it would fracture, but my engine is entirely without vibration so I think it's good for many years to come...
I do have the MK1 version which comes without the flasher unit bracket. You're welcome to it if it's useful.
Sorry I forgot to thank you for ordering a seat bung for me. Just let me know how much.

DSC_0207.JPG
 
Seat Bungs...

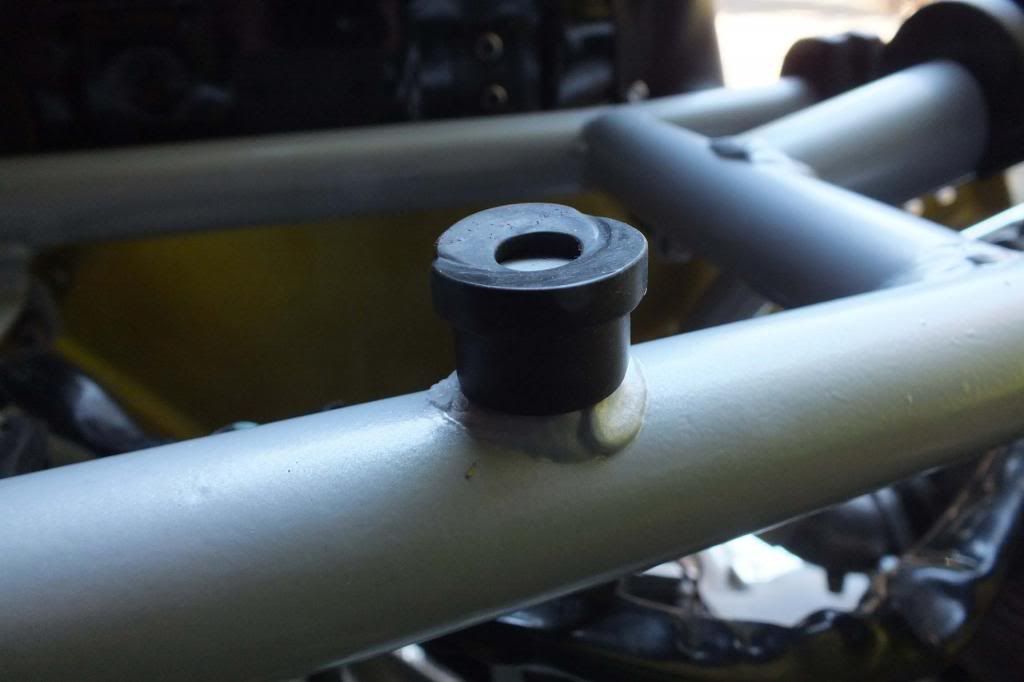
This is all about the front bung; I really know how to live, me and my bung fetish.

Andrew @ Mdina sent me this one, it is quite a tight fit sliding it onto the post (steady!) and I have been using it upside down (I think).
DSCF1359.jpg


and it is supposed to engage with a conical shaped hole in the seat...
DSCF1362.jpg


Here is the Steine Dense bung on the post (it is a perfect fit)...
DSCF1360.jpg


And here it is, caught falling out of the recess in the seat - try and duplicate this photo if you can!
DSCF1363.jpg

And fully inserted...
DSCF1366.jpg


The marks on the top of the MDina bung show me that the seat isn't correctly mating with the bung & post, I have loosened the seat mounting screws, adjusted & re-tightened so we will see in a few days where the mark is...
DSCF1358.jpg


It looks to me that the Steine Dense part is the correct kiddy.

So thank you cp14bob.
 
Brake lines

I have used an old set of Goodridge hoses I made up a few years ago which considerably improve the front brake line routing, Goodridge + Paul + Heatshrink...
DSCF1367.jpg

or the original...
24413GTS7.jpg

and the more modern incarnation of the same...
DSCF1341.jpg

I know which I prefer.
 
More wiring... and a love letter to Paddy

I am still plodding along, slowly putting the wiring together. I have been worrying about small things like earthing the indicators. I was considering drilling holes etc., but have added a ring terminal to the rather cramped inside of one of the indicators and run an extra wire up the tube; Much better! no holes needed. I have repaired the rear loom and it all just plugs together neatly.
DSCF1416.jpg


I have been plugging in parts of the loom to check things out, the first time I plugged in the main connector to the dashboard, the pins attached to the grey & red wires (that's power) collapsed, now repaired, only I know I have blinged up what's inside the connectors...
DSCF1396.jpg


The 900GTS wiring loom is different to the earlier GTS's, much more like a Darmah loom connected to early switchgear - but not the same.

The bike has modern Silent Hektic igntion with different coils; Both the ECU & coils require different mountings and in addition, I have fitted HID lights.

I needed to find somewhere to put this stuff, I decided to use the space in front of the airbox & behind the headstock. Life would be so much easier if I binned the air filters. FX: Sigh...

The HID kit consists of several components, all of which have to find a home:-
  • bulb
  • ballast
  • relay
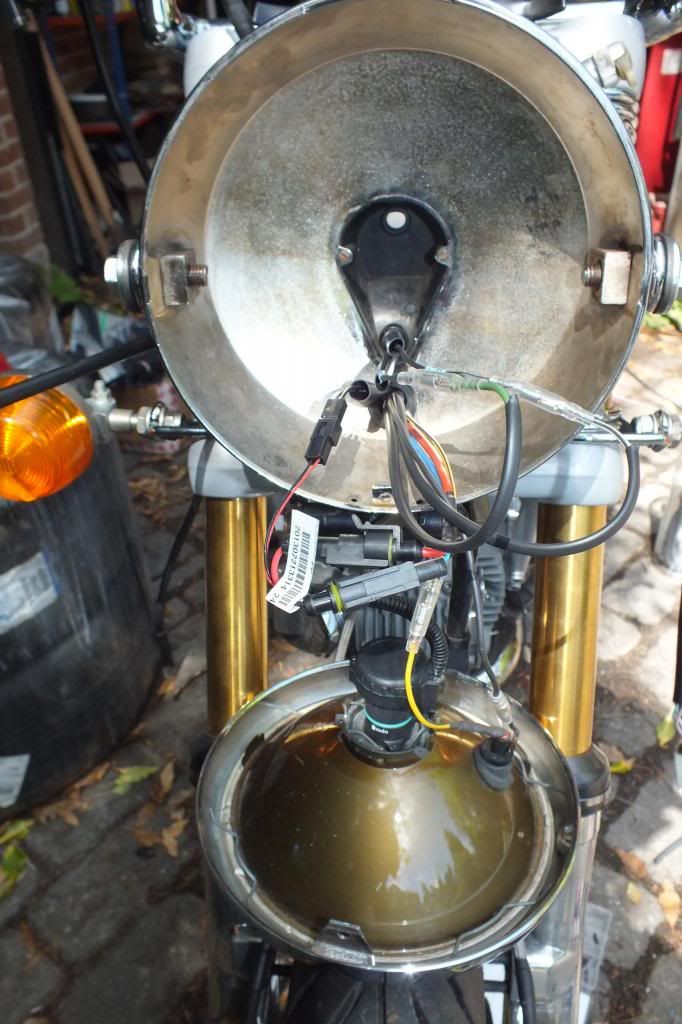
The bulb holder was a sod, had to modify the bulb holder slightly to make the wire come out the side rather than the back; There isn't space for a fag paper between the
holder & the plastic part at the back of the headlamp.
DSCF1404.jpg


The relay is mounted on the back of the steering stop; It can't move as the stop is wider lower down. The old H4 headlamp connector plugs straight in at the top...
DSCF1398.jpg

& the HID stuff exits at the bottom....
DSCF1400.jpg


The ballast requires a mounting plate...
DSCF1376.jpg

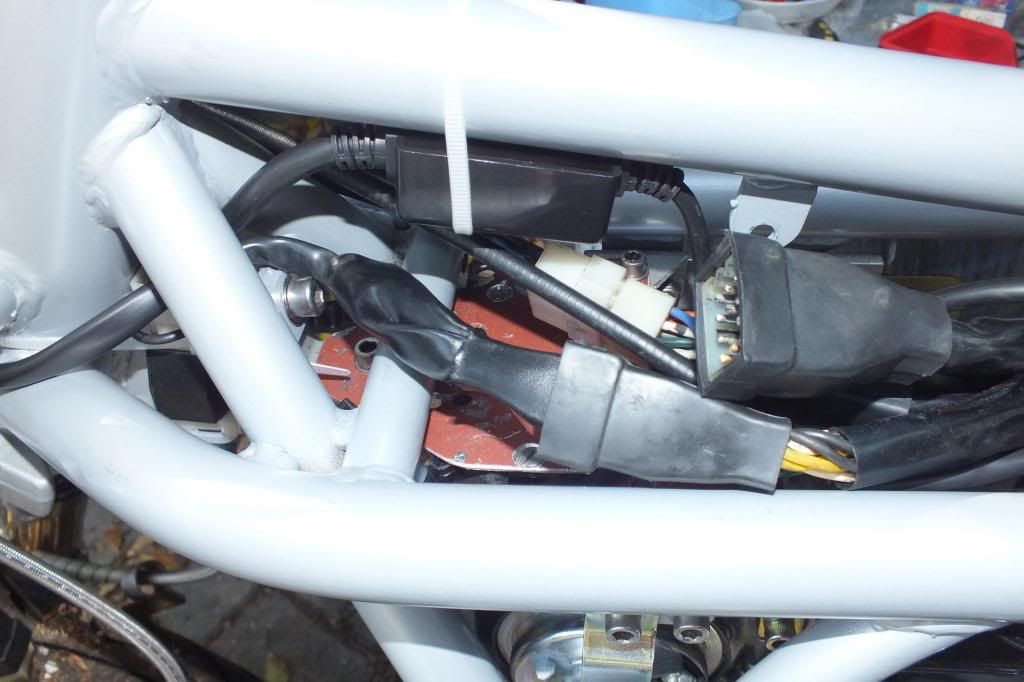
I have mounted the ballast underneath (which you can't see in this picky) and the ECU on top...
DSCF1397.jpg

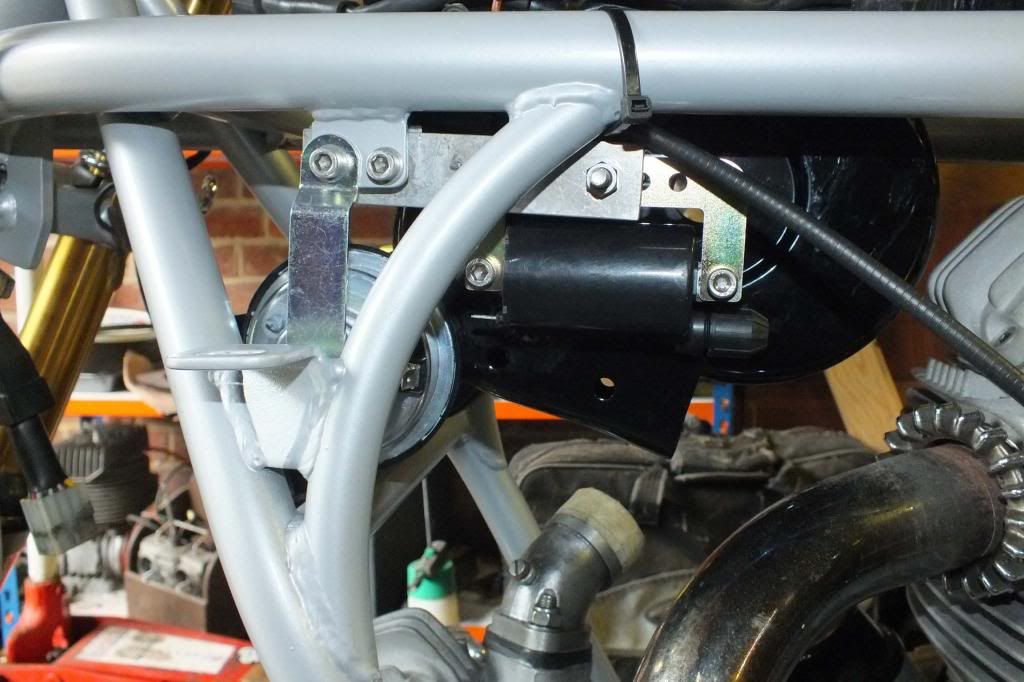
The coils & horns need to be mounted and that bit has been easy, all neatly tucked up out of sight...
DSCF1382.jpg


Finally, look what the postman brought...
DSCF1418.jpg

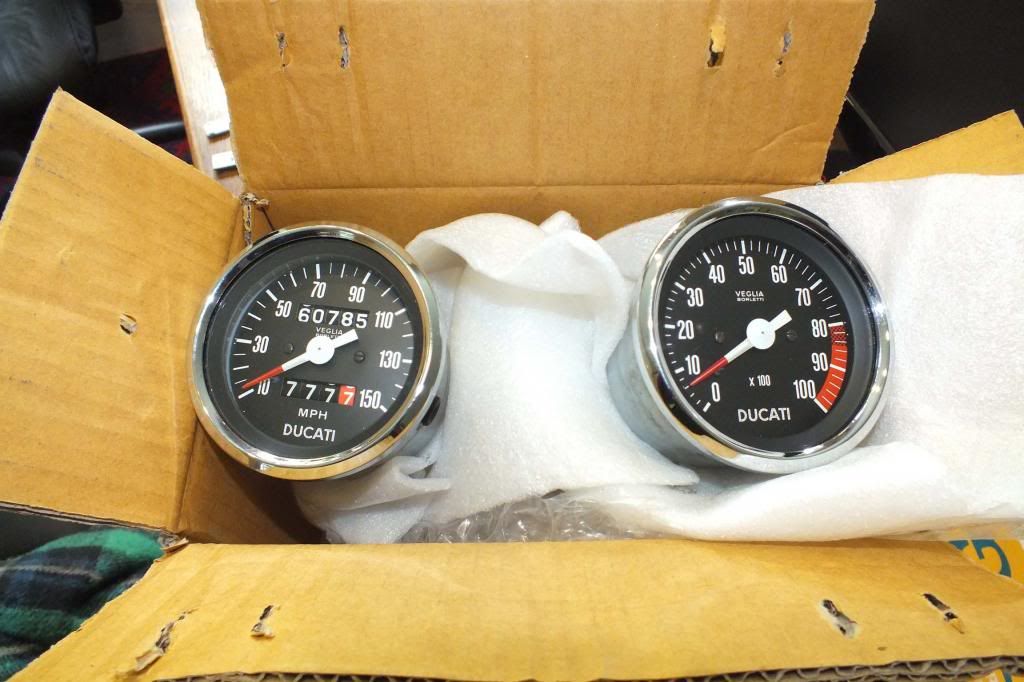
Paddy did this in a week, I am absolutely thrilled. My bike will wear its 60,000+ miles with pride :)
 
Looks like you're really utilising all the available space behind the headstock. It's amazing what can be fitted in there. I hear all the talk about extra electrical relays and gizmos...and I wonder how long my home made system will last! Still working OK as we speak though!
 
Looks like you're really utilising all the available space behind the headstock. It's amazing what can be fitted in there.
I think it will be tight; I have measured the tank and I think the space I have just filled up is where the connectors sit.
I hear all the talk about extra electrical relays and gizmos...and I wonder how long my home made system will last! Still working OK as we speak though!
Well good! That's what we want to hear ;)
 
Progress...

It may not look like much, but the new sub loom embracing the changes for the HID is now in place. I have left the old one alone for posterity; It needs repairing anyway.
DSCF1483.jpg


It all fits! The HID bulb holder is enormous and is a really tight fit; The wires are a bit fragile so I hope the installation has survived my pushing & shoving.

It is starting to make sense & connect up under the headstock...
DSCF1484.jpg


in addition,
  • I have dropped off my Verlicchi 2 into 1 for blasting & inhibitor application with Cleaning Services who really know what they are doing
  • My gear lever is in for repair with Russell
  • am ordering my number plate (pivotal moment!)
  • expecting ignition connectors to arrive today so will be able to complete new Silent Hektik ignition friendly part of loom.
With those bits done I can consider fitting the carbs & battery, filling it with oil and starting it. Looking at a couple of weeks hence for the MOT.

I'll be bleeding the brakes this weekend; both front & rear master cylinders have been refurbished.

Am playing around with different colour ultra high brightness LED's as backlights for the instruments, easy to do; Just smash the glass, pull out the bits, solder in resistor & LED and squirt in a bit of epoxy to hold it all steady & job done.

I have white, yellow, red, green & blue. What to do?

Getting close...
 
Back
Top Bottom