900GTS build...

Brakes bled, battery charged...

Made some more progress, had a mad brake bleeding session tonight racing against the darkness closing in. All bled now.

Feeling a little frayed around the edges I have pressed an old (but new) Peugeot Ludix scoot battery into service, check out the difference! I'd love a Shorai but my overdraught seems to have caught up with me. So it is now filled with acid & charged up.
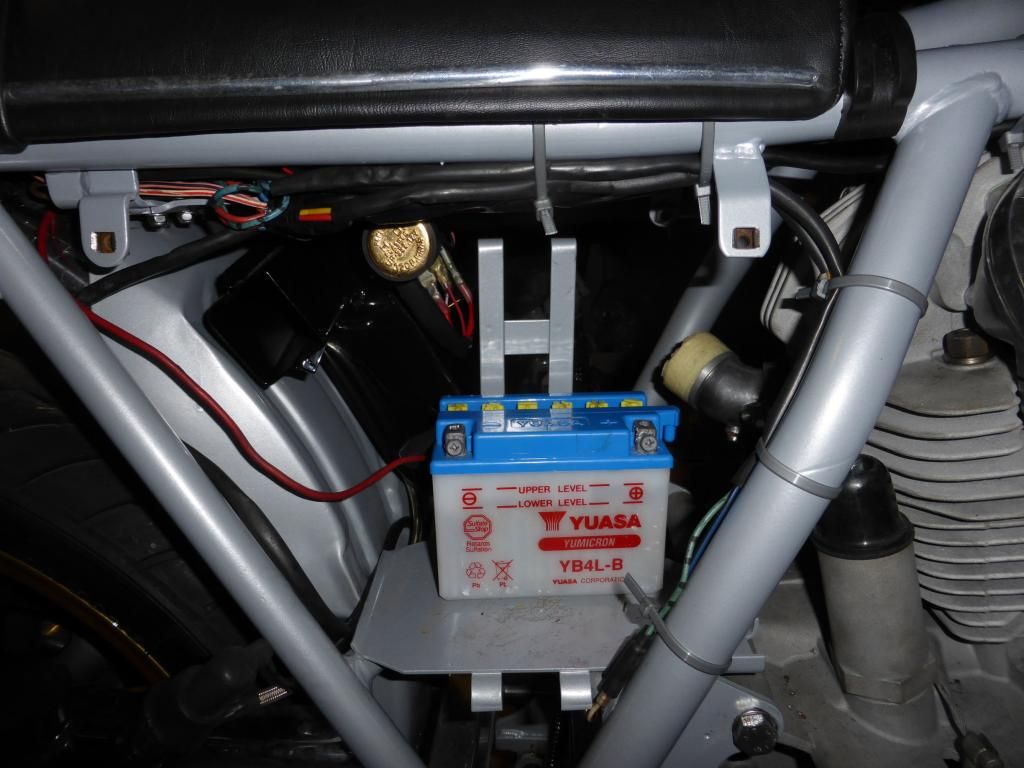
P1000630.jpg


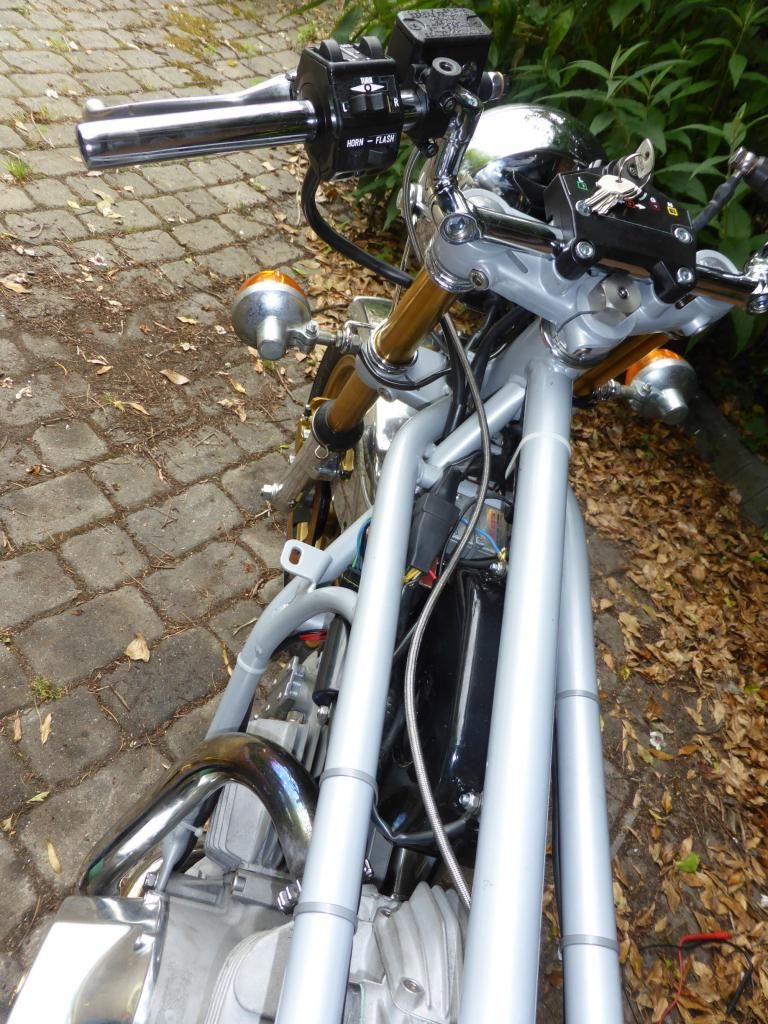
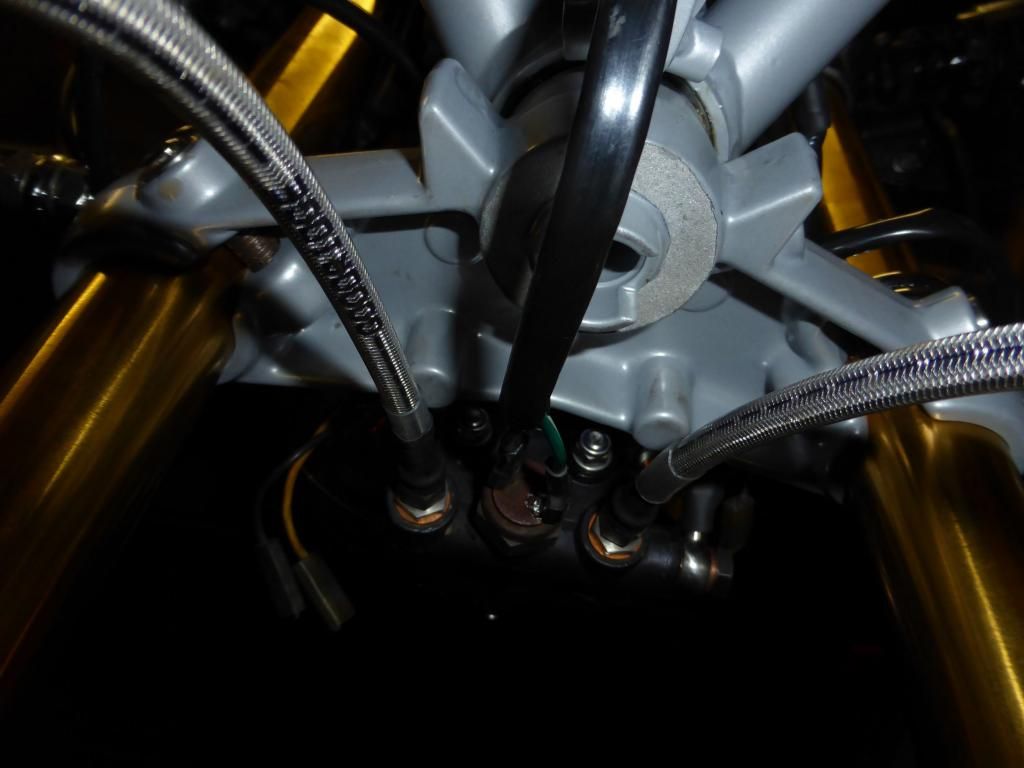
I have tried to make the bits you can't see worthy too...
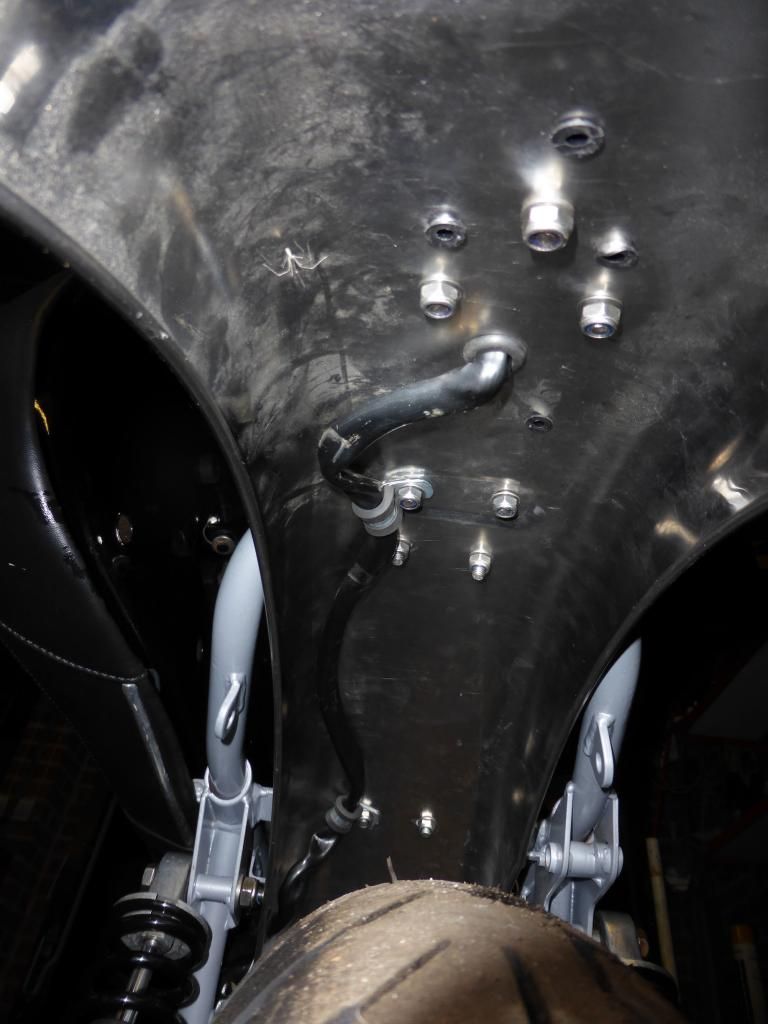
P1000624.jpg


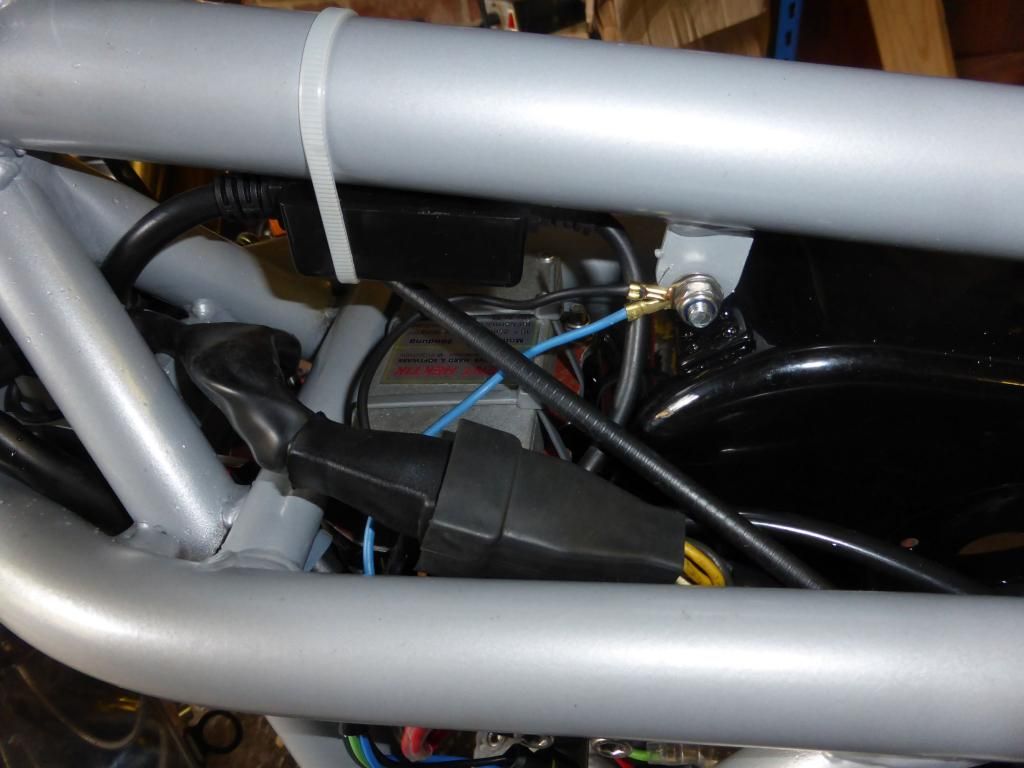
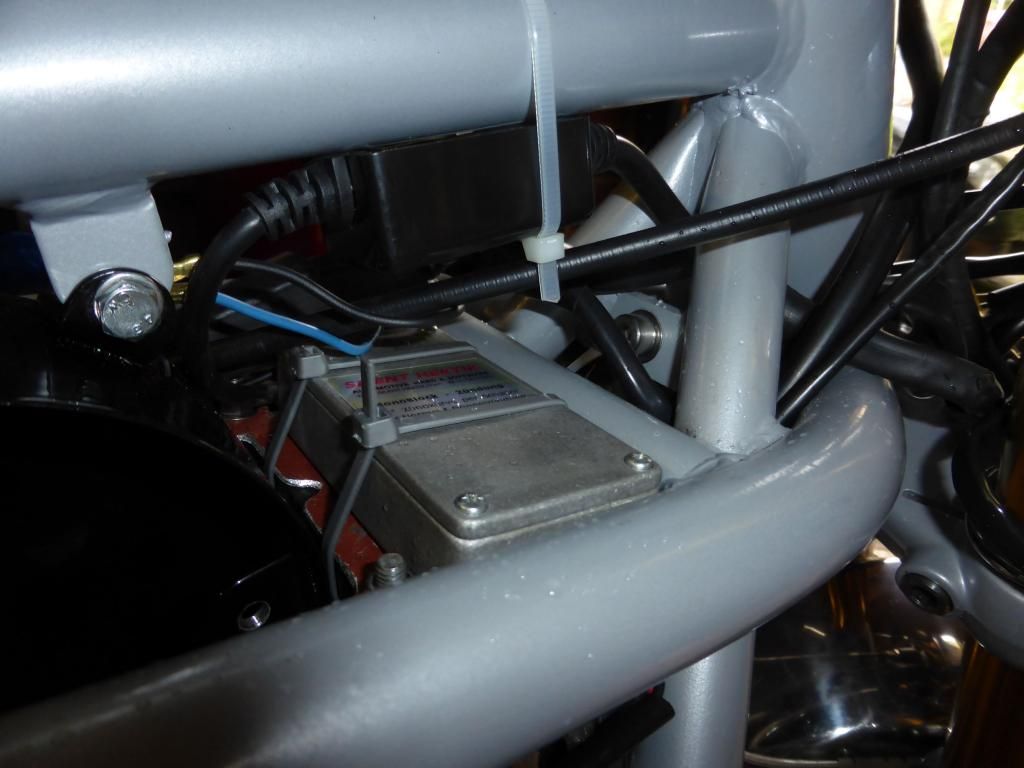
Things did get a bit cramped with the new electronic ignition sub loom & HID sub loom, but it all seems to fit nicely enough...
P1000623.jpg


P1000588.jpg


P1000591.jpg


Horn wiring extended & tidied up...
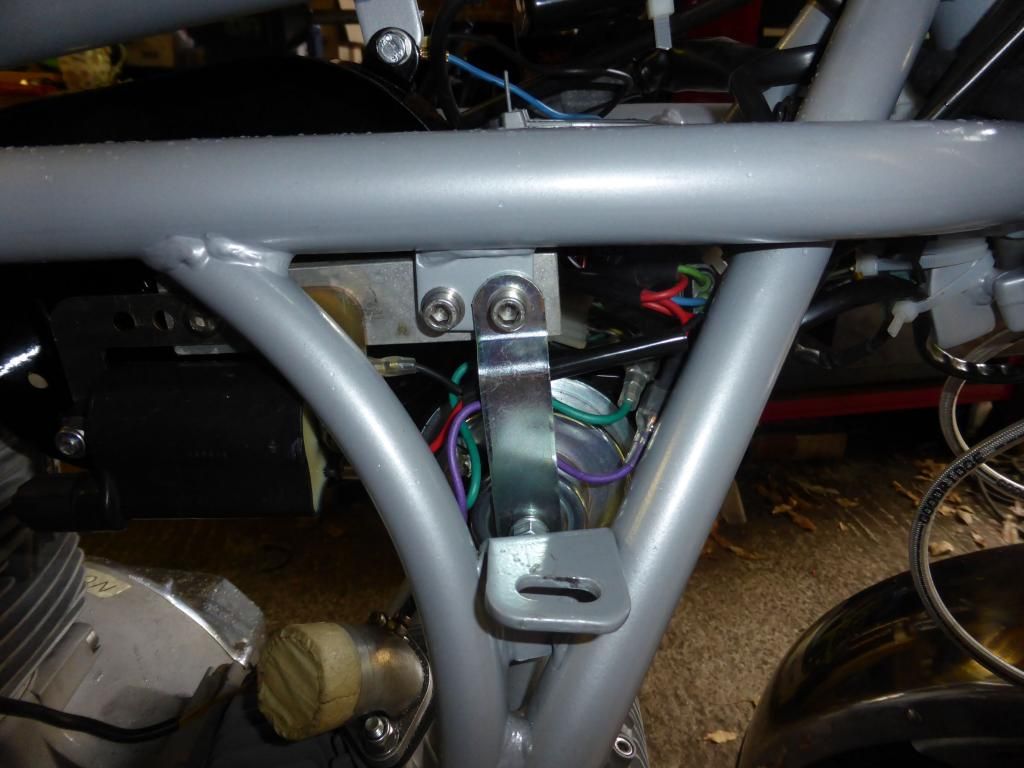
P1000589.jpg


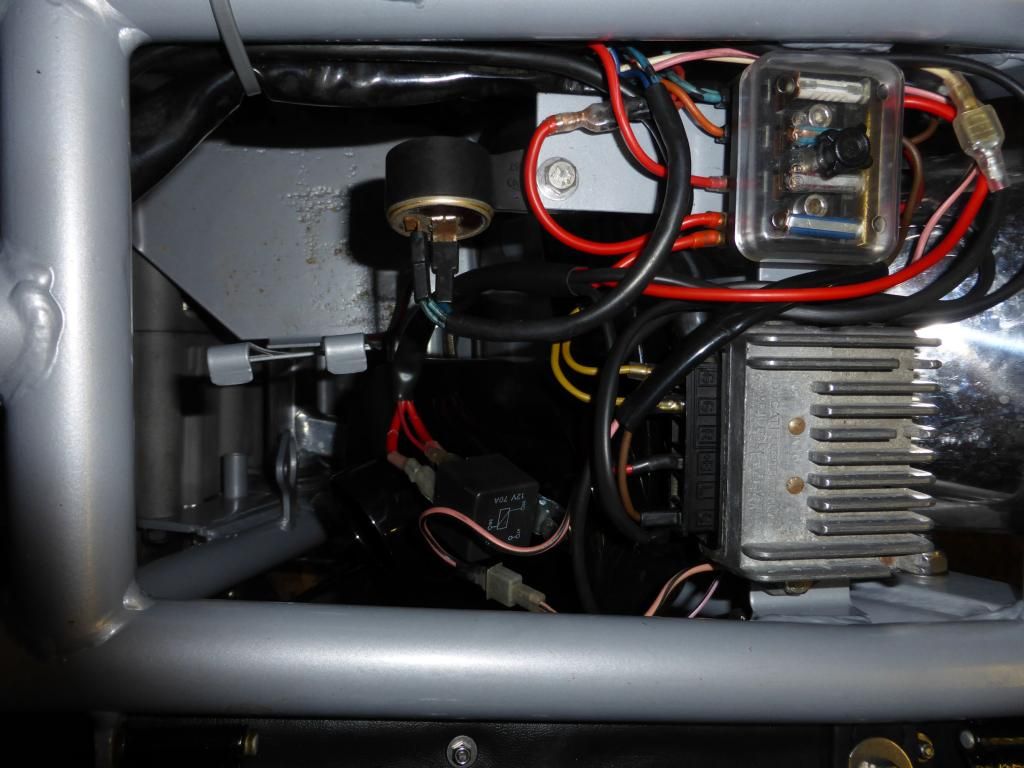
And the fusebox & master relay...
P1000619.jpg


At least I got to use my nice crimping tool a lot.

The rear brake rearset is now connected, sorted & bled...
P1000627.jpg


And the swinging arm & rear wheel are properly retained & eccentrics nipped up. No play either! rear caliper bled & tightened up...
P1000629.jpg


All of which leads me on to my next project...
Hydraulic clutch for squarecase RH selector engine.
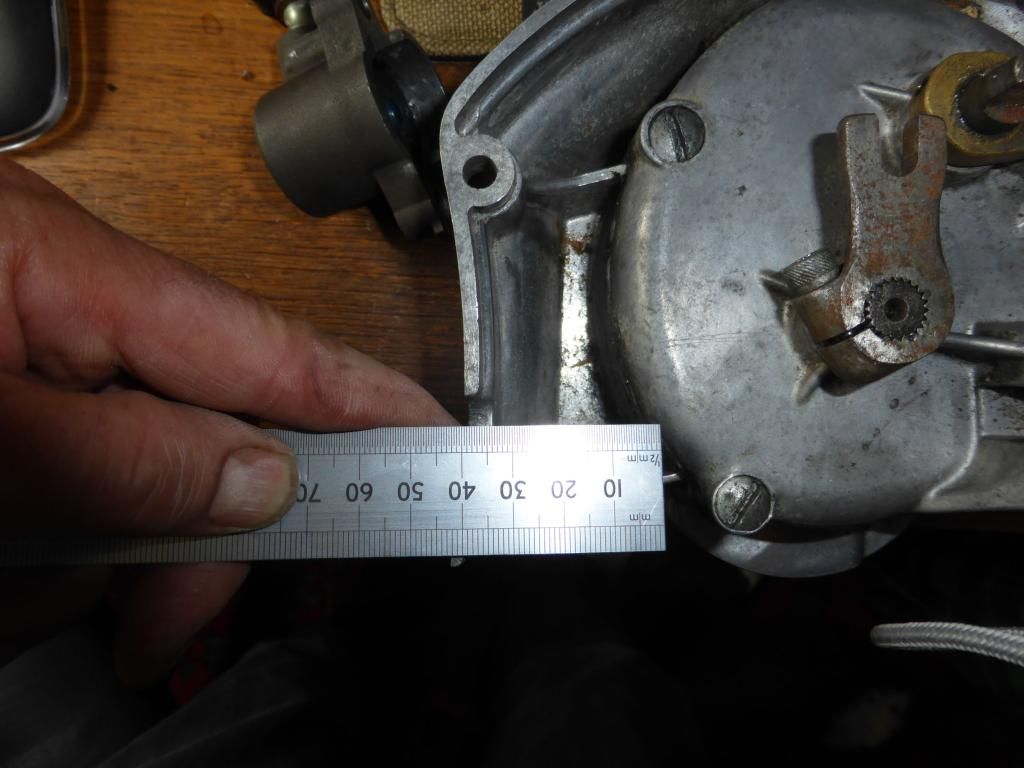
I wanted to make use of what I had and also use Ducati parts where possible. Bevel heaven's kit whilst excellent does not even try to cope with a LH gearchange RH selector box engine, the internal fork sits right where the master cylinder should be. To illustrate the problem, here is the selector box from my GTS...
P1000633.jpg


and...
P1000640.jpg

You might think that would put me off, but I have a spare selector box in rather nice condition (it's the one in the pickies) and it is going to meet my good mates Mr. Lathe and Mr. Milling Machine.

I reckon my monster master cylinder will do the trick...
ItemNumber-2813697681052.jpg


and...
ItemNumber-2813697681052-2.jpg


with my slave cylinder which is going to have a few amputations...
SlaveCylinder-1.jpg


The plan is to put the M/C (Master Cylinder) higher up the arm...
P1000642.jpg


and...
P1000645.jpg


With the bleed nipple & pipe attachment poking out the top of the casting.

The slave cylinder will have to be cut into the casting (and welded in place) and it will be visible externally as a semi circular proud 'bump' on the top of the selector box. The slave cylinder will be there forever hence reconditioning will be re-sleeving - am I bothered? Nope.

So there you have it, another grand plan.

Why am I doing this? (I have been studying Milliband speech patterns & irritating tricks) because I don't like the tight bend where the clutch cable comes out of the clutch lever and has to bend very sharply to miss the rev counter. Really naff design.
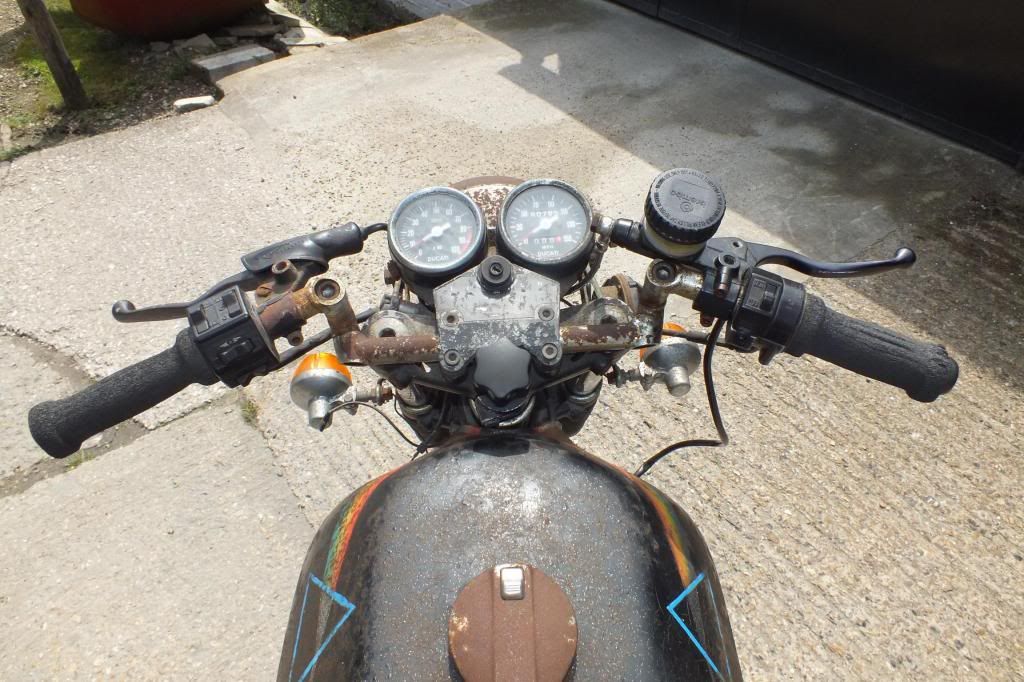
DSCF7346.jpg
 
Have you worked out your leverage's ? ie: throw ? the slave pushing on the arm half way up works to your advantage as long as the slave has enough movement. super neat wiring by the way, very nice :)
 
Trig.jpg

Given:-
Arm length standard = 142mm
Arm Length VP = 100mm
Arm Length at centre of sprocket = 30mm
Max Movement standard arm = 25mm

For standard arm,
tan θ = opposite / adjacent
tan θ = 25 / 142
θ = arctan 0.176
θ = 10 degrees (close enough).

i.e., arm moves through 10 degrees for maximum travel.

For movement at centre of sprocket,
tan θ = opposite / 30
opposite = 30 tan θ
opposite = 5.28mm

For movement at VP arm length,
tan θ = opposite / 100
opposite = 100 tan θ
opposite = 17.6mm

I don't yet know what the maximum travel of the slave cylinder will be as it hasn't yet arrived. I have deliberately not gone for a larger piston after market slave cylinder as I reasoned the extra leverage provided by the arm will more than compensate.

One kind guy who has bought & installed one of the Magura Clutch Conversions let me know it only just pulled enough.

We will see.
 
Have you taken the clutch inspection cover off and measured the throw on the clutch plates ? I suspect its only about 6mm ? if that.
 
Yes, you are about bang on. By calculation above it is 5.28mm so 6mm (max) sounds entirely feasible.

I don't yet know the external dimensions of the slave cylinder including its throw so it might still be a red herring - it simply might be too large / deep to fit. Dismantling the selector box demonstrated the quadrant is 'really quite close' to the casing at the point adjacent to where the slave cylinder will fit, so whilst I don't mind machining the casing such that the the slave cylinder breaks through into the selector box, it can only be flush with the casing on the inside.

Anyway, it's a bit of fun ;).
 
Yes if you are selective with your slave cylinder you may be all right. Pop the piston out and see how much you can shave off the outside casting wiithout breaking through. You may need a new dog leg shaped arm as well but thats not a big problem, Interesting stuff :)
 
(Shagged) Slave cylinder has arrived...

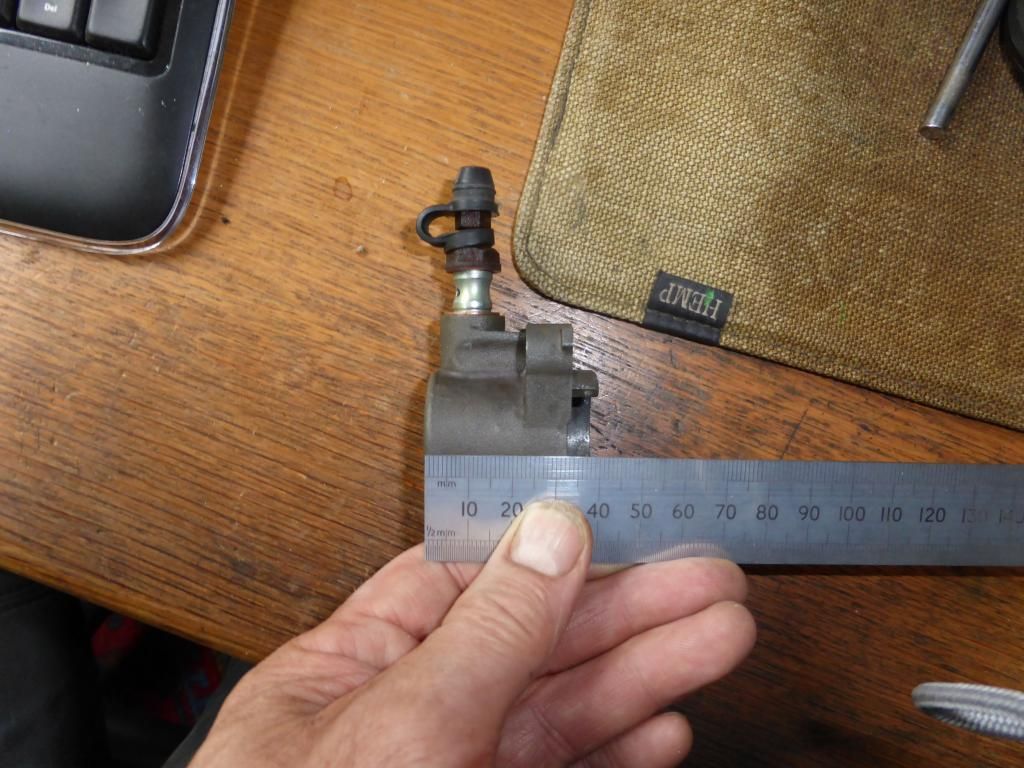
Here is the 750SS 2000 slave cylinder I grabbed off eBay, needs seals etc., but is a good fit! I can't tell how much travel the piston has because it is seized.

P1000655.jpg


P1000649.jpg


P1000647.jpg


P1000646.jpg


P1000650.jpg


A quick photoshop hack to mock it up - I am not proficient enough to give it a nice polished finish to match the casing. I have photoshopped the mounting lugs off too. For me, choppin' & filin' would be easier.
SelectorHydraulicClutch-Composite-2.jpg
 
Looks like pulling the clutch lever only moves the arm by < 10mm at the top of the crankcase anyway; I am quite relieved as it looks like the maximum movement of the piston is <= 14mm.

My estimate of the maximum movement of the arm was the maximum permitted by the slot - an unlikely scenario.
 
Funny side of hydraulics...

Well folks, with Paddy's Goodridge clutch master->slave line I was able to connect up the slave and see how it all works together.

The short answer is it all works perfectly, the slave seems fine, the master seems fine, it all bled up OK, misses the clocks & fit is superb...
P1000669.jpg

Slave cylinder has freed up...
P1000670.jpg


All good so far - what could go wrong?

I wanted to know how much movement the slave piston would make for a single pull on the clutch lever, so I got my trusty digital gauge out.

Any offers? 5mm? 7mm? 10mm?

I wish.

2mm for each full squeeze of the handlebar lever.

All I had to do was apply the theory and I wouldn't have had to guess.

Looks like I need a much smaller piston in my slave cylinder as I already have a 3 x mechanical advantage with the lever adjacent to the selector box.

Will do some sums....
 
If it helps i have the master cylinder for the slave cylinder i sent you ? I think its jap but dont know what its off. It was on a SSD i broke and worked well as a pair.
what size piston does your master have ? Seems to me you need to pump more fluid rather than reduce the slave size ?
 
If it helps i have the master cylinder for the slave cylinder i sent you ? I think its jap but dont know what its off. It was on a SSD i broke and worked well as a pair.
what size piston does your master have ? Seems to me you need to pump more fluid rather than reduce the slave size ?
Hi Paddy, both have merit and both will achieve the same end. I can see that the m/c diameter would have to be really quite large to give the ratio of areas that would give me 15mm movement at the selector box lever.

I will measure the movement of the m/c and will be able to deduce the diameter of the m/c as I know the diameter of the slave & its travel.

Another sneaky option is to us a m/c repair kit, modify the double ended piston to be single ended i.e., hack it in half and this gives me at least three choices of piston diameter; 12, 13 or 15mm - and the preloading spring. Follow this with a bit of work on some billet and I have an appropriate s/c. It will be much smaller and hence it may be unnecessary to alter the exterior of the casing apart from allowing access for the banjo - which will attach externally as per my mock up.

This will work as the existing clutch arm is being pushed from just inside the casing making use of the 3 x mechanical advantage offered by the lever.

Comments & criticism welcome! (I might regret that).
 
Last edited:
Another option would be to sleeve down the slave, not a difficult job if you know the right people. A stainless piston and sleeve would not taker long to make. that said your casting would them be big for the piston dia so finding a smaller slave would be better.
 
Thiis is all exquisitely complex and interesting. I just gave the old clutch arm a bit of a polish and slapped on a new cable. Mind you it's got the heaviest clutch of anything I've ever ridden, but I need the exersize. I'm looking forward to the big day when the old girl comes back to life. Is there a party planned?
 
Thiis is all exquisitely complex and interesting. I just gave the old clutch arm a bit of a polish and slapped on a new cable. Mind you it's got the heaviest clutch of anything I've ever ridden, but I need the exersize. I'm looking forward to the big day when the old girl comes back to life. Is there a party planned?
Nice idea! Might be a while looking at the way things are going :-(
 
Oh dear...sound like a down day.

Bottom line is you ride em in the summer and build em in the winter.......i think.


anyway i solved your problem :) have a front and rear brake on the bars like a push bike and convert the rear brake lever to a clutch lever like a car...sorted :)
 
Right, things are looking up!

I have just bought one of these and I'll let you know how I get on fitting it; Apparently it has a 25mm external diameter and I found just the right tube to test for clearance so fingers crossed. As long as the 25mm includes the boss for the banjo I should be allright. It has 13mm of travel which is just about enough, I might have to buy the corresponding master cylinder which looks well tasty, but I'd rather not shell out if I can avoid it.

Key differences to the Magura offering is that the clutch pull has an adjustable mid section which I will simply replace with a longer section to suit the Duke. It has a larger internal piston and is machined from billet
Frando11NBHSlaveCylinder.jpg


More information is available here on Frando's site.
 
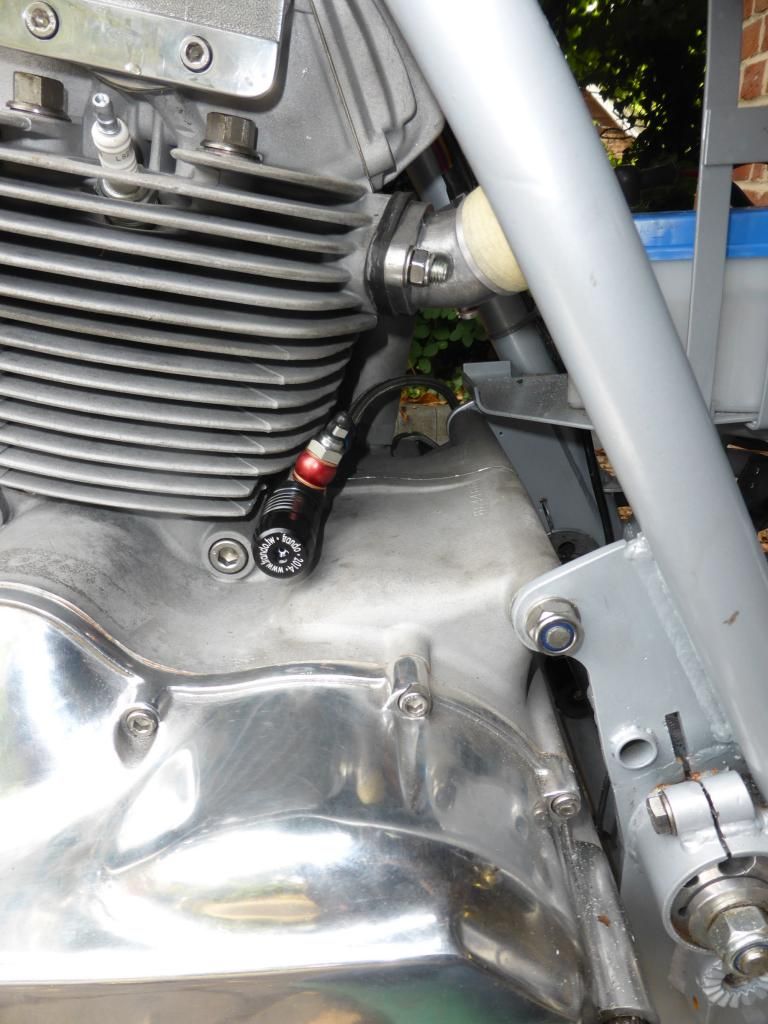
Woo hoo! Clutch bling...

Lookee here!

P1000681.jpg

Yes, it is a bit close to the rear cylinder and I bet it will get 'quite warm'.
P1000683.jpg

I did round of the edges of the slave unit and I did have to modify the two fins cast to clear the clutch cable; I had to remove about 1mm but it is difficult to spot unless you havge been told (Paddy) as they are already relieved in the original casting.
P1000682.jpg

Example routing looks OK - I'll either replace the pipework or cover in heatshrink and I am not suggesting the routing will stay as shown - it was just a quick mock up for fun.
P1000685.jpg


I turned on the ignition today and... everything worked except the rear brake light - front brake operates brake light perfectly.
HID lights: fantastic.
Horn: Jumped out of my skin.
Flash HID: All good.
Ignition: FX: Blush - no idea yet.
Indicators: Perfect
Parking: All good
Kill switch: Everything shuts down (turns off the master 70A relay).

Result!

Ready to fit the instruments permanently now.
I could start it tomorrow (I hope).
 
Last edited:
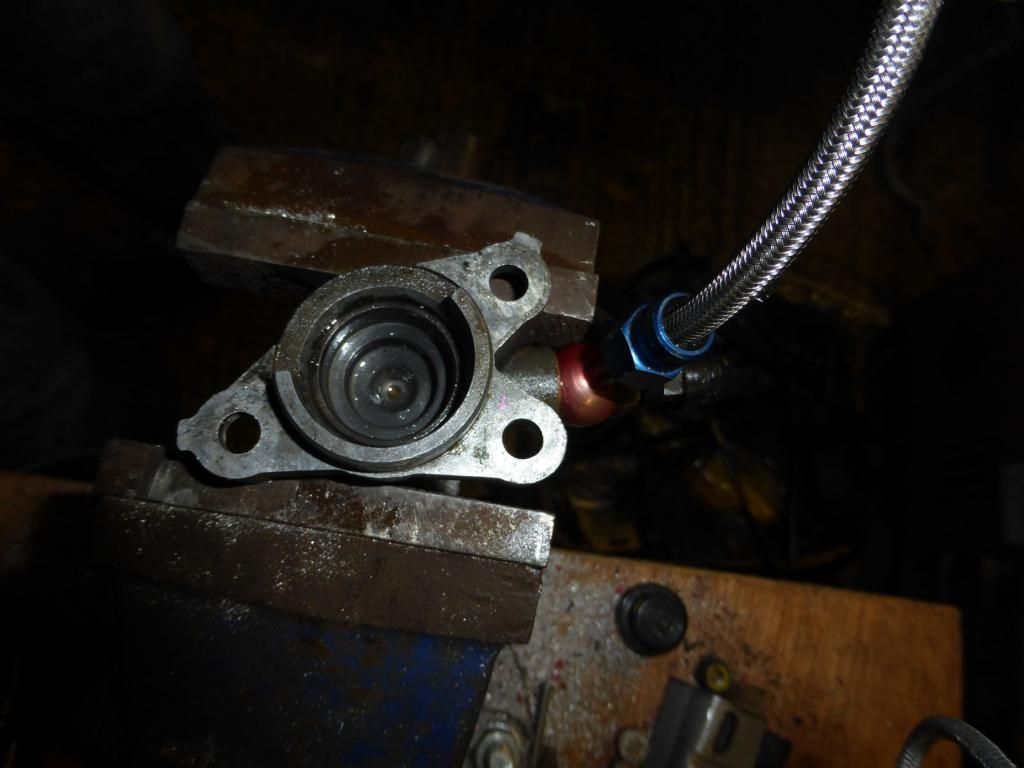
Yes, I wish I could show you the view looking into the bleed hole - it's a bit like a master cylinder as the piston is to the rear and there must be a seal around the exit rod. The fluid entering the slave pushes the piston towards the clutch. I can't see a spring for pre-tensioning (FX: Worry!).
 
Frando slave cylinder internals...

This is what you get for your 75 spondoolies; FX: Oops! I forgot payment for Clegg, Cameron, Milliband, the wonderful House Of Lords at al, an extra £15 with carriage on top. Mustn't forget them.
DSCF1504.jpg


There is good news - in my humble opinion excellent news; the piston has free movement of 20mm, hence the 13mm quoted I expect is the travel you get if you use their m/c.

Bore is 14mm and there is no pre-tensioning spring (yet). I think a spring to take up slack is essential so I will be sourcing one, I don't need it to be conical as per the Ducati slave cylinder spring; The piston has a built-in end stop so that it cannot travel under the banjo bolt closer than ~ 15mm to the end of the cylinder.
 
Not one to rain on anyone's parade but that piece of hydraulic kit is very close to a major heat source - you might get issues with fluid boiling or denaturing due to the heat.
 
Interesting now to see what sort of lever pressure you need to shift it being just 14mm ? I would be inclined to take up the matter of the spring with the manufacturers, not as a complaint but as a tech query.
At 14mm the piston is about the same size as the master so its about 1:1 so presumably the weight will be about the same as a cable ?
 
Not one to rain on anyone's parade but that piece of hydraulic kit is very close to a major heat source - you might get issues with fluid boiling or denaturing due to the heat.
Yes, I am with you on that. I am not sure how it will pan out on a hot day; I am using Dot 4 synthetic at the moment, I might upgrade if the heat specs are better.
 
Interesting now to see what sort of lever pressure you need to shift it being just 14mm ? I would be inclined to take up the matter of the spring with the manufacturers, not as a complaint but as a tech query.
At 14mm the piston is about the same size as the master so its about 1:1 so presumably the weight will be about the same as a cable ?
Their recommended master is 17mm piston size, so a mechanical disadvantage. I am not sure what the monster m/c piston size is, I suspect it is 12 as it has 0F23-12 marked on the side...
DSCF1506.jpg
.

For me it isn't about pull; It is about missing the clocks, forgetting about carrying spare cables, routing and last but by no means least, self adjustment, which is why I will install a (small) spring. Last night I stacked up 2 Kg's on the (now smooth as silk) Ducati slave and it still didn't start compressing. Bearing in mind the 4 x mechanical advantage offered by the lever, I reckon a spring which exerts a force of ~250g-500g should do the trick.

I might need a 13mm spacer but A720045075 sounds on the money.

175g seems to be on the cusp of overcoming seal stiction, 220g makes the piston move Oh so slowly.
 
Last edited:
I expect they recommend 17mm to get the volume to move 14mm..20mm if you get my drift.
Yes indeed.

I am going to give my 12mm m/c a whirl and see where we go. I need to get hold of a 10mm ally or steel spacer to bring the spring to the correct position to engage with the piston for most of it's travel - or find a longer conical spring with the same (ish) 2.25N rate.
 
Lot of work, little visual change...

I spent most of the weekend when possible working on the bike - which means I know have to find time for the chores I didn't do :o.

I found a VP wiring fault - without doubt down to pants eyesight; I had fitted new spade connectors to the wires going to the front stop light switch & attached one of the blue/black to green/white (FX: Blush).

Excitingly as I pulled off the spade to quietly & silently correct my numptiness, the male spade came away from the stop light switch. Bu**er.

I had to remove the entire front brake system, stick the splitter in a vice (gently) and solder on a new male spade. This meant headlight removal etc., etc. Here is the offending connector (now fixed).
P1000695.jpg

I also took the opportunity to remove the front mudguard and install the spacers I forgot (FX: Durrrr...).

Now everything seems to work as intended, here is the dash all lit up with everything going under its own steam...
P1000693.jpg


Yet another problem has reared its head; I thought that GT's, GTS's, SS's & MHR's all had the pillion/exhaust mounting points in the same place as the connector pipe is the same across all models including the Darmah (part # 075984040 - EXHAUST BALANCE PIPE).

How wrong was I! Bearing in mind the Conti's remain the same as does the balance pipe, Ducati made different downtubes for each model to address different rear mounting points, so beware anyone who wants to mix & match say an SS downtube with a GT downtube.

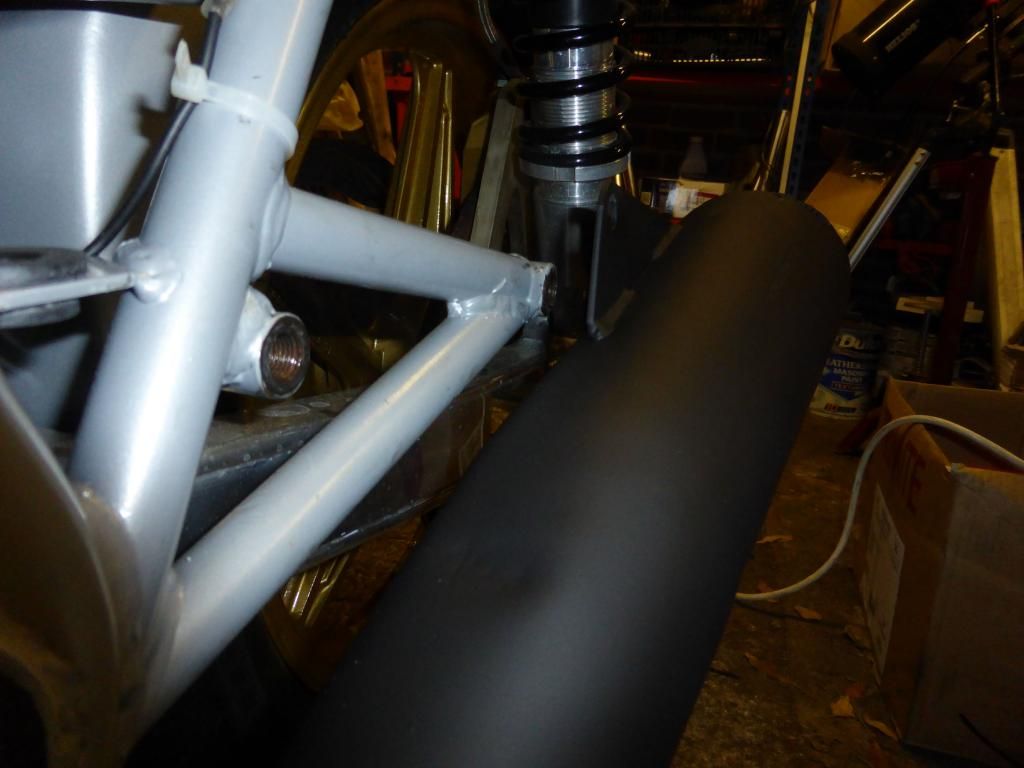
With this epiphany, Eureka moment and revelation, I was no longer surprised that my wonderful and modified Verlicchi two into one does not fit the GTS at all - it is inches out. The left hand side cable rear brake bracket hits the pipe, the mounting is too high by an inch or so and if the exhaust mounting is lined up horizontally, the gear linkage fouls the pipe to boot. Oh Dear.
P1000699.jpg


I discovered this after completing a rather fantastic VHT paint job (though I say so myself) and I really should know better.

So it is time for even more hackery & welding followed by more painting. FX: Sigh...
P1000700.jpg

Above I have shifted the pipe backwards by a couple of inches - you can see by the scuff at the joint of the silencer/downtubes. At least the linkage now clears as will the rear brake bracket when I have bashed it. The bracket needs to be moved back a bit.

I need to have a 10cm extension made up to the slave cylinder rod; Not a problem in itself as it is a thin rod of steel with a female M3 thread in one and and a bullet t'other. However... Closer inspection reveals that the clutch rod is not in line slave cylinder (or cable). The current arrangement will shag the slave cylinder in no time. Now where did I put that extension arm I removed from the SS? I have no idea...

Using the extension arm may mean I *have* to buy the Frando 17mm master cylinder designed to match the slave. We will see.
 
Last edited:
I have to say i am surprised at your exhaust fit problem. Are you sure that's not a 750 Verlicchi system ? the shorter stroke of the 750 would allow it to sit a bit lower and the rear mounts were not as far back if i recall correctly ? 750 contis were quite different as were the S2 version later.
 
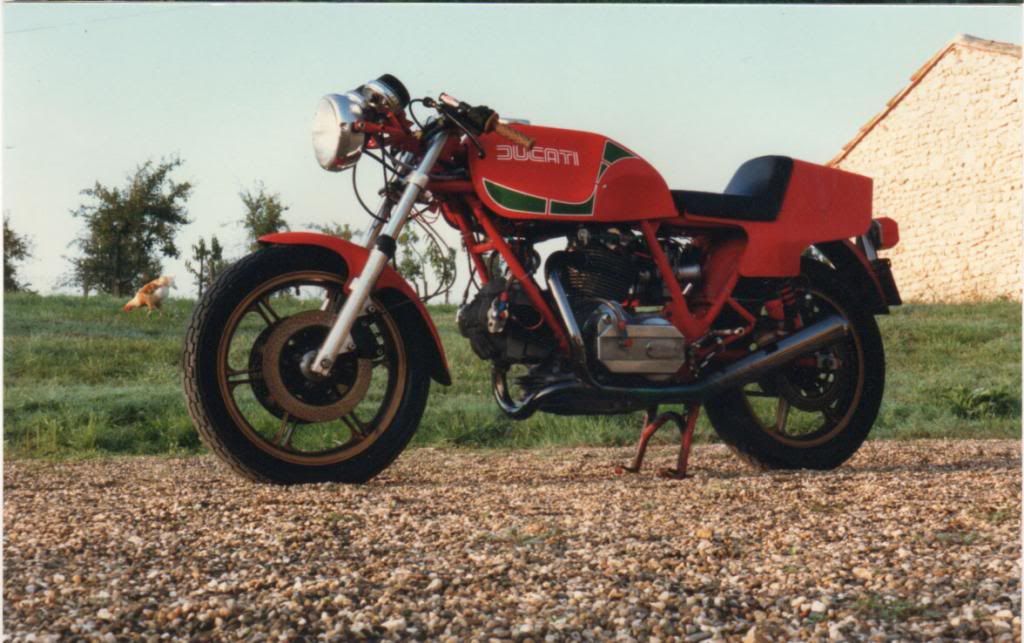
I used the Verlicchi exhaust on my MHR special for a while but it was just too dang noisy - no baffle at all! So I removed it to avoid unwanted attention from the rozzers. The rather nice black chrome two into one on the bike in this picture is a Crossbow exhaust.
OGJ-AsRep2-3.jpg


The Verlicchi frame is entirely compatible with my standard SS frame but much lighter. I also installed Verlicchi exhaust on the black & gold SS when I first started it - a perfect fit. After 10 minutes of running the rather naff high temperature paint on the manifold abandoned ship so off it came until I decided to stick it on the GTS. It does look most cool.

I suppose the simple solution is to just use a bracket and not chop/move it; What a good idea ;).
 
Yep, job done, another fine bodge ;-)

A quick bit of ally bracket hackery later and drilling out an appropriate SS spacer and I have a neat installation.

Ignoring the greasy paw prints, it all looks pretty good to me, pillion footrest down...
P1000705.jpg


Pillion footrest up...
P1000704.jpg


Clearance on the rearsets is good, I can also show off my shiny chrome selector arm...
P1000706.jpg


I'll tidy up the marks on the downtube later.

If you are wondering why the pipe is covered in birds dropping weld, it is because I had the pipe taken apart and had a Conti sound killer (with the blocked end chopped off) inserted with a load af acoustic exhaust deadening around it.

The Verlicchi pipes have no deadening whatsoever and the poxy and ridiculous internal tube / grill snaps off after one season in the UK, leaving you with an exhaust system that will make your ears bleed 1/2 mile away.

I have heard the SS through it after its modifications and it does sound really peachy - and it is a really good fit in the manifolds. Here is a look down the inside...
P1000691.jpg
 
Last edited:
Back
Top Bottom