
You are using an out of date browser. It may not display this or other websites correctly.
You should upgrade or use an alternative browser.
You should upgrade or use an alternative browser.
Kawasaki KR1000 Endurance Replica
- Thread starter Exige
- Start date


Good idea perhaps, but what's a wheel arm?If you spin the end can by 90 degrees, couldn’t you just use the tab to fix it to the wheel arm ?
…feel free to follow me for more design ideas


Does he mean the swing-arm, the thing that goes up & down as the suspension moves ?Good idea perhaps, but what's a wheel arm?


You fibberGood point Cat BUT, Exi's bikes don't go anywhere
 buy a bike, stop your frustration
That's what I thought but thought it best to check ..........Does he mean the swing-arm, the thing that goes up & down as the suspension moves ?

In fairness to Exi, his bikes do seem to travel from the shed to the house & vice versa sometimes, which does involve wheels turning !Good point Cat BUT, Exi's bikes don't go anywhere
Finish a bike, stop your frustrationIn fairness to Exi, his bikes do seem to travel from the shed to the house & vice versa sometimes, which does involve wheels turning !
Why? Added damping to the side with no shockI was going to use swing arm, but that would imply that I new it moved up and down - which would make the whole idea plain crazy
I doubt anything of yours could be described as stableHave you considered using a coffee table?
They are very stable or at least, mine is.


Doubt is really fucking with your head. This much has been obvious!I doubt anything of yours could be described as stable
I don't really doubt, I knowDoubt is really fucking with your head. This much has been obvious!
So a liar, too!I don't really doubt, I know
You've changed,.
Nah, I wouldn't call you a fibber at all so no, I haven'tSo a liar, too!
You've changed,.
now shush, I'm decorating 
The colour of my coils has been a niggling annoyance since they arrived so between staircase decorating today I attacked them with paint.
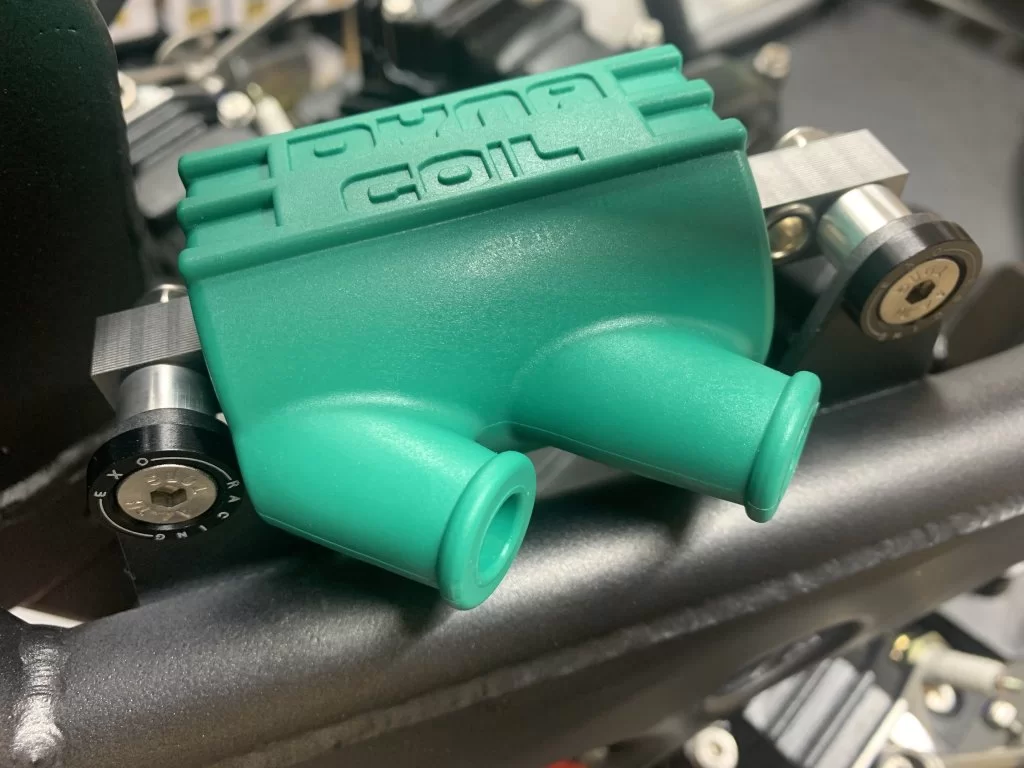
I used this which I've never tried before - VHT plastic paint, as the coil bodies are either PA6 or a PET type material - so good adhesion wasn't so difficult... I just gave them a wipe over with isopropanol before painting.
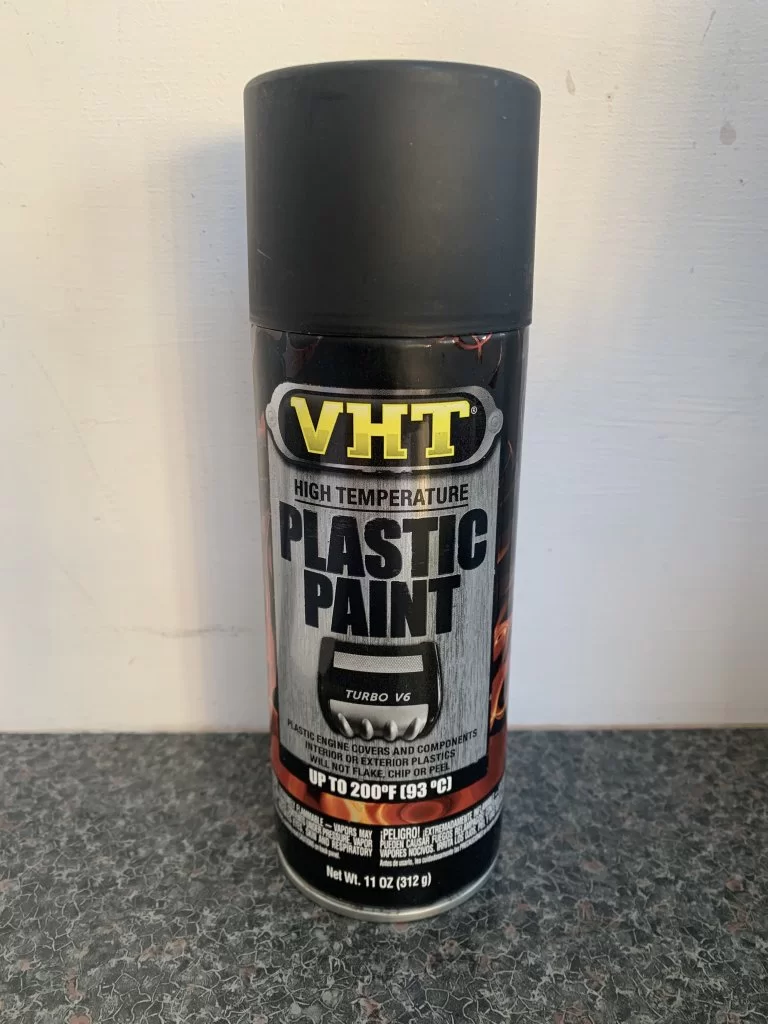
Now much much better and much less annoying!
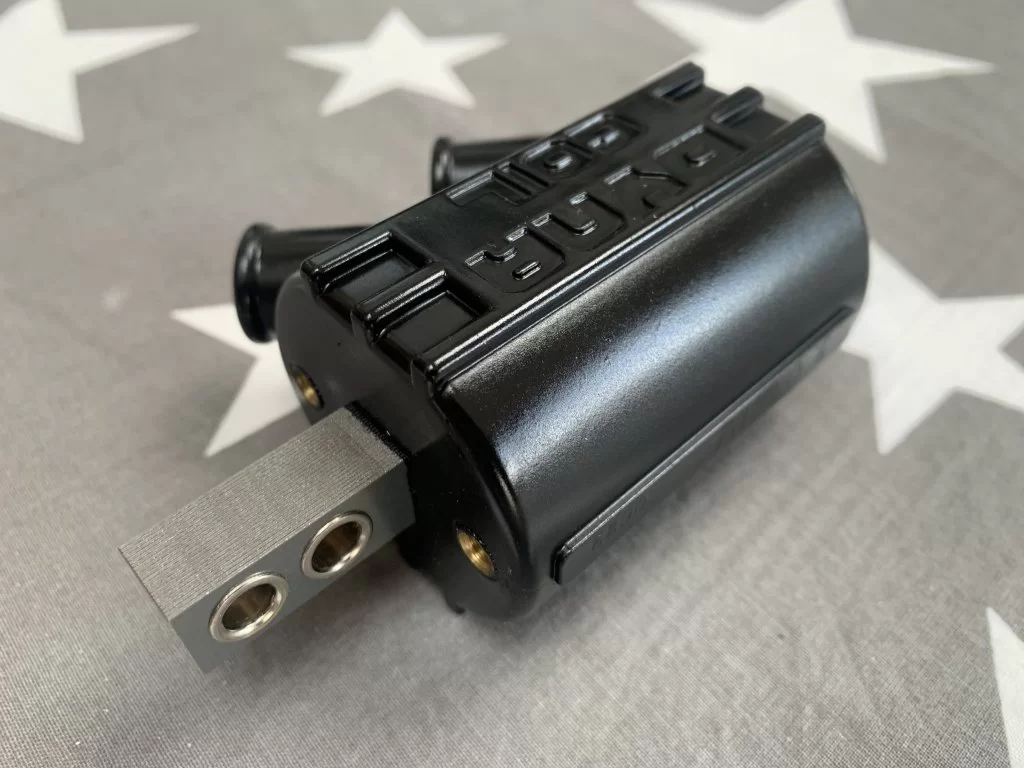
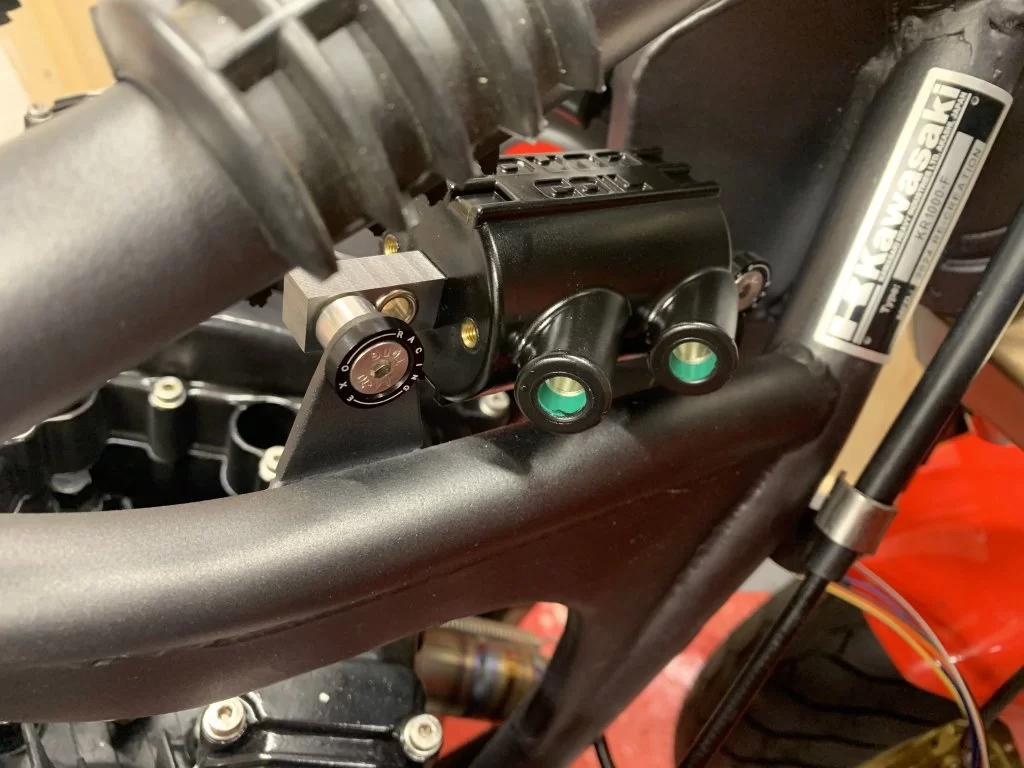
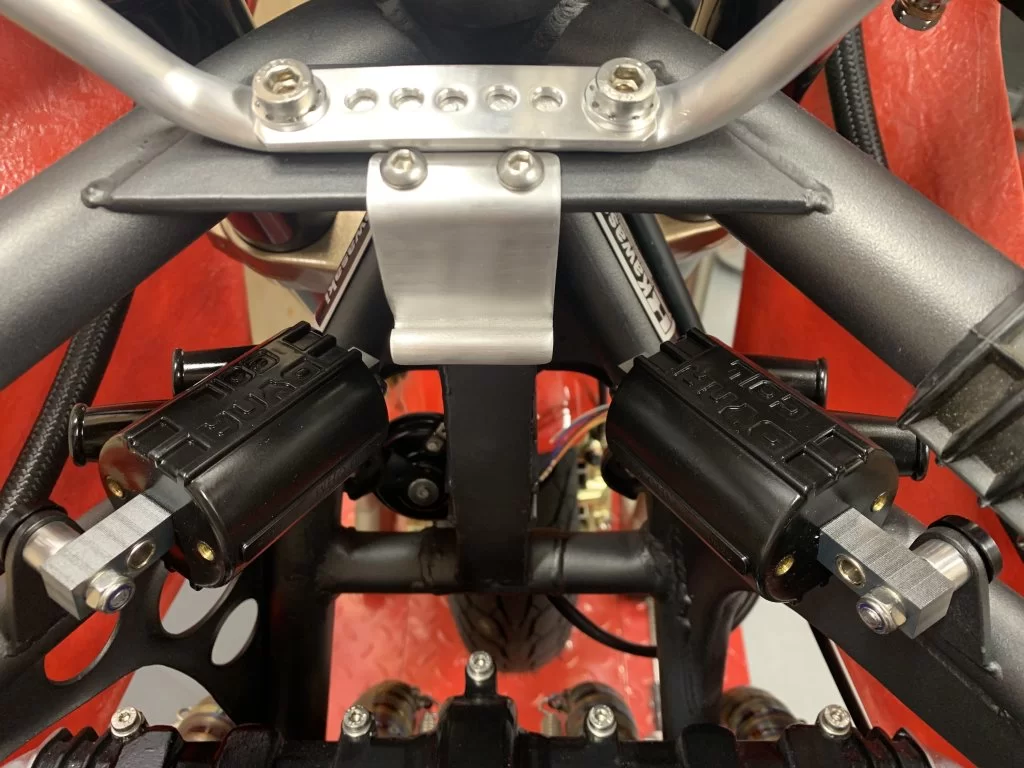
I used this which I've never tried before - VHT plastic paint, as the coil bodies are either PA6 or a PET type material - so good adhesion wasn't so difficult... I just gave them a wipe over with isopropanol before painting.
Now much much better and much less annoying!

They look loads better.The colour of my coils has been a niggling annoyance since they arrived so between staircase decorating today I attacked them with paint.
View attachment 74004
I used this which I've never tried before - VHT plastic paint, as the coil bodies are either PA6 or a PET type material - so good adhesion wasn't so difficult... I just gave them a wipe over with isopropanol before painting.
View attachment 74005
Now much much better and much less annoying!
View attachment 74006
View attachment 74007
View attachment 74008

The colour of my coils has been a niggling annoyance since they arrived so between staircase decorating today I attacked them with paint.
View attachment 74004
I used this which I've never tried before - VHT plastic paint, as the coil bodies are either PA6 or a PET type material - so good adhesion wasn't so difficult... I just gave them a wipe over with isopropanol before painting.
View attachment 74005
Now much much better and much less annoying!
View attachment 74006
View attachment 74007
View attachment 74008
The fact that they were green was the thing I noticed when I first saw the picture t’other week, I thought “ooh, Dyna coils”, are you going to be using Taylor HT leads?
If they’re going to be mounted the way round they’re shown, aren’t you going to need unmatched lead lengths, the lead to No 1 will be vastly different to No 4. It might not make any difference and I might just be chatting shit, but if BerryL can do it…
I’m using black Dyna leads. Non of that blingy Taylor stuff hereThe fact that they were green was the thing I noticed when I first saw the picture t’other week, I thought “ooh, Dyna coils”, are you going to be using Taylor HT leads?
If they’re going to be mounted the way round they’re shown, aren’t you going to need unmatched lead lengths, the lead to No 1 will be vastly different to No 4. It might not make any difference and I might just be chatting shit, but if BerryL can do it…
Just copying the original bikes coil position, it’s all electrickery innit
 in fact the original bike looks like the right coil leads go to cylinder 3 & 4 which is odd but a bit of a difference in length shouldn’t matter - they will be similar if needed with a bit of routing jiggers pokery…

Not sure if the old igniter box tells it to spark only when needed but I suspected this was the case. Also not sure if a change in the wiring can tell the coils to do a different sequence as it's all witchcraft to me. I will sort it when my wiring guru gets involved as I have found one who lives just round the cornerDo they spark on the exhaust stroke
On my '76 Z900 the left coil fires cylinders 1 & 4 & the right hand coil fires 2 & 3. Likewise there's two sets of points, one set operates the coil for cylinders 1 & 4 & the other set of points operates the coil for cylinders 2 & 3.
Basically each time a coil fires both it's spark plugs spark. One cylinder will be on it's compression stroke, so will fire & produce power, the other cylinder still fires, but it will be on it's exhaust stroke so it's a "wasted spark".
I'm guessing your engine will be basically the same as was the old four cylinder Suzukis of the same era. The GT380 I had, with three cylinders, had three coils & three sets of points, each cylinder/spark plug/coil only firing when it's piston was on it's compression stroke.
"Wasted spark" set-ups were quite common in the old days of points, pre fuel injection & all that electrickery/electronical stuff ! Basically it saved money & made the ignition system simpler.
Basically each time a coil fires both it's spark plugs spark. One cylinder will be on it's compression stroke, so will fire & produce power, the other cylinder still fires, but it will be on it's exhaust stroke so it's a "wasted spark".
I'm guessing your engine will be basically the same as was the old four cylinder Suzukis of the same era. The GT380 I had, with three cylinders, had three coils & three sets of points, each cylinder/spark plug/coil only firing when it's piston was on it's compression stroke.
"Wasted spark" set-ups were quite common in the old days of points, pre fuel injection & all that electrickery/electronical stuff ! Basically it saved money & made the ignition system simpler.
Yes 1&4 are together and 2&3 as standard - but these bikes were fuel injected and have an igniter box with auto advance (primitive ECU). I'm not sure if you can configure to swap this around for a neater lead set up, but no biggy if notOn my '76 Z900 the left coil fires cylinders 1 & 4 & the right hand coil fires 2 & 3. Likewise there's two sets of points, one set operates the coil for cylinders 1 & 4 & the other set of points operates the coil for cylinders 2 & 3.
Basically each time a coil fires both it's spark plugs spark. One cylinder will be on it's compression stroke, so will fire & produce power, the other cylinder still fires, but it will be on it's exhaust stroke so it's a "wasted spark".
I'm guessing your engine will be basically the same as was the old four cylinder Suzukis of the same era. The GT380 I had, with three cylinders, had three coils & three sets of points, each cylinder/spark plug/coil only firing when it's piston was on it's compression stroke.
"Wasted spark" set-ups were quite common in the old days of points, pre fuel injection & all that electrickery/electronical stuff ! Basically it saved money & made the ignition system simpler.
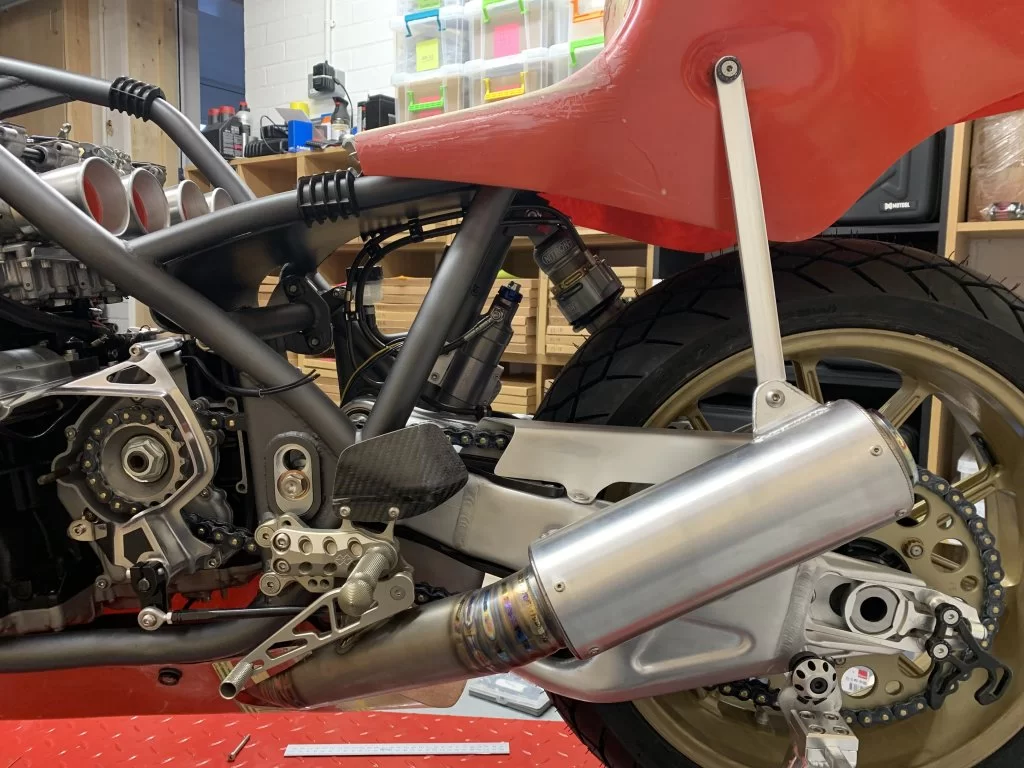
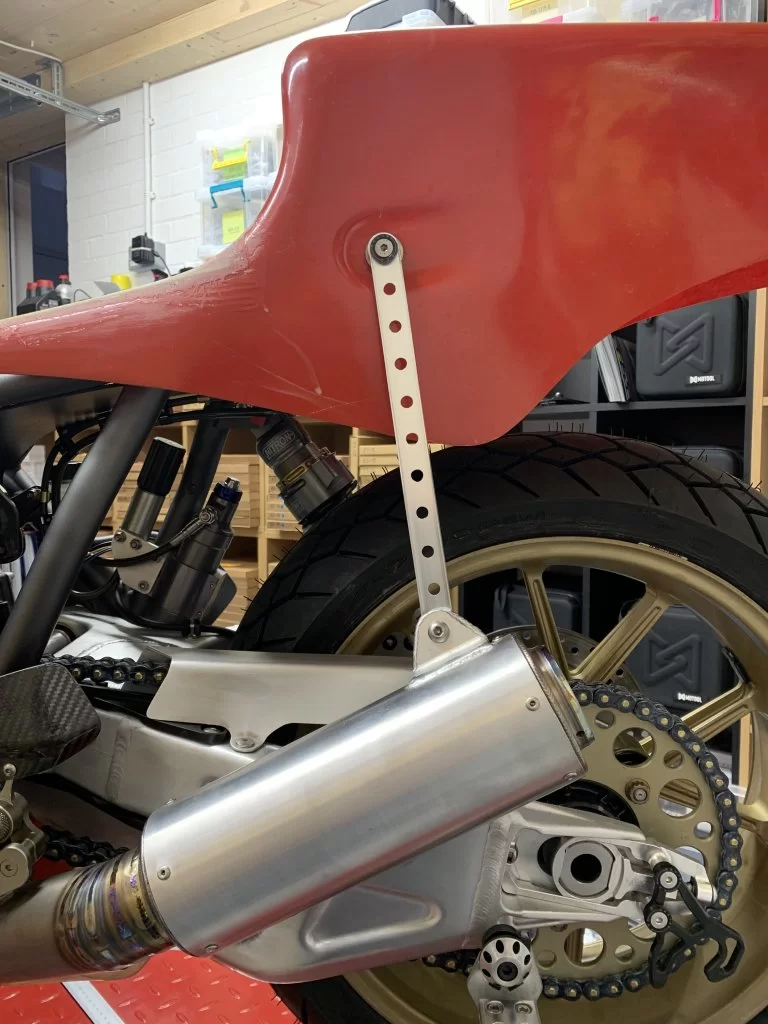
Had a break from my decorating today while some wood filler hardened so cracked on with the rear exhaust hanger.
I finally found some aluminium channel the correct size but had to buy it off Ebay from China, it arrived in little over a week and I bought 2 pieces for £5.50 delivered just in case I messed one up - all was good in the end.
First I cut to length and drilled the mounting holes...
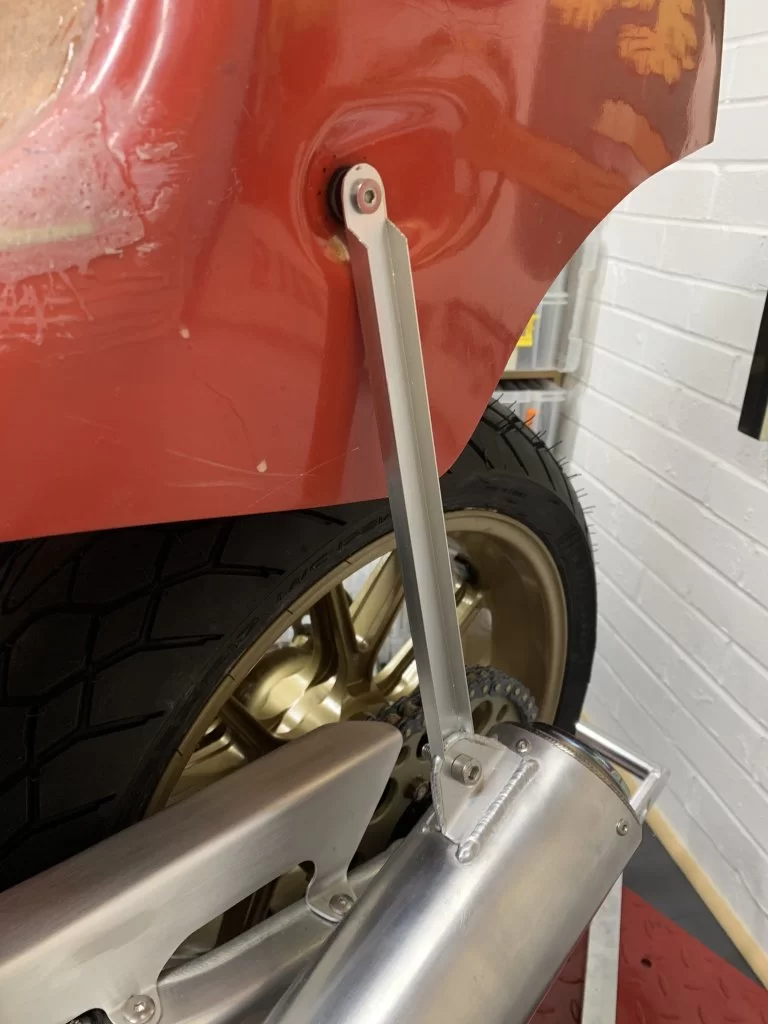
Then shaped the aluminium section to give it a more pleasing profile...
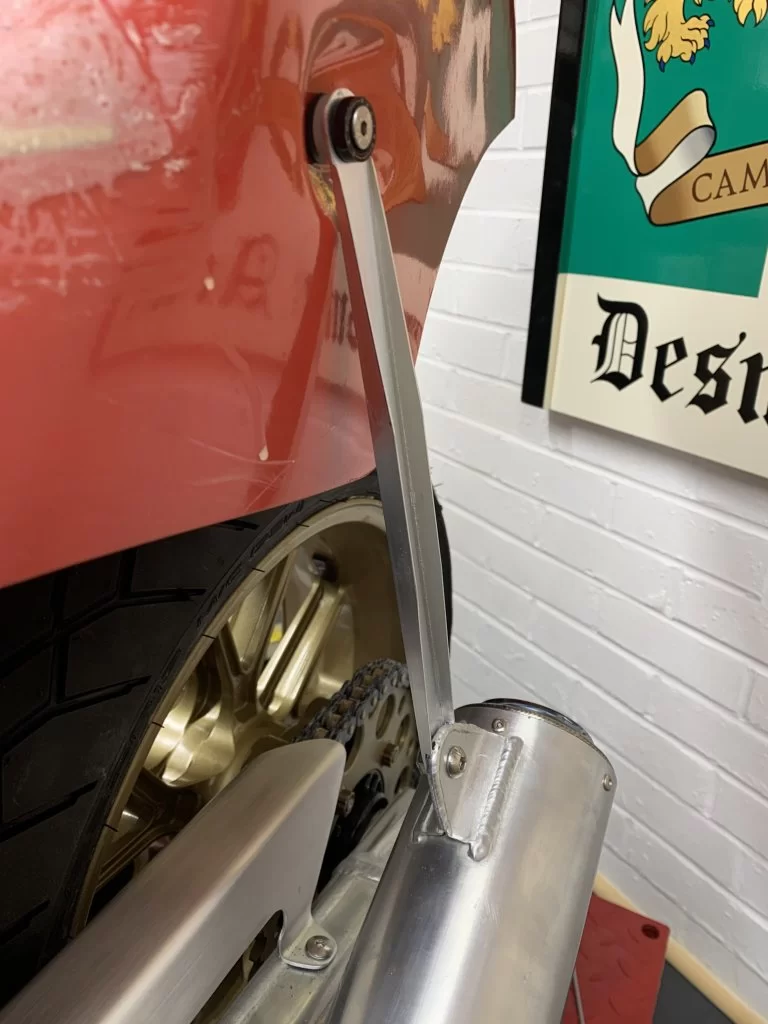
One thing I never liked was how the original stay tilted backwards a little...
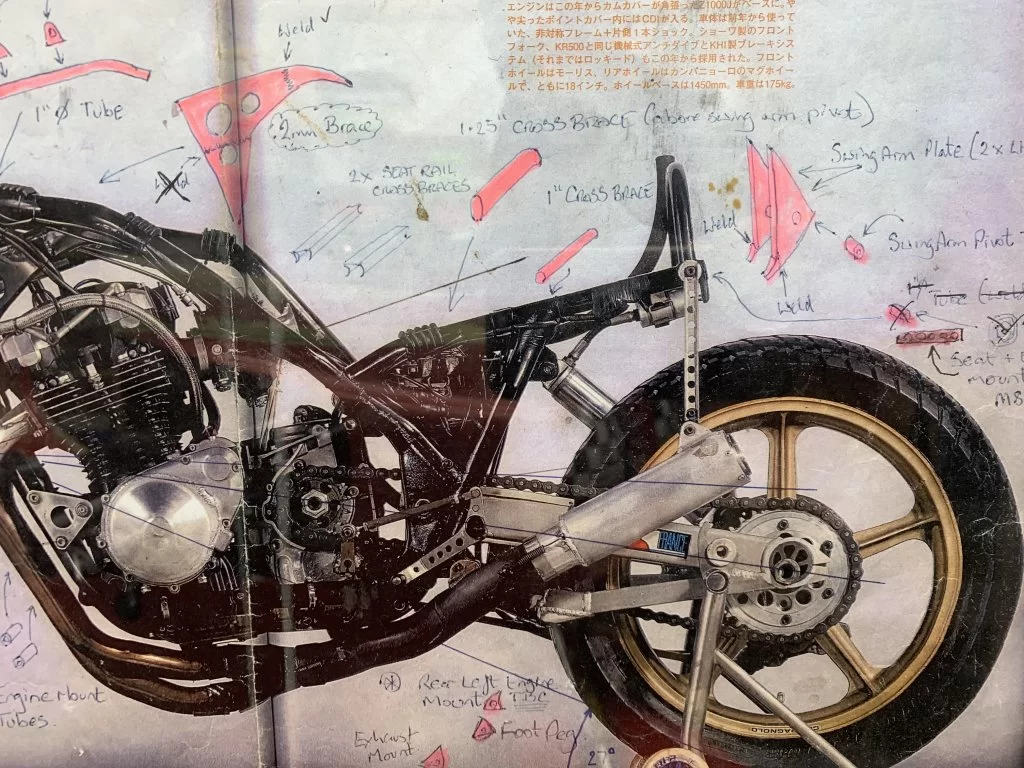
So when Chad made the exhaust we made sure it would tilt slightly forwards which is a little more pleasing to the eye
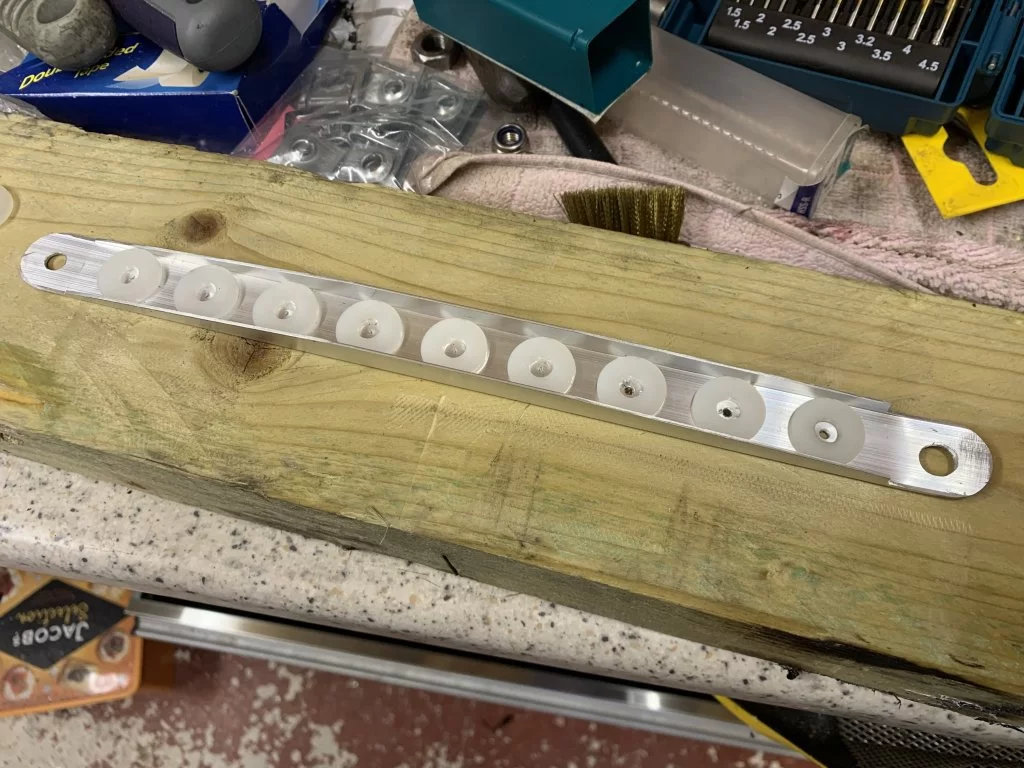
My pillar drill has gone AWOL with an electrical fault and keeps tripping the consumer unit when I try to turn it on, so I improvised with some tight fitting plastic washers to use as guide to stop the drill wandering while drilling by hand...
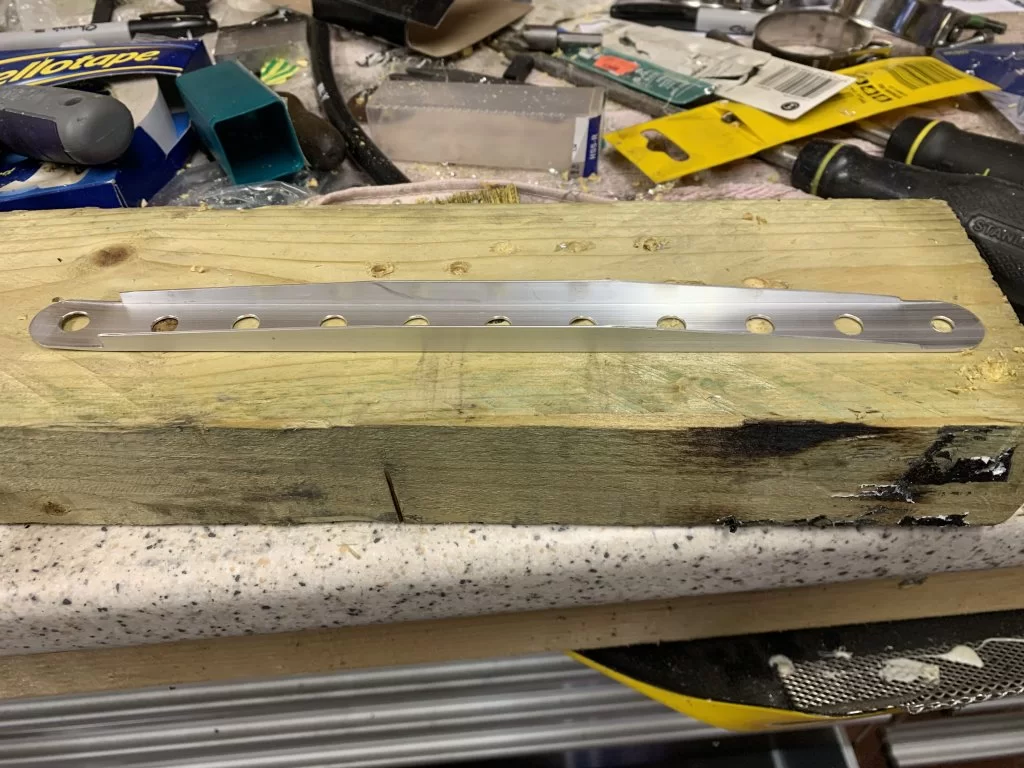
Finished stay...
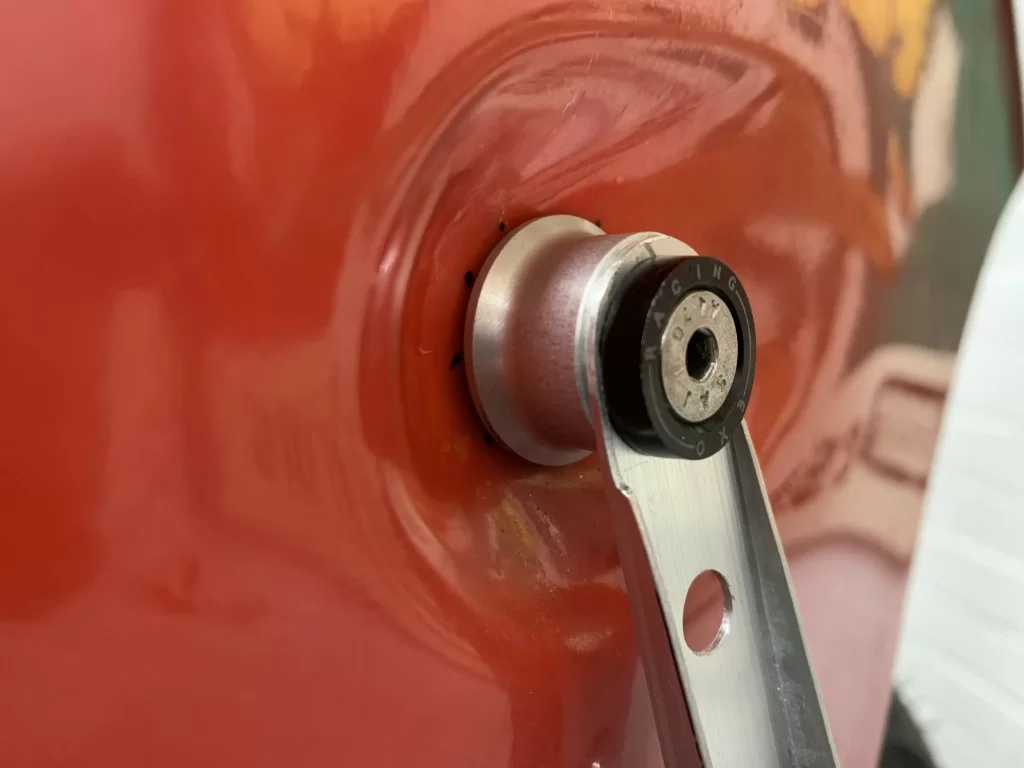
I used an old shock absorber spacer to space the top fixing out to clear the seat unit depression...
Lower fixing...
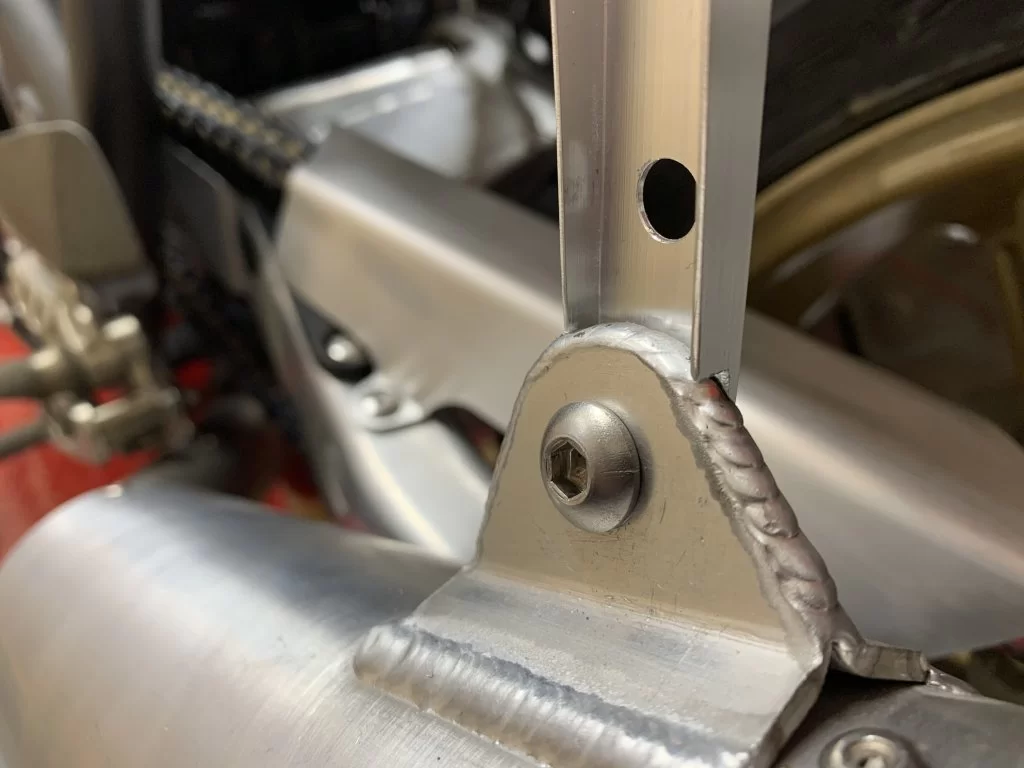
.....aaaaand the finished result, another one of those 'little' jobs that I've been putting off now complete
I finally found some aluminium channel the correct size but had to buy it off Ebay from China, it arrived in little over a week and I bought 2 pieces for £5.50 delivered just in case I messed one up - all was good in the end.
First I cut to length and drilled the mounting holes...
Then shaped the aluminium section to give it a more pleasing profile...
One thing I never liked was how the original stay tilted backwards a little...
So when Chad made the exhaust we made sure it would tilt slightly forwards which is a little more pleasing to the eye
My pillar drill has gone AWOL with an electrical fault and keeps tripping the consumer unit when I try to turn it on, so I improvised with some tight fitting plastic washers to use as guide to stop the drill wandering while drilling by hand...
Finished stay...
I used an old shock absorber spacer to space the top fixing out to clear the seat unit depression...
Lower fixing...
.....aaaaand the finished result, another one of those 'little' jobs that I've been putting off now complete
That exhaust stay should really be angled backwards.
Oh well. @The GOAT please move this thread to the Multistrada Forum.
What would you use to measure the angle
Last edited:
Ask WPC, his angles are sorted now.
No, as it’s supposed to be on the outsideCould you not have angled it halfway up, removed the sides and fit it behind the seat cowl?