
You are using an out of date browser. It may not display this or other websites correctly.
You should upgrade or use an alternative browser.
You should upgrade or use an alternative browser.
Project Superspurt
- Thread starter CJK
- Start date

Pict
Elite Member
Only coming up on fleabay with the steel version which I have a few lying around, I have the earlier alloy one as well with the cast wheel spindle housing but that one looks better.
Aye, they are pretty sought after and don't think there were that many in the first place. Then of course the 800 is/was a favourite in the Desmodue race series so all the racers down south will be trading them between each other and they won't likely reach the 'open market'
Pict
Elite Member
A two man job is it Mr Haynes..?

Fork Strip 1 by Lindsay fae Angus, on Flickr
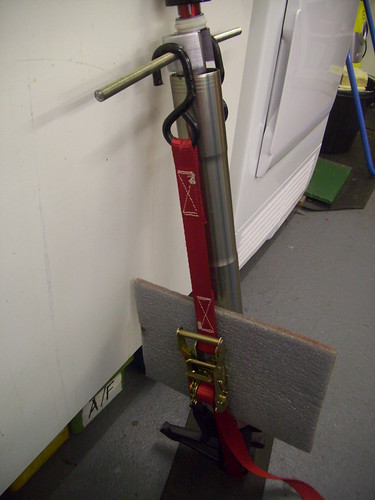
100_3243 by Lindsay fae Angus, on Flickr
(Mrs Pict did offer to help)
Fork Strip 1 by Lindsay fae Angus, on Flickr
100_3243 by Lindsay fae Angus, on Flickr
(Mrs Pict did offer to help)

iconic944ss
Elite Member
Fantastic Build!
Some rubber valve caps on the yoke lock stops prevent metal to metal contact - but the ones in the photo look non-standard.
Some rubber valve caps on the yoke lock stops prevent metal to metal contact - but the ones in the photo look non-standard.
Pict
Elite Member
the ones in the photo look non-standard.
http://www.ducati-upnorth.com/forum...cials-builders-saddoes...&p=195077#post195077
Pict
Elite Member
Fork Springs
Apart from being wound the other direction, the new Wilbers fork springs don't look any different but are softer than the standard 1098 ones since the project (even with me on it ) is considerably lighter than a 1098, and hopefully a fair bit lighter than even a standard SS

10Fork Strip 3 by Lindsay fae Angus, on Flickr
Apart from being wound the other direction, the new Wilbers fork springs don't look any different but are softer than the standard 1098 ones since the project (even with me on it
) is considerably lighter than a 1098, and hopefully a fair bit lighter than even a standard SS10Fork Strip 3 by Lindsay fae Angus, on Flickr
Pict
Elite Member
One step forward, 3 steps back
Rigged everything up but couldn't finish the front end (do the necessary to the speedo drive, make a spacer) as I didn't have caliper bolts;
 Front End 003 by Lindsay fae Angus, on Flickr
Went off my head and bought some titanium caliper bolts cool but the flanged heads prevented them fitting properly - sigh..
Wasn't sure of the script for turning titanium but stuck them in the lathe anyway with my unknown grade of tip and they turned down nicely with no drama.
Fitted the wheel so that it could slide about on the spindle and fitted the calipers. There was no way that the discs would centre in the calipers

After a bit of a panic, thoughts of milling one side of the wheel etc I calmed down and did a bit of lateral thinking. Loosened the forks in the bottom yoke, gave the fork bottoms a wee tug and that was it, centred nicely. So I need to re-think my fork shimming... I have been avoiding a machined sleeve as they will be a PITA to make, but looks like that's the way forward. if a job's worth doing and all that...
Now that wheel/discs could sit central, I was able to see how much (not much) needed taking off the (748) speedo drive.

Speedo Drive by Lindsay fae Angus, on Flickr
I used the boring bar to face from inside out as the worm drive housing wouldn't clear my external tool.
Back wheel needs putting back on the Tr*u*ph, fork seal needs done for MZ MOT, so this can wait it's turn again....
Specials building - Pah!
Rigged everything up but couldn't finish the front end (do the necessary to the speedo drive, make a spacer) as I didn't have caliper bolts;
Front End 003 by Lindsay fae Angus, on FlickrWent off my head and bought some titanium caliper bolts
cool but the flanged heads prevented them fitting properly - sigh.. Wasn't sure of the script for turning titanium but stuck them in the lathe anyway with my unknown grade of tip and they turned down nicely with no drama.
Fitted the wheel so that it could slide about on the spindle and fitted the calipers. There was no way that the discs would centre in the calipers
After a bit of a panic, thoughts of milling one side of the wheel
etc I calmed down and did a bit of lateral thinking. Loosened the forks in the bottom yoke, gave the fork bottoms a wee tug and that was it, centred nicely. So I need to re-think my fork shimming... I have been avoiding a machined sleeve as they will be a PITA to make, but looks like that's the way forward. if a job's worth doing and all that...Now that wheel/discs could sit central, I was able to see how much (not much) needed taking off the (748) speedo drive.
Speedo Drive by Lindsay fae Angus, on Flickr
I used the boring bar to face from inside out as the worm drive housing wouldn't clear my external tool.
Back wheel needs putting back on the Tr*u*ph, fork seal needs done for MZ MOT, so this can wait it's turn again....
Specials building - Pah!
Pict
Elite Member
Oil cooler lines
Cheers to Dave G for the inspiration (and spotting some lines on eBay in the US) for this clean looking (I think anyway...) Hypermotard oil line setup:
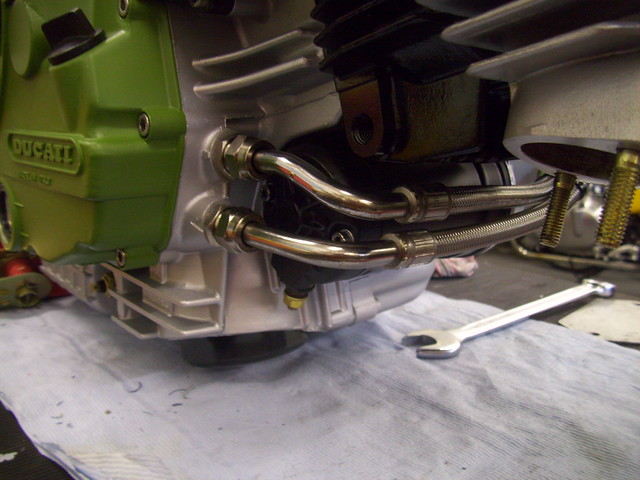
Oil Cooler Lines 001 by Lindsay fae Angus, on Flickr
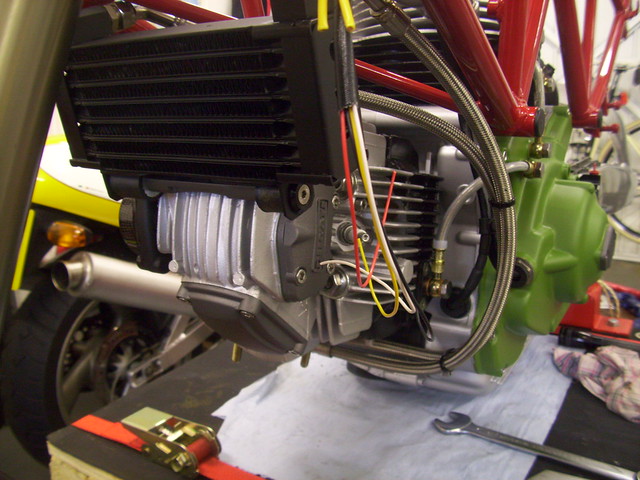
Oil Cooler Lines 002 by Lindsay fae Angus, on Flickr

Oil Cooler Lines 003 by Lindsay fae Angus, on Flickr
This is just a first-fit; there is a bit of spiral wrapping to be done in a couple of places and a wee support to be made or bought to bolt to the front bottom of the alternator housing.
Otherwise snail pace... might get to the lathe for the fork sleeves on Saturday afternoon but unlikely
Cheers to Dave G for the inspiration (and spotting some lines on eBay in the US) for this clean looking (I think anyway...) Hypermotard oil line setup:
Oil Cooler Lines 001 by Lindsay fae Angus, on Flickr
Oil Cooler Lines 002 by Lindsay fae Angus, on Flickr
Oil Cooler Lines 003 by Lindsay fae Angus, on Flickr
This is just a first-fit; there is a bit of spiral wrapping to be done in a couple of places and a wee support to be made or bought to bolt to the front bottom of the alternator housing.
Otherwise snail pace... might get to the lathe for the fork sleeves on Saturday afternoon but unlikely


rockjock620
New member
About your oil lines. I got a pair made for my old Monster at a local hydraulic company. It helped a little that the guy doing it knew a little about bikes and how we like 'em to be purdy....so he fabricated mine in about 20 minutes from stainless braided like yours and we did a couple of "dry assemblies" to check the lengths and curves were good. He got them spot on and IIRC he only charged me about £20 per line, even threw in a hose clamp to keep them separated. It's well worth checking out local suppliers. Pirtek are a national supplier but local is good. HTH.
Pict
Elite Member
Hi Pete - that's exactly what I was going to do (I have a few contacts locally for hydraulics), and would definitely recommend that others do the same for pipes with standard fittings but I wanted the Hyper look which meant fabricating rigid hydraulic lines with compression fittings for the engine ends so as to clear the starter. That combined with the bike not being very mobile (I know, I could have left the lines until it was on it's wheels... but these small acheivements keep the motivation up) for those 'dry assemblies' led me to the off-the-shelf option.
Absolutely! Bearing Suppliers, Motor Factors, Hydraulics, Machining, Auto Electricians, Steel stockholders, Welders - these are the guys that we want (need!) to keep in business. Also they are the guys that are keen to deal cash on a Saturday morning
It's well worth checking out local suppliers.
Absolutely! Bearing Suppliers, Motor Factors, Hydraulics, Machining, Auto Electricians, Steel stockholders, Welders - these are the guys that we want (need!) to keep in business. Also they are the guys that are keen to deal cash on a Saturday morning
Last edited:

sam
New member
Absolutely! Bearing Suppliers, Motor Factors, Hydraulics, Machining, Auto Electricians, Steel stockholders, Welders - these are the guys that we want (need!) to keep in business. Also they are the guys that are keen to deal cash on a Saturday morning
Monday to Friday as well !
Pict
Elite Member
Only coming up on fleabay with the steel version which I have a few lying around, I have the earlier alloy one as well with the cast wheel spindle housing but that one looks better.
Don't throw them away; I will need a steel swingarm for the next project - it's going to be black so seems a shame to paint an alloy one.
Pict
Elite Member
Having tried plastic, then beer / fizzy pop cans as shims in the bottom yoke, neither worked and I couldn't get the discs centred in the calipers so I bit the bullet and did the job properly;
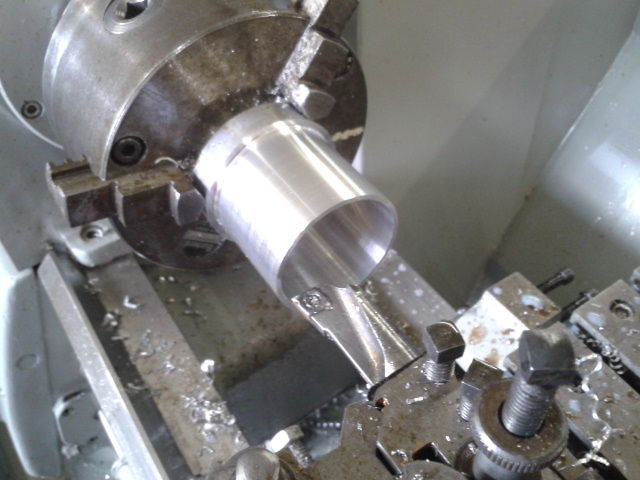
Front End 004 by Lindsay fae Angus, on Flickr
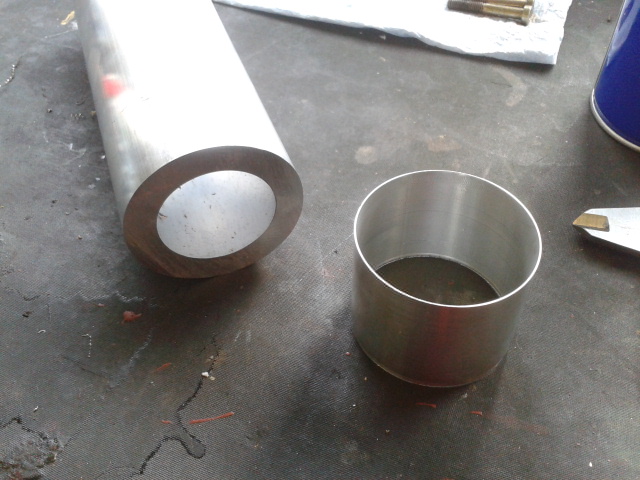
Front End 005 by Lindsay fae Angus, on Flickr
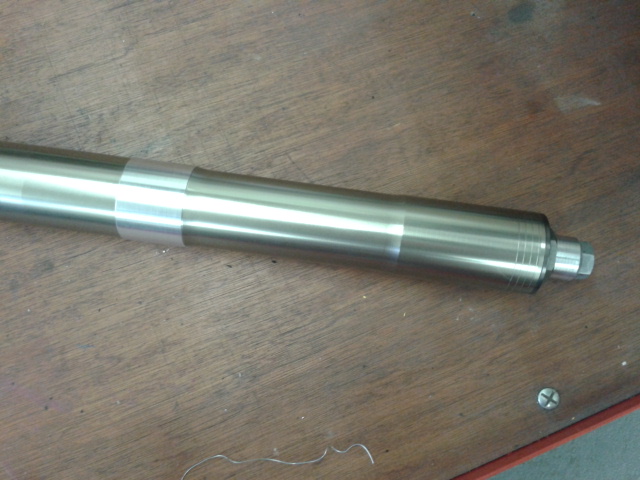
Front End 006 by Lindsay fae Angus, on Flickr
Front End 004 by Lindsay fae Angus, on Flickr
Front End 005 by Lindsay fae Angus, on Flickr
Front End 006 by Lindsay fae Angus, on Flickr
Pict
Elite Member
Wheels back from paint
Forgot to take a 'before' picture but what was once a nice red wheel and a scabby grey wheel are now a pair of nice gloss black wheels.

Wheels by Lindsay fae Angus, on Flickr
Forgot to take a 'before' picture but what was once a nice red wheel and a scabby grey wheel are now a pair of nice gloss black wheels.
Wheels by Lindsay fae Angus, on Flickr
Pict
Elite Member
Speedo Drive
Here's what a speedo drive looks like in bits;

Speedo Drive by Lindsay fae Angus, on Flickr
That's 900SS internals in a 748 housing.
Here's what a speedo drive looks like in bits;
Speedo Drive by Lindsay fae Angus, on Flickr
That's 900SS internals in a 748 housing.
Pict
Elite Member
A Milestone!
What's missing from this picture?

Milestone by Lindsay fae Angus, on Flickr
The engine stand; because the bike is on it's wheels!! :flash:
I'll get some more done this week and hopefully get some decent pics in natural light, in focus, done at the weekend.
What's missing from this picture?
Milestone by Lindsay fae Angus, on Flickr
The engine stand; because the bike is on it's wheels!! :flash:
I'll get some more done this week and hopefully get some decent pics in natural light, in focus, done at the weekend.
rockjock620
New member
FYI - The old style studs that were prone to breaking had a bright shiny steel finish. The later studs are black.
That would be because they are made from stainless steel I believe. Later ones were carbon steel. Stronger and less prone to galling. Do you know how much the alter ones cost? I have two broken ones on the new 900 project so at the very least I need four, maybe eight if I decide to do the front pot too. Looking for one at least (two if the price is right) standard ignition coil.
rockjock620
New member
Rigged everything up but couldn't finish the front end (do the necessary to the speedo drive, make a spacer) as I didn't have caliper bolts;
[qimg]http://farm8.staticflickr.com/7078/7341645170_0e8f901b7c_z.jpg[/qimg] Front End 003 by Lindsay fae Angus, on Flickr
Did you just swap over the rocker covers to get the high mounting for the oil cooler?
Pict
Elite Member
Did you just swap over the rocker covers to get the high mounting for the oil cooler?
http://www.ducati-upnorth.com/forum/showthread.php?16253-M900-Valve-Cover&highlight=valve+cover
Pict
Elite Member
That would be because they are made from stainless steel I believe. Later ones were carbon steel. Stronger and less prone to galling. Do you know how much the alter ones cost? I have two broken ones on the new 900 project so at the very least I need four, maybe eight if I decide to do the front pot too. Looking for one at least (two if the price is right) standard ignition coil.
This would suggest that they are not too dear - call Harry

Pict
Elite Member
To that cjk guy
This has been an amazing thread.
I read all of it today
Well done , how many posts now?
YOU READ IT ALL???? FFS Johnny, I haven't even read it all
Pict
Elite Member
Pics today
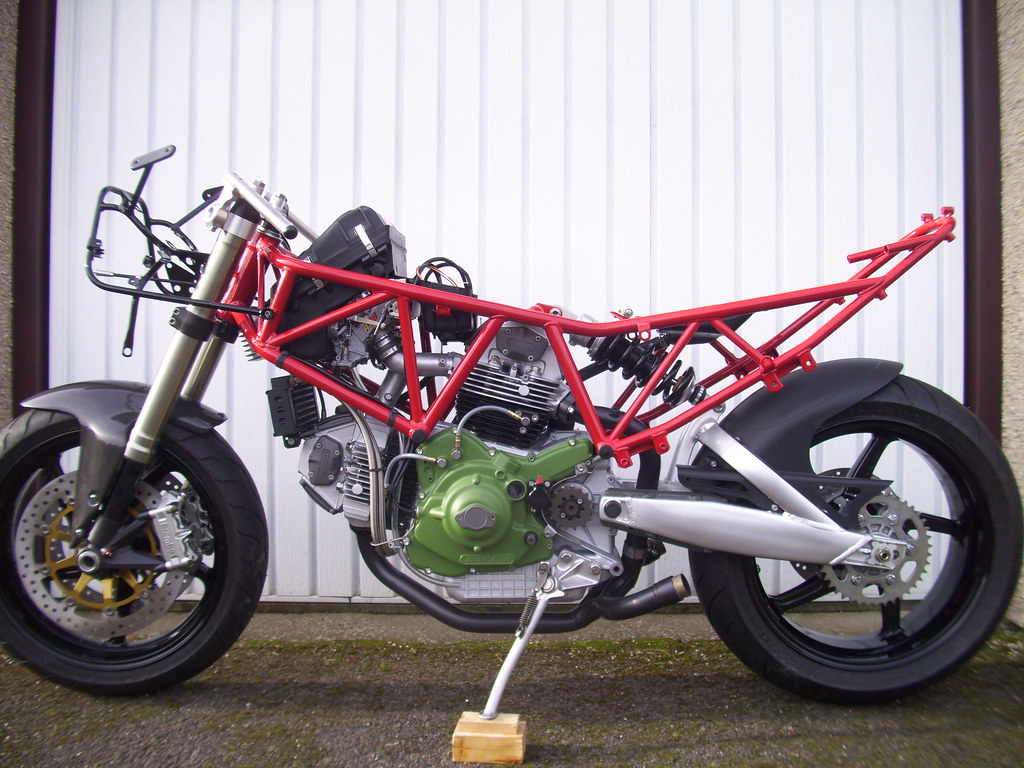
27th October 001 by Lindsay fae Angus, on Flickr

27th October 016 by Lindsay fae Angus, on Flickr

27th October 002 by Lindsay fae Angus, on Flickr
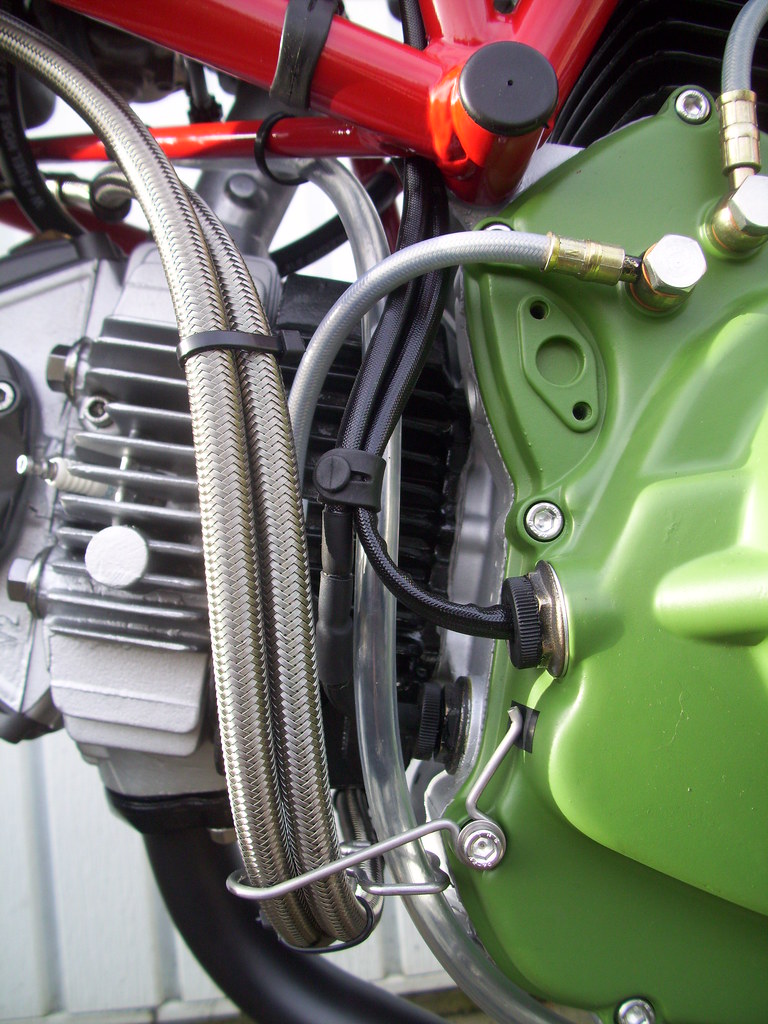
27th October 004 by Lindsay fae Angus, on Flickr

27th October 005 by Lindsay fae Angus, on Flickr
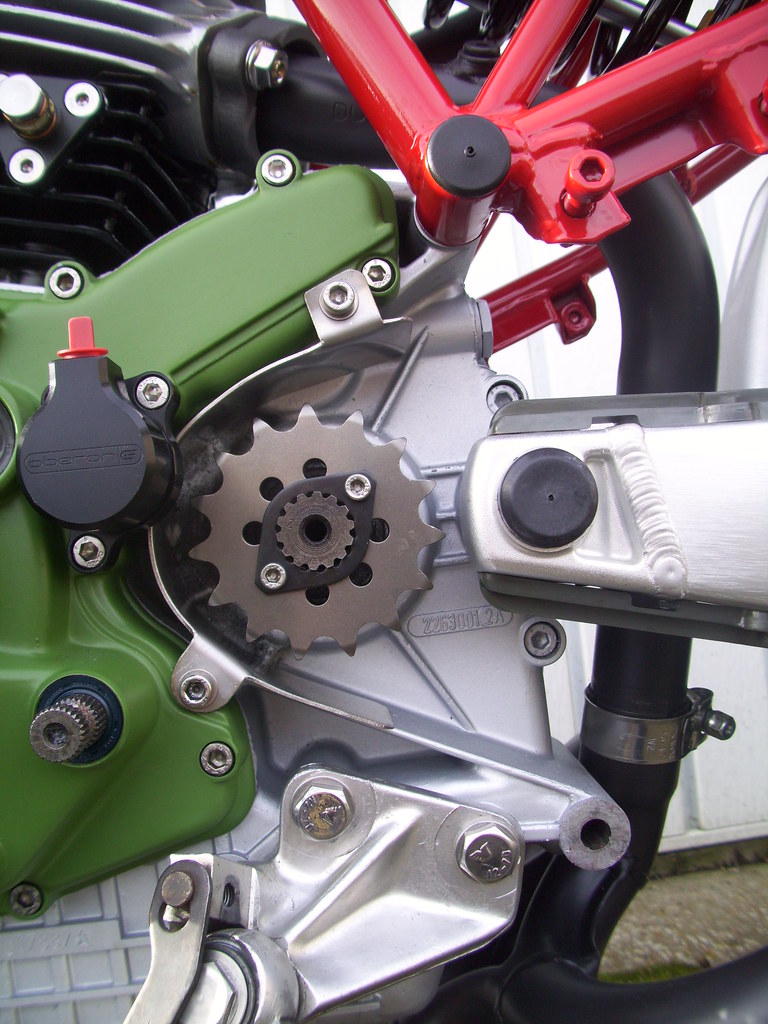
27th October 006 by Lindsay fae Angus, on Flickr

27th October 007 by Lindsay fae Angus, on Flickr
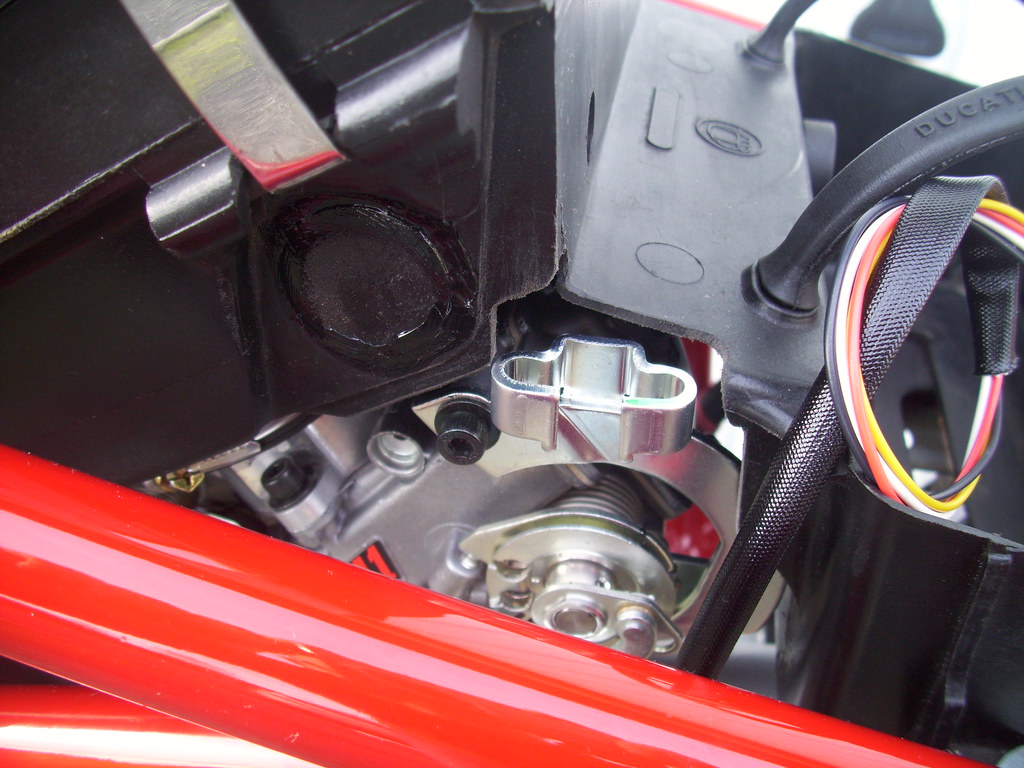
27th October 008 by Lindsay fae Angus, on Flickr
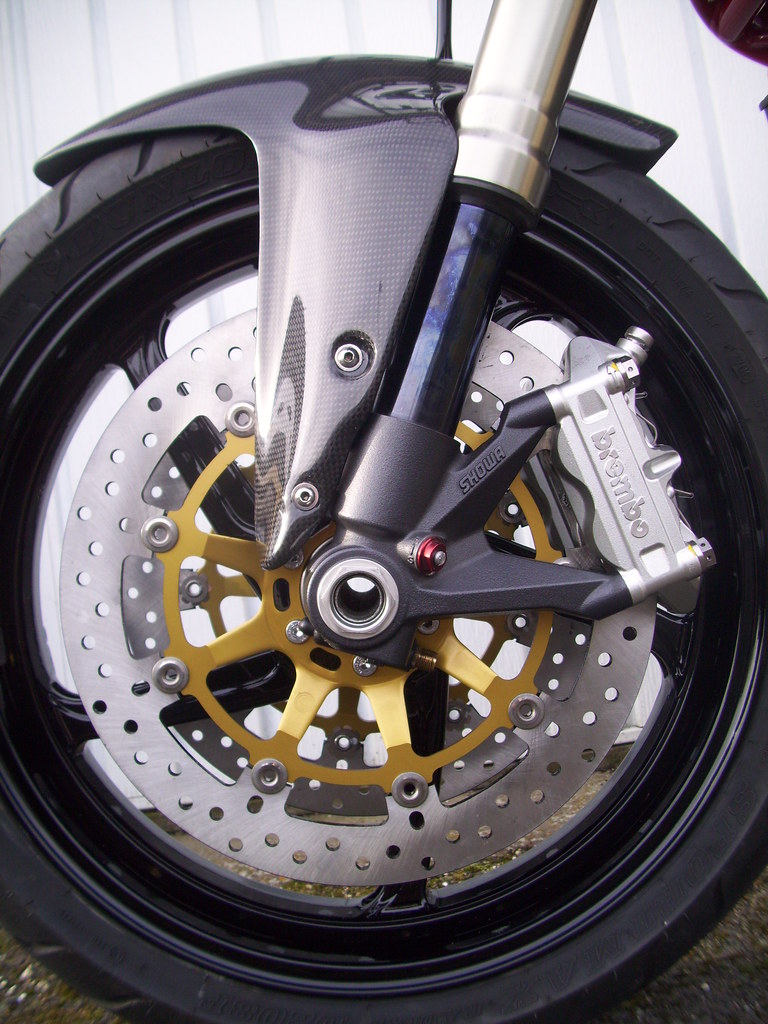
27th October 009 by Lindsay fae Angus, on Flickr

27th October 011 by Lindsay fae Angus, on Flickr
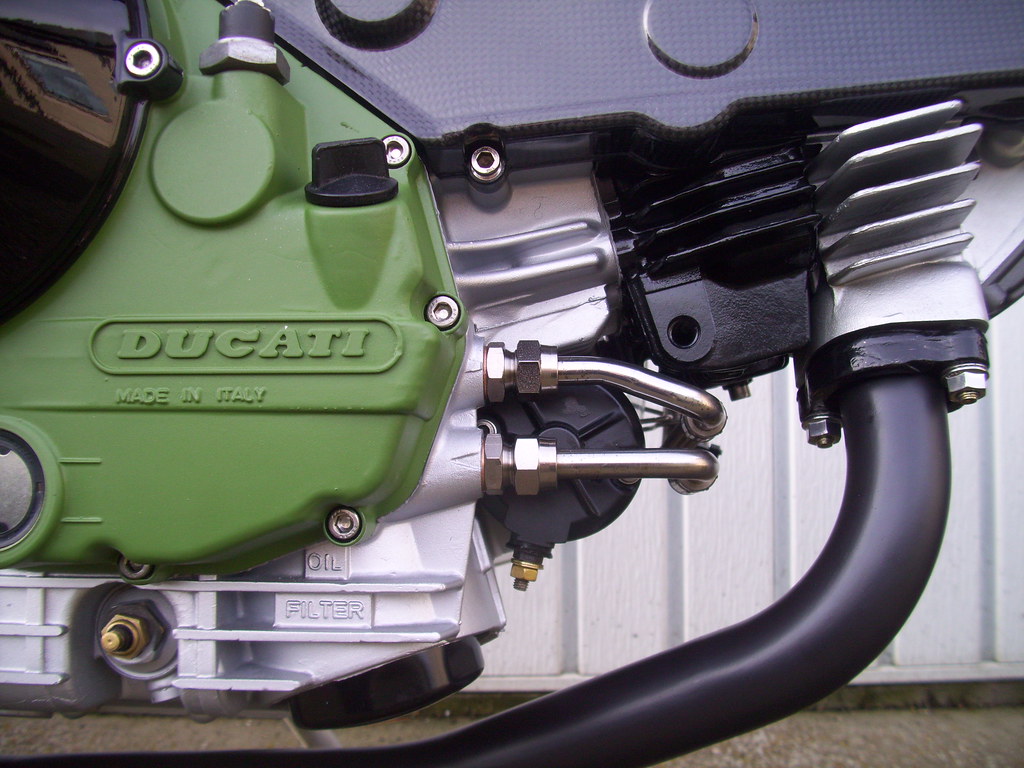
27th October 012 by Lindsay fae Angus, on Flickr
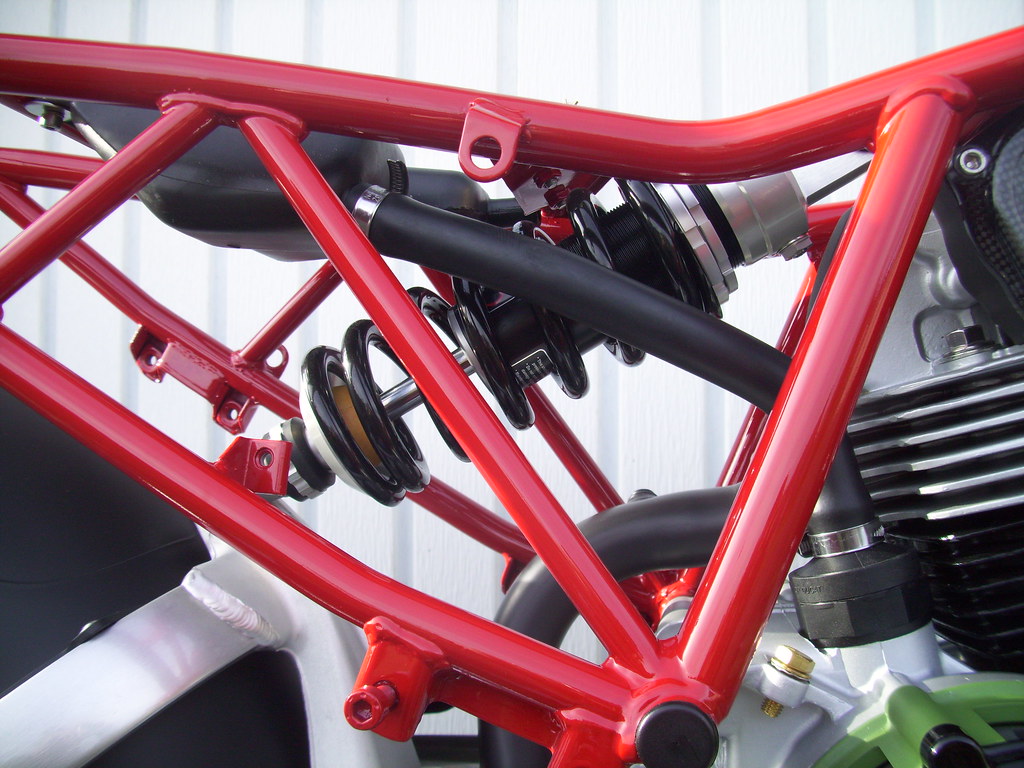
27th October 013 by Lindsay fae Angus, on Flickr
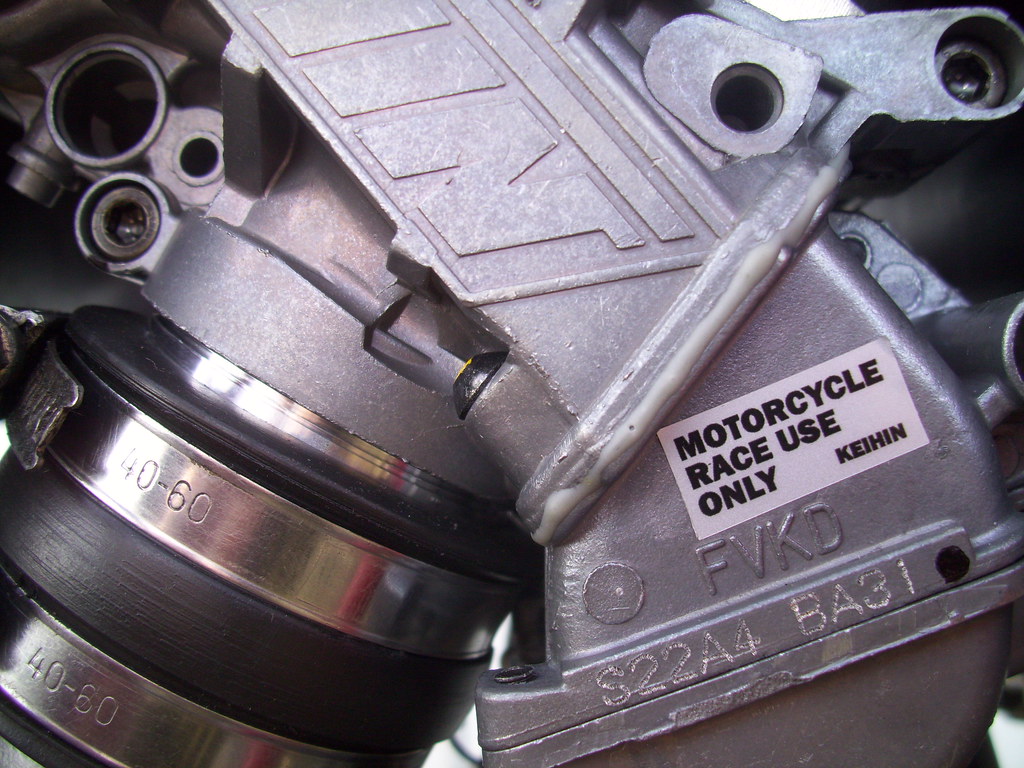
27th October 014 by Lindsay fae Angus, on Flickr

27th October 015 by Lindsay fae Angus, on Flickr
27th October 001 by Lindsay fae Angus, on Flickr
27th October 016 by Lindsay fae Angus, on Flickr
27th October 002 by Lindsay fae Angus, on Flickr
27th October 004 by Lindsay fae Angus, on Flickr
27th October 005 by Lindsay fae Angus, on Flickr
27th October 006 by Lindsay fae Angus, on Flickr
27th October 007 by Lindsay fae Angus, on Flickr
27th October 008 by Lindsay fae Angus, on Flickr
27th October 009 by Lindsay fae Angus, on Flickr
27th October 011 by Lindsay fae Angus, on Flickr
27th October 012 by Lindsay fae Angus, on Flickr
27th October 013 by Lindsay fae Angus, on Flickr
27th October 014 by Lindsay fae Angus, on Flickr
27th October 015 by Lindsay fae Angus, on Flickr